
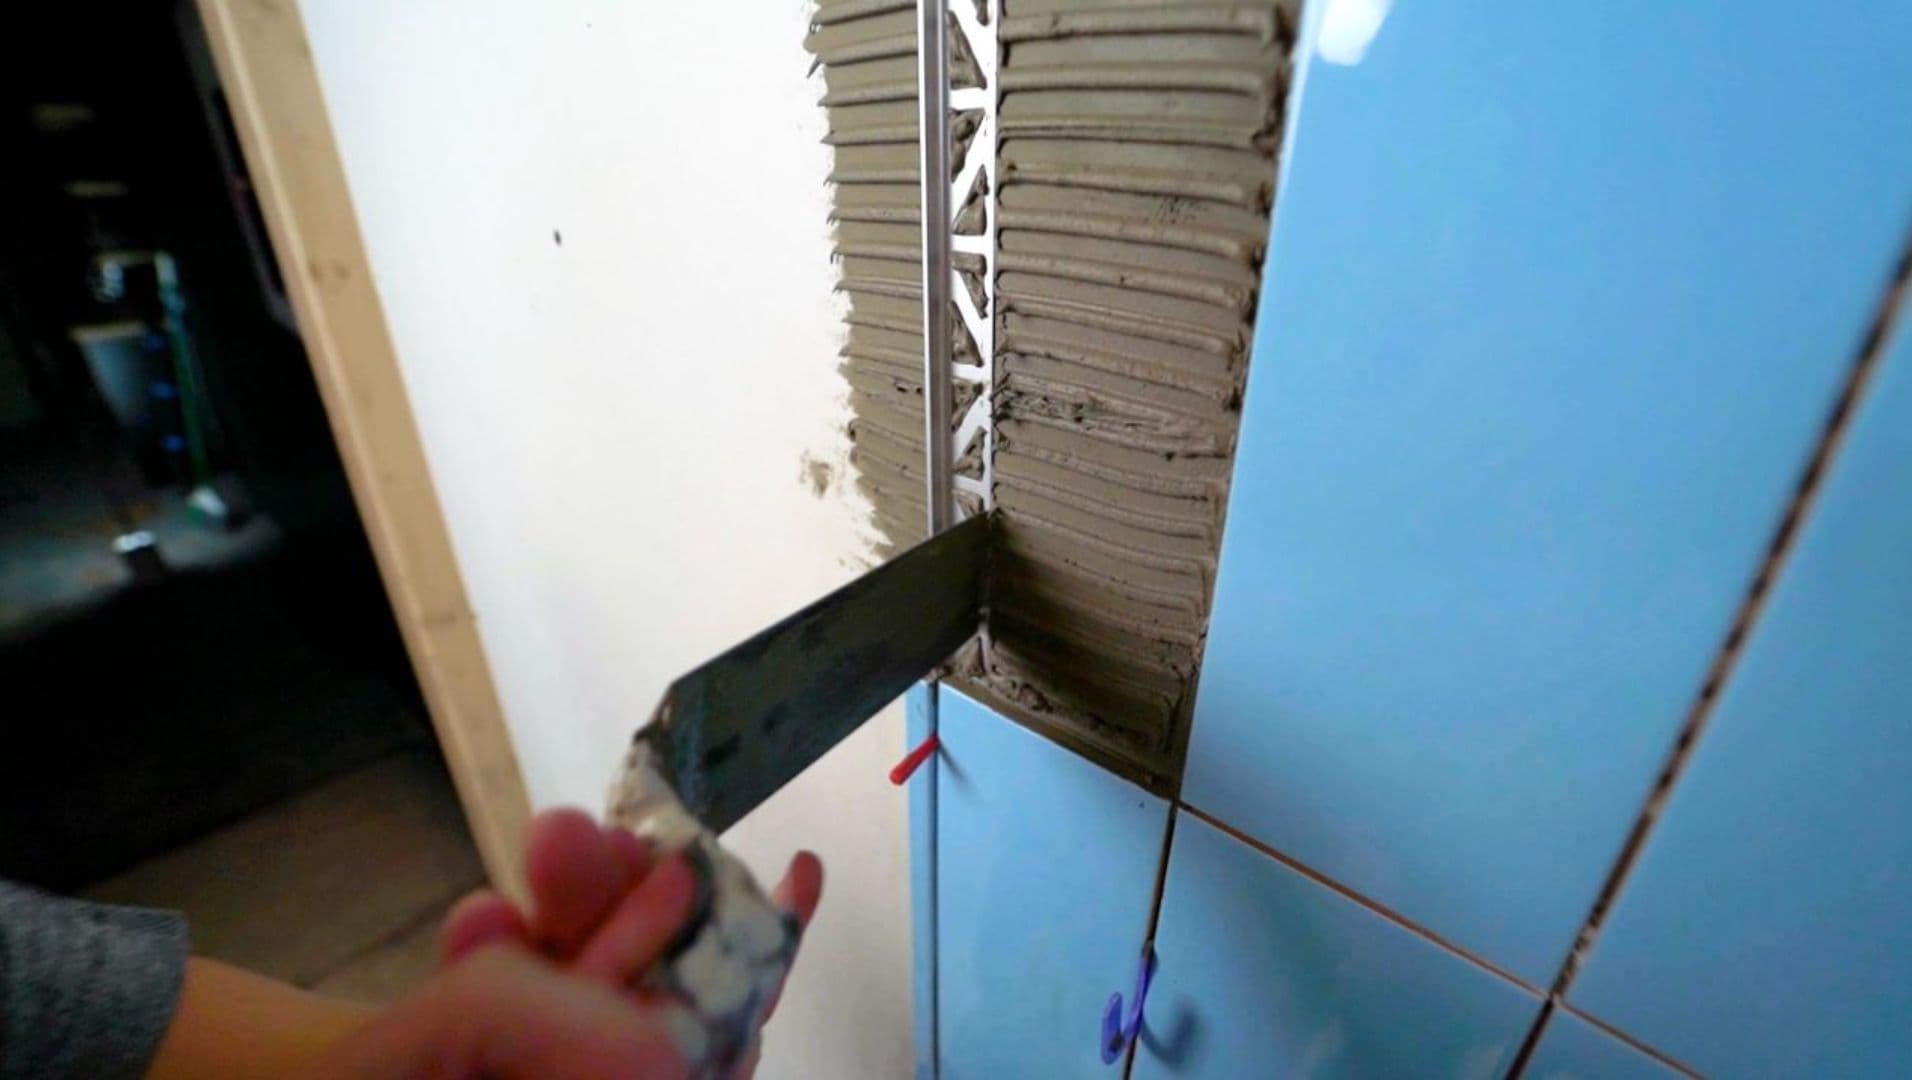
Transform your tiling project with the right tile edge trim!
To install tile edge trim like a pro, select the right type of trim for your project, measure and cut with precision, and apply adhesive carefully to ensure a seamless finish. This attention to detail ensures durability and a polished appearance.
While the basic steps are straightforward, mastering the nuances of tile edge trim installation requires understanding different materials, tools, and techniques. This guide dives into expert advice and practical tips that will elevate your DIY project to professional standards.
Bullnose trim is ideal for sharp tile edges.False
Bullnose trim is used for smooth, rounded transitions, not sharp edges.
What Are the Different Types of Tile Edge Trims?
Explore the different styles of tile edge trims to enhance your tiling projects.
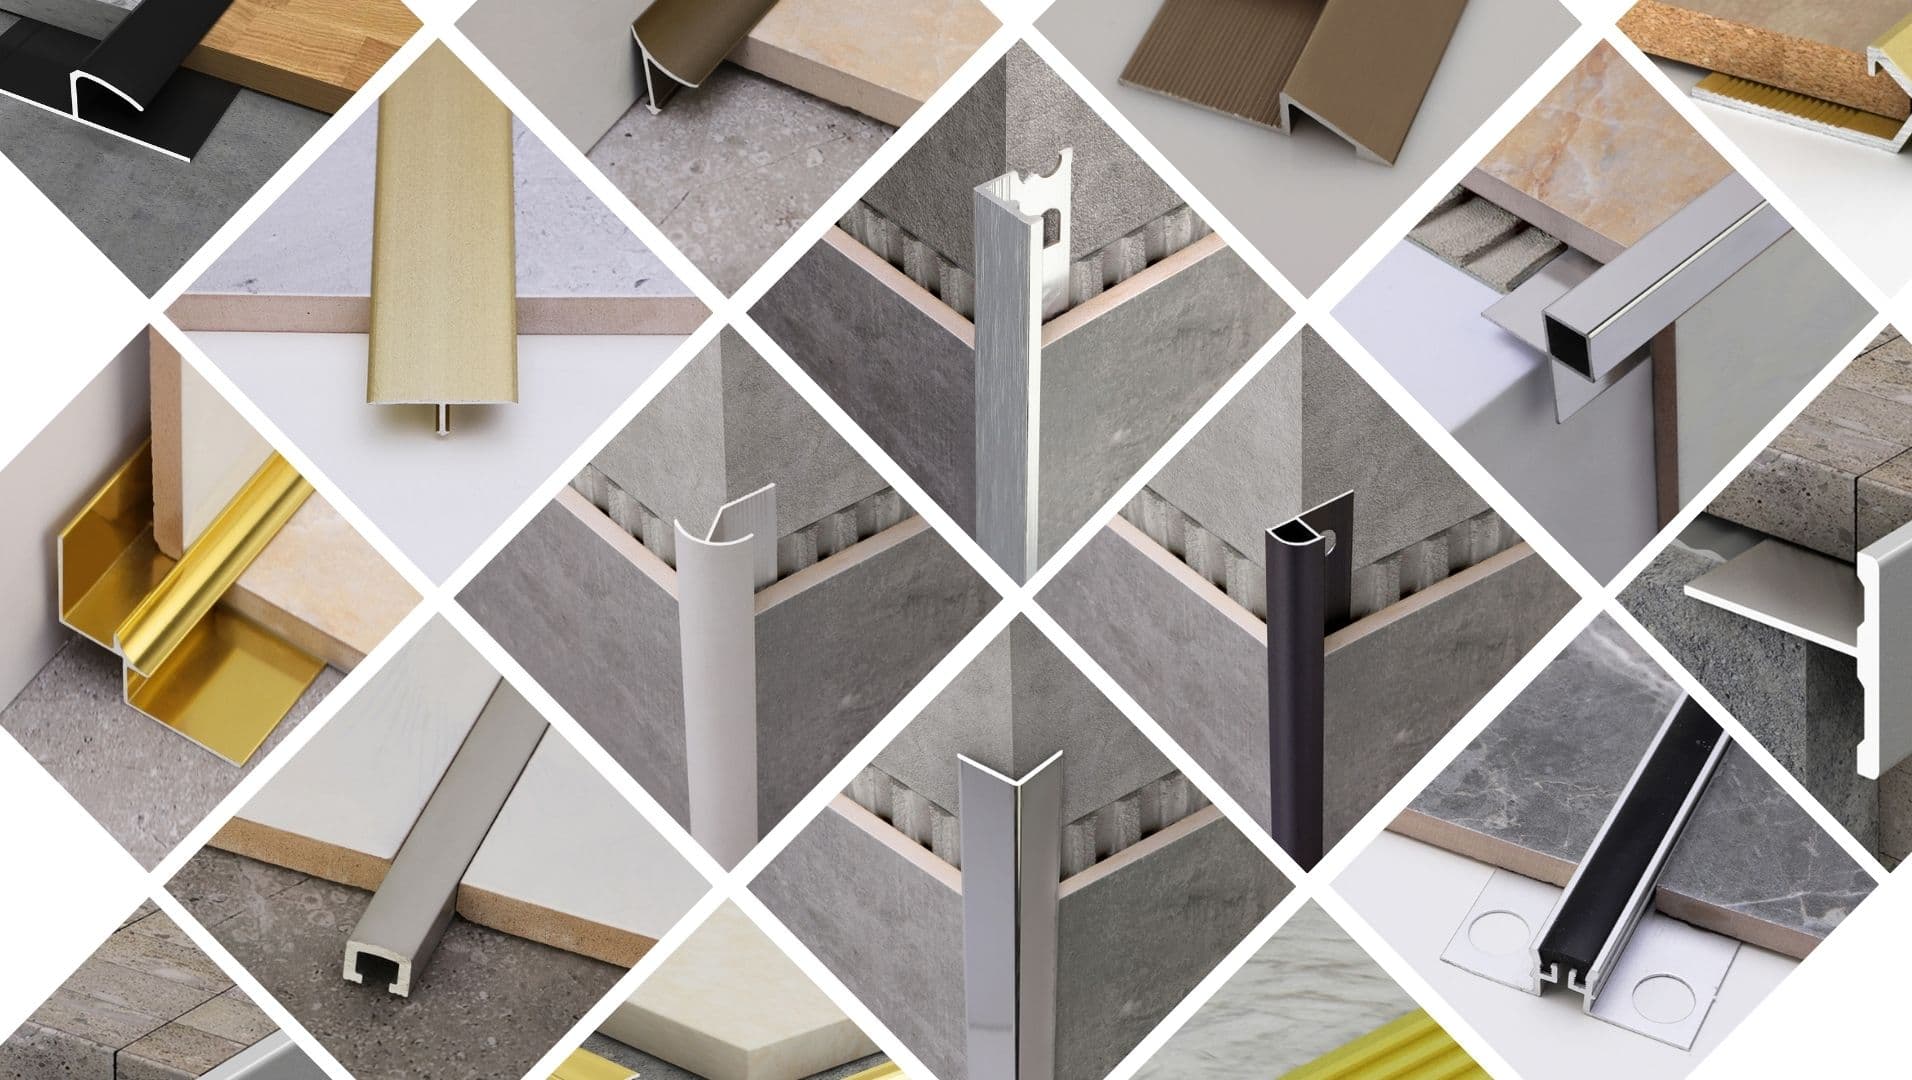
Tile edge trims come in various styles, including bullnose, pencil, and square-edge, each offering a unique finish. Selecting the right trim type depends on the tile material, design preference, and project requirements. Understanding these options ensures a cohesive and polished look for any tiling project.
Bullnose Trim
Bullnose trim is a popular choice for its smooth, rounded edges that provide a soft finish. It is often used for countertops and wall tiles where a gentle transition is desired. This type of trim is available in a variety of colors and materials, making it versatile for different design styles1.
Pencil Trim
Pencil trim is another elegant option, known for its thin, cylindrical shape. It serves as a decorative element that can frame tiles or create borders. Pencil trim is ideal for intricate designs or when you want to highlight certain areas within your tiling project.
Square-Edge Trim
Square-edge trim offers a sleek, modern look with its straight lines and sharp corners. This trim is perfect for contemporary settings where clean lines are preferred. It is particularly useful for framing large tile installations or giving a minimalist appearance.
Metal Trim
Metal trims provide both durability and style, often made from aluminum or stainless steel. They are perfect for high-traffic areas or wet environments such as kitchens and bathrooms. The metallic finish adds an industrial touch and is available in various profiles to suit different applications.
Tile Beading
Tile beading, or L-trim, is used to create edges around windows or corners. This type of trim prevents chipping and creates smooth transitions between tiles and other surfaces. It’s commonly found in bathroom installations2 where moisture resistance is crucial.
Factors to Consider
When selecting tile edge trims, consider the following factors:
- Material Compatibility: Ensure the trim material complements your tiles.
- Color Coordination: Choose a color that matches or contrasts well with your tiles.
- Functionality: Consider the wear and tear of the area where the trim will be installed.
- Aesthetic Appeal: Think about the overall design and how the trim will enhance it.
Bullnose trim is ideal for sharp tile edges.False
Bullnose trim is used for smooth, rounded edges, not sharp ones.
Metal trims are suitable for high-traffic areas.True
Metal trims offer durability, making them perfect for such areas.
How Do You Measure and Cut Tile Edge Trim Accurately?
Precision in measuring and cutting tile edge trim is crucial for a polished finish.
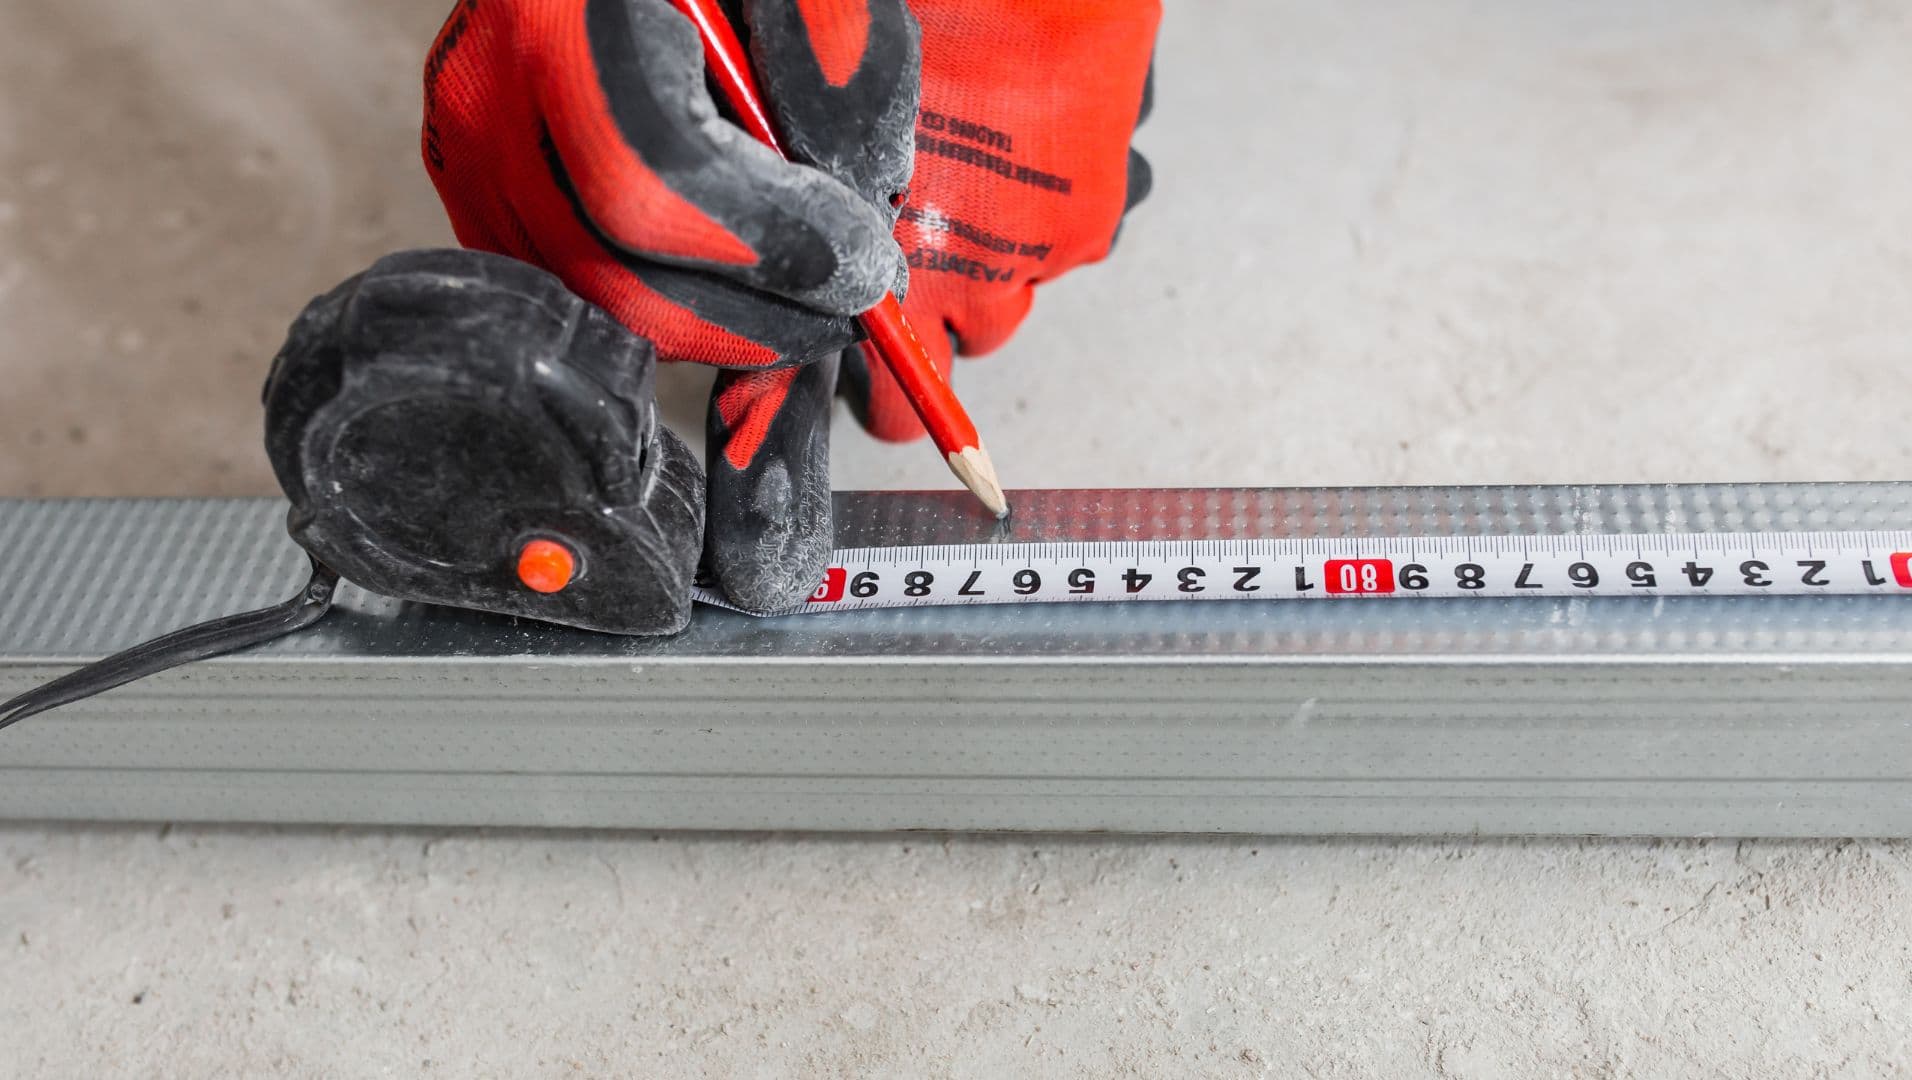
To measure and cut tile edge trim accurately, use a tape measure for exact dimensions, mark the trim with a pencil, and employ a miter box or trim cutter for clean cuts. This ensures precise alignment and a professional look.
Understanding the Importance of Accurate Measurements
Accurate measurements are the cornerstone of any successful tile edge trim installation. Miscalculations can lead to gaps or uneven edges, which not only affect the appearance but also compromise the durability of the trim.
Start by measuring the length of the area where the trim will be installed. Use a tape measure3 to get precise dimensions. Note these measurements carefully, as even small discrepancies can lead to noticeable issues.
Tools for Precision Cutting
Using the right tools is essential for cutting tile edge trim accurately. A miter box4 is an excellent tool for making straight or angled cuts, ensuring that the trim fits perfectly against the tiles.
For materials like aluminum or PVC, a trim cutter or hacksaw will provide clean, burr-free edges. Ensure your tools are sharp and well-maintained to avoid jagged cuts.
Step-by-Step Guide to Cutting Trim
-
Marking the Trim: Once you’ve measured the area, use a pencil to mark where you need to cut on the trim. Double-check your measurements before making any cuts.
-
Setting Up Your Miter Box: Place the trim in the miter box, aligning it according to your marked measurements. Ensure it is securely positioned to prevent slipping during cutting.
-
Making the Cut: With steady pressure, use a saw or cutter to make your cut along the marked line. For best results, cut slowly to avoid chipping or cracking the trim material.
Tips for Avoiding Common Mistakes
- Recheck Measurements: Always remeasure before cutting; mistakes often occur due to overlooked details.
- Test Fit: Before final installation, test fit each piece of trim to ensure accuracy.
- Account for Tile Thickness: Consider the thickness of your tiles when measuring for trim to ensure a seamless fit.
Understanding these techniques and precautions will help you achieve a flawless finish when installing tile edge trims.
A miter box ensures angled cuts for tile trim.True
A miter box helps make precise angled cuts, crucial for trim fitting.
Rechecking measurements is unnecessary before cutting trim.False
Rechecking prevents errors and ensures accurate cuts, avoiding waste.
What Tools Are Essential for Installing Tile Edge Trim?
A smooth, professional tile finish isn’t complete without the right tools for installing edge trim.
Essential tools for installing tile edge trim include a miter saw for precise cuts, a notched trowel for even adhesive application, and a rubber mallet for secure placement. Using the right tools ensures a polished and long-lasting installation.
Precision Cutting: The Miter Saw and Tile Cutter
Achieving a flawless edge trim installation begins with precision cutting. A miter saw5 is indispensable for making angled cuts, which are crucial for corners and seamless transitions. If working with ceramic or porcelain trims, a tile cutter or a wet saw can be equally effective. Ensuring the correct tool aligns with the material used is key to avoiding chipping or inaccurate cuts.
Even Adhesive Application: The Notched Trowel
A notched trowel is another essential tool. It helps distribute the adhesive evenly, creating a sturdy bond between the tile and trim. Choose a trowel size that matches the tile thickness—this step is crucial to prevent excess adhesive from oozing out, which can mar the finish.
Secure Placement: The Rubber Mallet
Once the trim is positioned, using a rubber mallet6 gently taps the trim into place without damaging it. This tool ensures the trim adheres firmly and aligns perfectly with the tiles, maintaining both aesthetic appeal and structural integrity.
Additional Tools for Finishing Touches
- Level: Ensures that the trim is perfectly aligned horizontally and vertically.
- Measuring Tape: For accurate measurement of trim lengths.
- Chalk Line: Useful for marking straight lines on surfaces before installation begins.
- Sponge and Clean Cloth: Essential for cleaning excess adhesive immediately to prevent hardening on surfaces.
Each of these tools plays a pivotal role in ensuring your tile edge trim project achieves a professional-grade finish. Selecting the right equipment not only simplifies the installation process but also enhances the overall durability and aesthetic quality of your tiling work.
A miter saw is essential for angled tile cuts.True
Miter saws provide precision for corner and transition cuts.
A sponge is used to apply adhesive evenly on tiles.False
A notched trowel, not a sponge, distributes adhesive evenly.
How Can You Achieve a Seamless Finish Without Professional Help?
Achieving a seamless finish in your tiling project is simpler than you think, even without professional help.
To achieve a seamless finish without professional help, carefully plan your tile layout, use high-quality tools, and ensure precision in measuring and cutting. Additionally, applying consistent adhesive and using spacers can prevent misalignment, resulting in a clean, professional look.
Planning Your Tile Layout
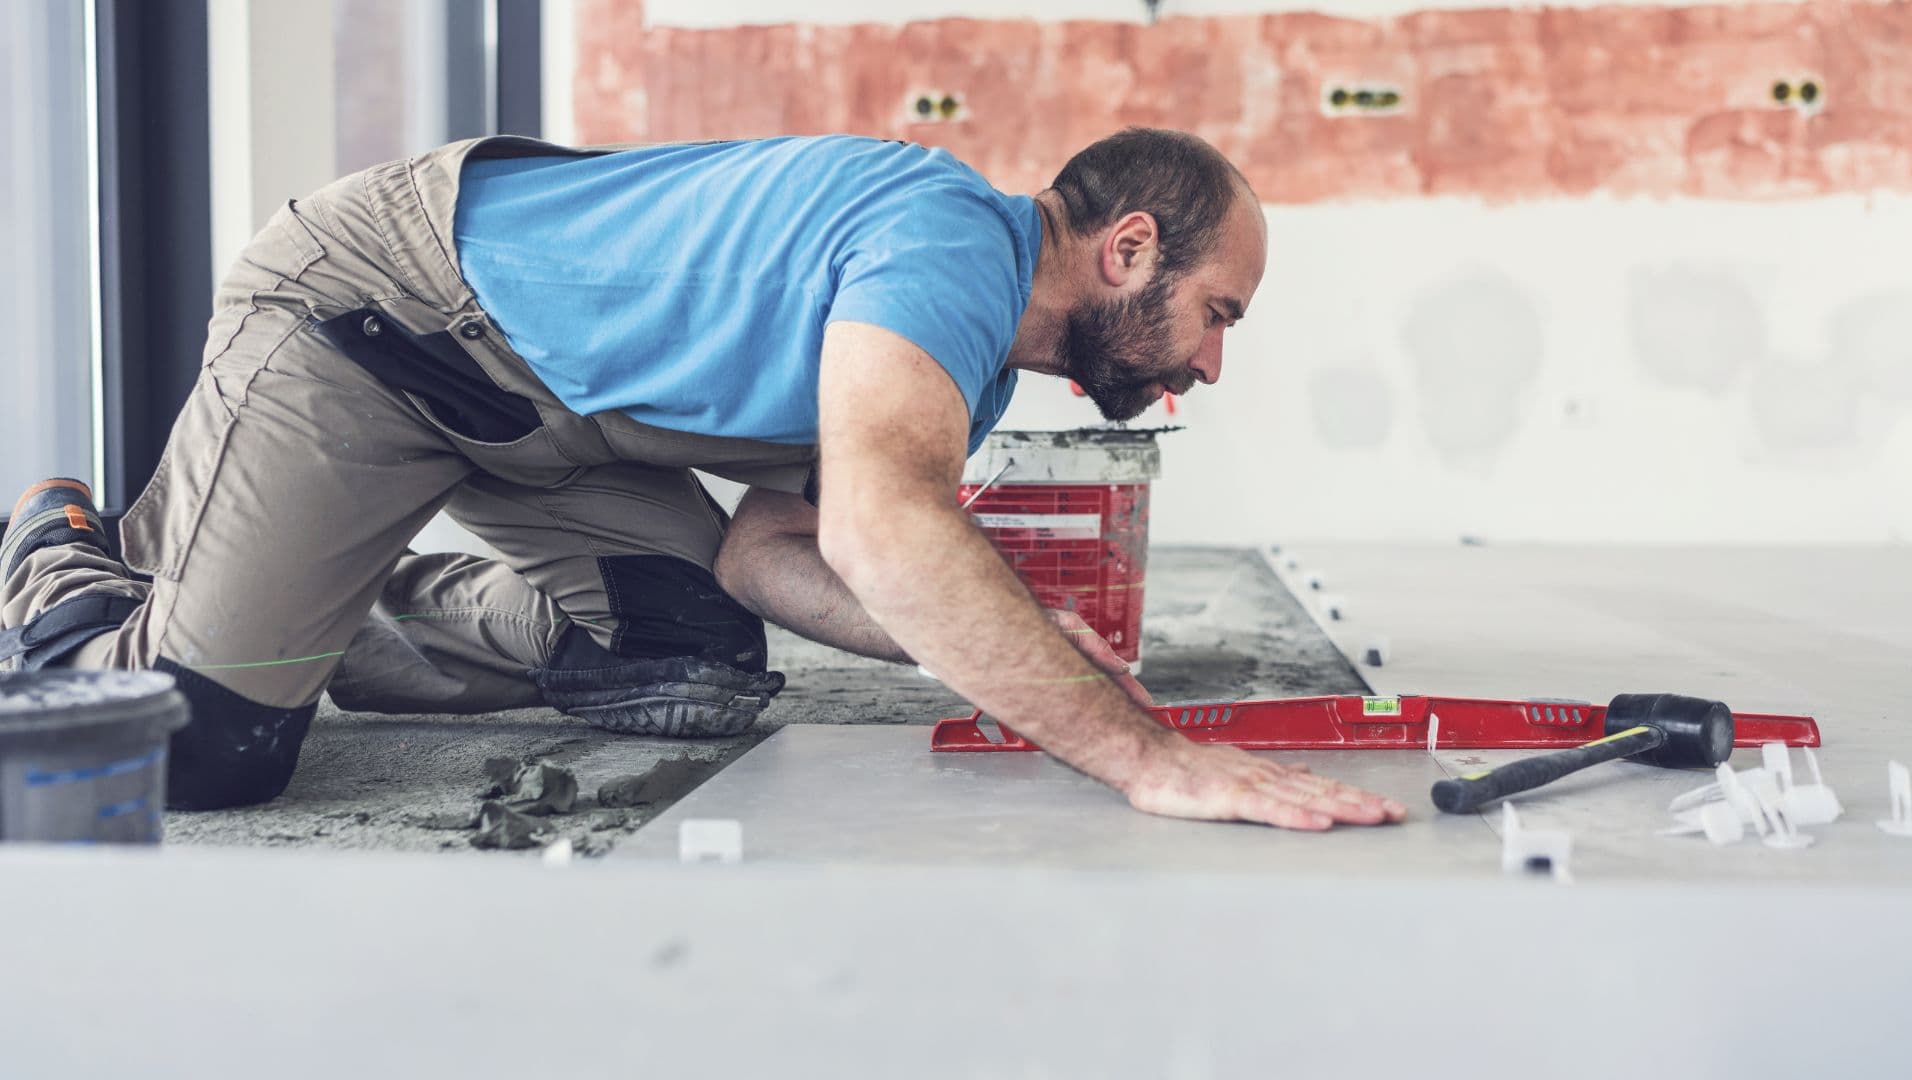
The foundation of a seamless finish begins with meticulous planning of your tile layout. Start by selecting a focal point in the room and work outward, ensuring symmetry and balance. Consider using graph paper or digital apps to visualize your layout, which can help minimize cutting and wastage.
Choosing the Right Tools
Invest in high-quality tools such as a tile cutter7 or wet saw for clean cuts, a level for alignment, and spacers to maintain even grout lines. These tools are crucial for achieving precision in your project.
Precision in Measuring and Cutting
Accurate measurement is key to avoiding gaps and overlaps that disrupt the seamless appearance. Use a tape measure to double-check dimensions before cutting. A cutting guide can also help maintain straight lines when using a tile cutter.
Applying Adhesive Consistently
Apply adhesive evenly across the surface using a notched trowel. This ensures that tiles adhere properly without leaving air pockets that can cause tiles to shift over time. Consistency in adhesive application also helps maintain the tile’s level across the surface.
Using Spacers for Consistent Grout Lines
Spacers are essential for keeping grout lines uniform, which contributes to the overall seamless effect. Choose spacers that match the desired width of your grout lines and remove them once the adhesive has set but before grouting.
Grouting and Finishing Touches
After tiles are set and adhesive has cured, apply grout using a rubber float. Push grout into the spaces between tiles at a 45-degree angle to fill gaps fully. Wipe away excess grout with a damp sponge, being careful not to disturb grout lines. Once dry, polish the tile surface with a clean cloth for a glossy finish.
Achieving a seamless finish is all about attention to detail and patience. With the right approach and tools, even a novice DIYer can complete a tiling project that rivals professional results.
Using spacers ensures uniform grout lines.True
Spacers maintain even gaps between tiles for consistent grout lines.
High-quality tools are unnecessary for seamless tiling.False
High-quality tools ensure precision and clean cuts, crucial for seamless finish.
Conclusion
With these expert tips in hand, I’m excited for you to tackle your tile edge trim installation with confidence. Remember, attention to detail is key!
-
Discover various design styles using bullnose trim options.: Square edge tile trim is particularly common in modern design styles because it offers both practicality and visual clarity and neatness. 3 … ↩
-
Learn how tile beading enhances bathroom installations.: Tile Edge Trim Installation, Around a Shower Niche! Pro Installation Tips For that Stunning … ↩
-
Find reliable tape measures ideal for precision in tile projects.: In our opinion, it’s the DeWalt Tough Series tape measures. Solid housing construction combined with a generous layer of overmold to protect it … ↩
-
Learn how a miter box can improve your cutting accuracy.: http://www.tilewizards.net.au Uploaded by Sydney Ceramic Tile Wizards Pty Ltd Located in the … ↩
-
Discover top-rated miter saws for precise tile edge cuts.: I have done a significant amount of trim with with my Dewalt 12 inch dual bevel compound miter saw. I have used good blades and in general it works. ↩
-
Learn how rubber mallets ensure safe, secure tile placement.: The tool is widely used by professionals to spread the adhesive uniformly and to level the tiles on the surface, ensuring no damage or breakage. This T-shaped … ↩
-
Discover top-rated tile cutters to ensure precise, clean cuts.: For subway I use a super cheap Bennett tile snapper I found in my dad’s garage. For bigger stuff you’d do just fine with the Rubi Speed+ 72cm. ↩






