
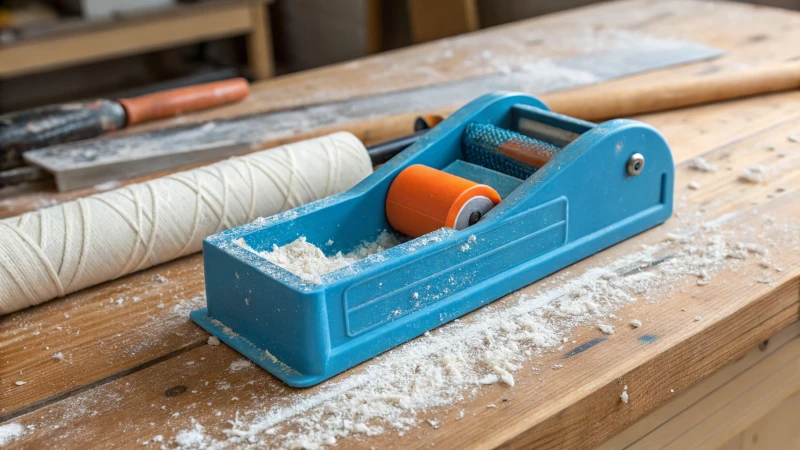
Have you ever found yourself in the middle of a DIY project, wishing for that perfect tool to get the job done right?
A chalk line is indeed a layout tool, crucial in construction for drawing straight lines that guide precise measurements and alignments.
You know, I remember the first time I picked up a chalk line. It seemed so unassuming, yet it transformed my entire approach to laying out tiles. That simple snap of the string against the floor created a perfectly straight guideline, saving me hours of frustration. It’s these small tools that can make or break a project. Let’s explore why this little gadget deserves a spot in every toolkit.
A chalk line is essential for precise layout tasks.True
Chalk lines create straight, visible lines, aiding in accurate measurements.
Chalk lines are primarily used for cutting materials.False
Chalk lines are for marking straight lines, not cutting materials directly.
What Are the Main Uses of a Chalk Line?
Ever wondered how to make perfectly straight lines for your next big project?
A chalk line is primarily used for marking straight, level lines on surfaces like walls, floors, and ceilings. It ensures precision in activities such as painting, tiling, and framing.
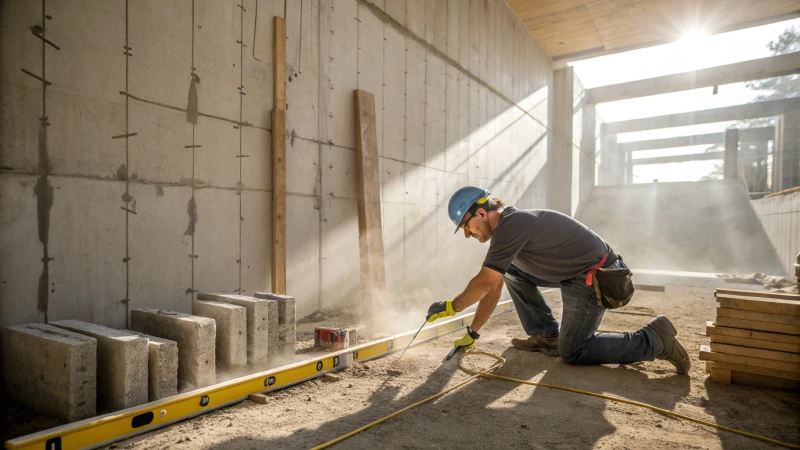
Marking Guidelines for Painting
I remember the first time I tackled a painting project that required crisp edges. A friend suggested using a chalk line to mark the boundaries, and it was a game-changer! By snapping chalk lines, I could tape off areas with perfect precision, leading to a polished and professional finish. Professionals snap chalk lines to ensure that taped boundaries are perfectly straight, which is crucial for achieving a polished look.
Installing Tiles or Flooring
Laying down tiles or flooring can be tricky. During a recent home renovation, I found that using a chalk line helped me map out the layout efficiently. By snapping lines across the floor, I ensured that each tile was aligned perfectly, saving me from the nightmare of uneven rows. In tile or flooring projects, a chalk line is essential for planning layouts1.
| Task | Purpose |
|---|---|
| Painting | Ensures straight taped edges |
| Tile Installation | Aligns tiles symmetrically |
Framing Walls
Framing new walls is where accuracy is truly king. I learned this the hard way during a project when a slight misalignment threw off the entire wall plan. Using a chalk line to mark where the studs should go made all the difference, ensuring everything was spot-on. Chalk lines help in marking where studs should be placed by using them to mark the top and bottom plates.
Roofing Projects
In roofing, it’s crucial to lay shingles in straight rows. My first roofing experience was daunting until I realized how chalk lines could guide me. They kept my shingle rows straight, enhancing both the look and durability of the roof by minimizing gaps and overlaps.
Carpentry and Joinery
In carpentry, I rely on chalk lines for marking cut lines on wood. Whether I’m crafting a piece of furniture or building something larger, these lines are indispensable for maintaining structural integrity and design.
Understanding these primary uses can significantly enhance efficiency and precision in any construction or DIY project. Explore more about how chalk lines enhance2 various applications in your projects.
Chalk lines are crucial for painting crisp edges.True
Chalk lines help create straight taped boundaries, essential for crisp edges.
Chalk lines are unnecessary in roofing projects.False
They ensure shingles are laid in straight rows, vital for durability.
How Do Chalk Lines Stack Up Against Other Layout Tools?
Ever wondered how to choose the best layout tool for your next big project? Let me share some insights from my own experience.
From my experience, chalk lines are great for their simplicity and cost-effectiveness when you need to mark long, straight lines. However, if you’re looking for more precision or permanence, ink lines and laser levels might be better alternatives.
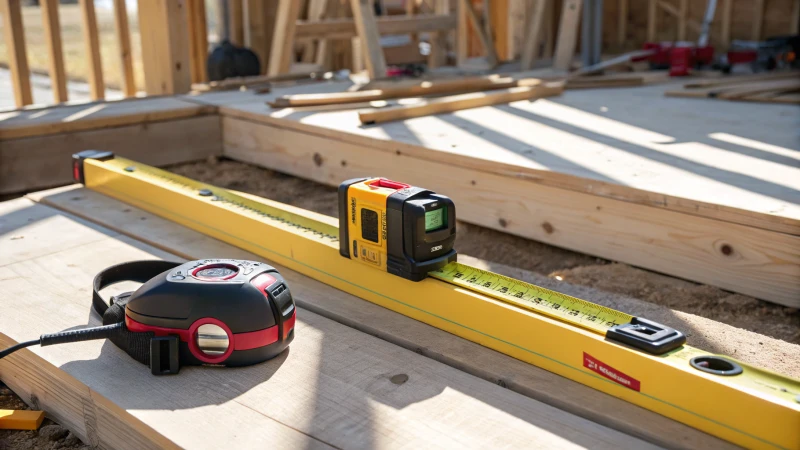
The Basics of a Chalk Line
I remember my first time using a chalk line—it was like holding a magic wand that could create perfectly straight lines with a simple snap. The device is straightforward: a string coated with chalk powder that, when snapped against a surface, leaves a straight mark. It’s quick, effective, and perfect for many everyday tasks. But as I progressed in my projects, I noticed its limitations in precision compared to more advanced tools.
Comparing Chalk Lines with Ink Lines
The leap from chalk to ink lines was like moving from pencils to pens. Ink lines offer sharper, more permanent marks thanks to their ink-coated strings. This is particularly useful when working on projects exposed to elements or where markings need to last longer. For me, the trade-off in cost was worth it for the durability and precision.
| Feature | Chalk Line | Ink Line |
|---|---|---|
| Cost | Low | Moderate |
| Durability | Less durable | More durable |
| Precision | Moderate | High |
Laser Levels: A Modern Alternative
Then there’s the laser level—it’s like stepping into the future of layout tools. Laser levels project straight lines across surfaces without needing physical contact. I found them incredibly precise, perfect for tasks requiring more than traditional tools can offer. However, they do come with higher costs and the need for power, which sometimes can be a bit of a hassle on busy job sites.
- Pros: Offers exceptional precision and covers greater distances effortlessly.
- Cons: Can be pricey and needs a power source.
Practical Applications and Considerations
Choosing the right tool often depends on the project’s requirements. For straightforward tasks, a chalk line is often enough due to its affordability and ease of use. However, if your project demands high accuracy—like laying out foundations or detailed carpentry—investing in an ink line or laser level3 could be advantageous.
Consider the surface material, environmental conditions, and budget. For instance, using a laser level4 on uneven surfaces can significantly improve your workflow’s efficiency.
In conclusion, each tool has its place in the toolkit. Understanding your project’s needs will guide you in making the best choice. What’s your favorite tool for these tasks?
Chalk lines are more precise than ink lines.False
Ink lines offer sharper, more permanent markings than chalk lines.
Laser levels require a power source to function.True
Laser levels project lines using powered lasers, needing electricity.
Can a Chalk Line Be Used on Different Surfaces?
Ever wondered if chalk lines are the secret weapon for marking all sorts of surfaces during your DIY adventures? Let’s dive into their surprising versatility.
Yes, a chalk line can be used on different surfaces like wood, concrete, and metal. Its versatility depends on surface texture, preparation, and the type of chalk used, ensuring effective marking for various projects.
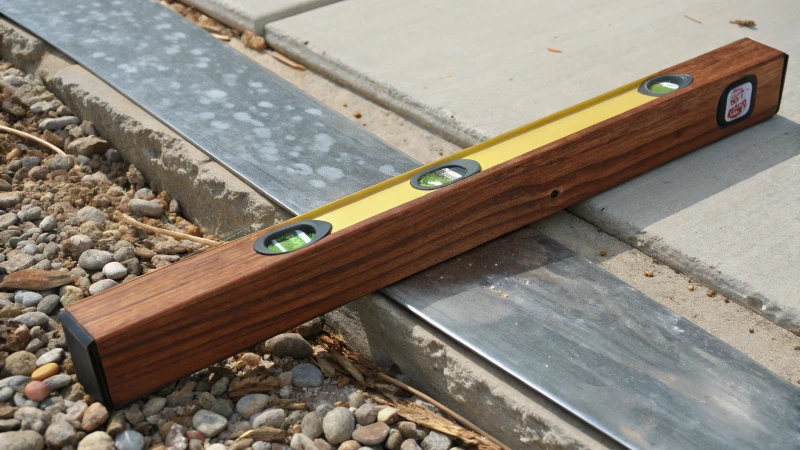
Using Chalk Lines on Wood
I remember my first time using a chalk line on wood—it was an old picnic table that desperately needed a makeover. The porous nature of the wood made it easy for the chalk to stick, giving me clear, sharp lines to follow. If you’re dealing with rough surfaces5, a standard chalk line should do the trick. However, for smoother or varnished wood, you might need a thicker line to ensure visibility.
Marking Concrete with Chalk Lines
Concrete can be a bit of a challenge. I once tried marking lines in my driveway for a DIY basketball court, and boy, did I learn the hard way that not all chalks are created equal! The coarse texture and dustiness of concrete mean you’ll want a heavier chalk line. Opting for bright colors6 like blue or red makes your lines stand out better against the grey backdrop.
| Surface | Chalk Type | Color Recommendation |
|---|---|---|
| Wood | Standard | Any color |
| Concrete | Coarse | Blue/Red |
| Metal | Fine | White |
Chalk Lines on Metal Surfaces
When it comes to metal, it’s all about precision. I had to mark some metal sheets for a garden project once, and I quickly realized how slippery they could be. A fine chalk line will help you get those crisp lines without too much smudging. And trust me, a quick wipe down of the metal beforehand makes a world of difference.
Factors Affecting Chalk Line Effectiveness
- Surface Texture: Smoother surfaces may require finer lines.
- Chalk Type: Using coarse chalk for rough surfaces like concrete enhances adherence.
- Preparation: Cleaning surfaces before marking can significantly improve chalk visibility and longevity.
By keeping these factors in mind and choosing the right type of chalk line, you can make sure your markings are accurate and visible across various surfaces. For more tips and tricks on using chalk lines effectively, be sure to check out related articles7.
Chalk lines work best on smooth wood surfaces.False
Smooth wood may require thicker lines for visibility, not optimal.
Bright chalk colors improve visibility on concrete.True
Bright colors like blue or red enhance visibility on rough concrete.
How Can I Master the Art of Using a Chalk Line?
Imagine your chalk line snapping perfectly straight, every time. It’s like magic, but with a little practice, you can make it happen!
To effectively use a chalk line, make sure it’s taut, choose a chalk color that stands out for your task, and snap it with a steady hand. Avoid over-chalking to keep dust under control and lines crisp.
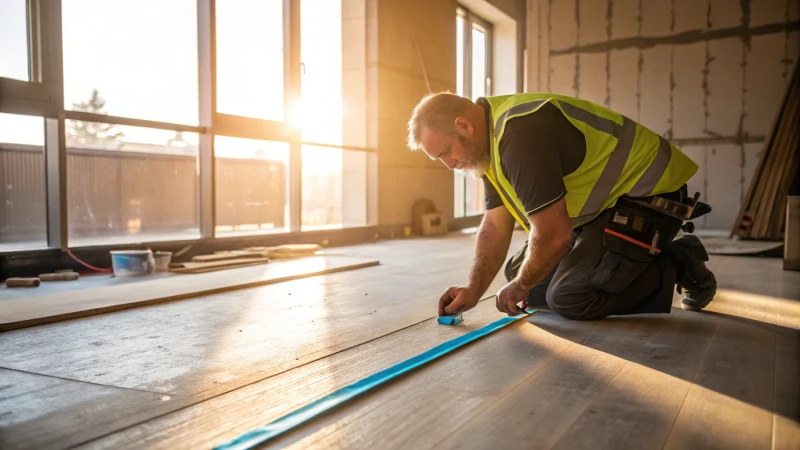
Selecting the Right Chalk Color
Here’s a little story from my early days in construction: I once used red chalk indoors, thinking it would be visible, only to find it was way too permanent. Lesson learned! For indoor projects, blue is your best friend—easy to see yet easy to clean. When you’re outside, where marks need to withstand the elements, go for red or black for durability.
| Chalk Color | Use Case |
|---|---|
| Blue | Indoor, less permanent |
| Red | Outdoor, permanent |
| Black | Outdoor, dark surfaces |
Preparing the Surface
A clean surface is a happy surface. Trust me, I’ve learned this the hard way. Imagine getting halfway through a project only to realize the line’s all over the place because of dust or moisture. So, keep it clean and dry before you start snapping lines. This preparation step helps maintain line accuracy8 throughout your project.
Keeping the Line Taut
Ever tried drawing a straight line on a bumpy road? That’s what a slack line feels like! To avoid this, ensure your chalk line is tight. Sometimes I call on a buddy to help out or use clamps. It’s all about teamwork!
Snapping the Line
Snapping the line is an art form. Lift it gently at the midpoint and let it fly back down. The sound of that perfect snap—it’s like music to my ears. And if you’re working with a longer line, snapping from multiple points keeps it from sagging.
Minimizing Chalk Dust
I remember my first project when I over-chalked everything; it looked like I was working in a snowstorm of dust! To avoid that, use just enough chalk to get the job done. Your lungs and your floors will thank you later.
Regular Maintenance of Chalk Line Tool
A well-maintained tool is a happy tool. Clean it regularly and swap out any worn strings. It’s like getting an oil change for your car—keeps everything running smoothly.
Avoiding Common Mistakes
- Uneven Application: Learn from my streaky past—apply chalk evenly.
- Incorrect Surface: Don’t make my mistake of using it on oily surfaces; it won’t stick well.
- Improper Line Length: For anything over 30 feet, re-tension often—it’s like giving your line a little pep talk.
For more insights into chalk line maintenance9, check out expert guidelines online. Mastering these techniques will not only boost your project efficiency10 but also elevate your craftsmanship to new heights.
Blue chalk is best for outdoor use.False
Blue chalk is recommended for indoor use due to its less permanent nature.
Red chalk is ideal for permanent lines.True
Red chalk is durable and suited for outdoor projects requiring permanence.
Conclusion
A chalk line is an essential layout tool for marking straight lines in construction, enhancing precision in tasks like painting, tiling, and framing while being cost-effective and easy to use.
-
Discover techniques for using chalk lines to plan and align tile layouts effectively. ↩
-
Explore the advantages of using chalk lines in carpentry and joinery projects. ↩
-
Discover the advantages laser levels offer over traditional tools in terms of accuracy and efficiency. ↩
-
Learn tips and techniques for using laser levels effectively on uneven terrains. ↩
-
Explore methods to enhance chalk line visibility on rough wood to ensure precision. ↩
-
Learn about effective color choices for chalk lines on concrete for better visibility. ↩
-
Discover detailed insights into chalk line effectiveness on various construction materials. ↩
-
Learn techniques for maintaining precise chalk lines to enhance your project’s accuracy. ↩
-
Explore maintenance tips to extend the life of your chalk line tool. ↩
-
Discover how proper chalk line use can streamline your construction projects. ↩






