

Ever find yourself anxiously waiting for glue to dry, wondering if your patience or project will give out first?
Rubber cement typically takes about 5 to 15 minutes to dry under ideal conditions. However, temperature, humidity, and the thickness of application can all tweak this timing.
For me, knowing the precise drying time of rubber cement has been a game-changer in my projects. Whether I’m crafting with my kids or tackling a repair job, understanding these variables helps me plan better and avoid mishaps. Let’s dive into how you can nail this timing every time.
Rubber cement dries in 5 to 15 minutes.True
Under ideal conditions, rubber cement typically dries within this time frame.
Humidity doesn't affect rubber cement drying time.False
Humidity can significantly alter the drying time of rubber cement.
What Factors Affect the Drying Time of Rubber Cement?
Remember those childhood crafts that seemed to take forever to dry? Well, that’s rubber cement for you!
The drying time of rubber cement depends on temperature, humidity, application thickness, and surface type. Warmer temperatures and lower humidity speed up drying, while thicker applications and non-porous surfaces slow it down.
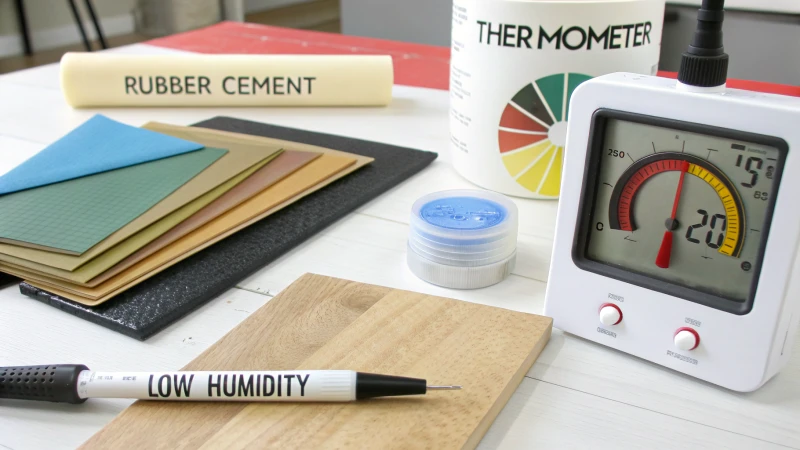
Temperature Influence
Temperature has always played a big role in how fast or slow things dry—think of that laundry you forgot outside! With rubber cement, warmer temperatures make things dry faster because the solvent evaporates quickly. I once tried using rubber cement on a chilly day, and it seemed like an eternity before it was ready. If you’re in a colder area, maybe try a gentle heat source to speed things up.
Humidity’s Role
Humidity is a bit like that clingy friend who just doesn’t want to leave. High humidity slows down the drying process, while lower humidity speeds it up. I remember working on a project in a humid basement, and the drying time was frustratingly slow. Good ventilation can really help if you’re stuck in a similar situation.
Application Thickness
Ever notice how a thick layer of paint takes forever to dry? It’s the same with rubber cement. The thicker the application, the longer it takes. I learned this the hard way during a school project; thinner layers were my saving grace! Applying in thin, even layers can really make a difference.
Surface Type Consideration
The surface you’re working on matters more than you might think. Porous surfaces like paper or fabric can speed up drying because they absorb some of the solvent. On the other hand, non-porous surfaces like metal or glass can turn drying into a waiting game. A fan or dehumidifier can work wonders on these stubborn surfaces.
Here’s a table summarizing these factors:
| Factor | Effect on Drying Time |
|---|---|
| Temperature | Higher = Faster |
| Humidity | Lower = Faster |
| Application Thickness | Thinner = Faster |
| Surface Type | Porous = Faster |
Understanding these factors is key to mastering the art of working with rubber cement. For those who want to dive deeper, exploring resources on environmental effects1 on adhesives or learning about adhesion principles2 can offer even more insights.
Higher temperatures speed up rubber cement drying.True
Increased temperatures accelerate solvent evaporation, reducing drying time.
Non-porous surfaces speed up rubber cement drying.False
Non-porous surfaces hinder evaporation, prolonging the drying period.
Can You Speed Up the Drying Process of Rubber Cement?
Ever felt like you’re stuck in a waiting game with rubber cement? I know I have. When time is ticking, speeding up the drying process can be a game changer. But how do you do it without compromising quality?
Yes, you can speed up the drying process of rubber cement by increasing airflow, using a fan, or applying heat. These methods enhance evaporation and help the cement cure faster.
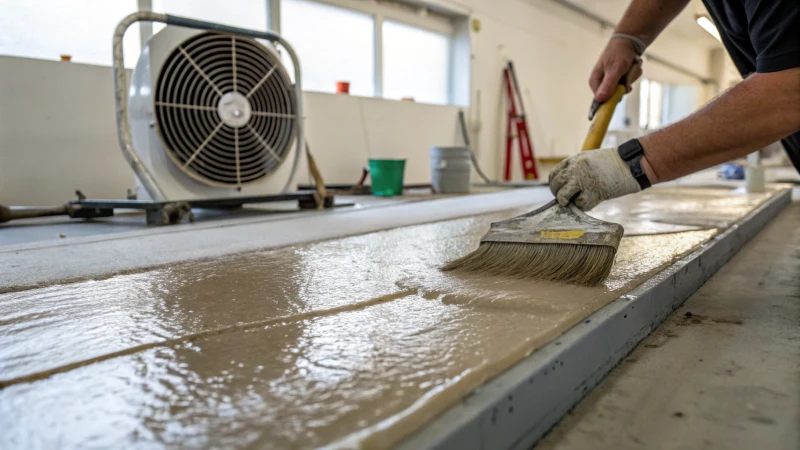
Understanding Rubber Cement Properties
I remember the first time I tried working with rubber cement. I was in the middle of a project, feeling a bit like a rookie, and just couldn’t understand why it was taking forever to dry. That’s when I learned about its unique properties—elastic polymers mixed with a solvent that evaporates as it cures. It’s fascinating how factors like humidity and temperature can affect drying time. By tweaking these conditions, I’ve found ways to make things move along faster.
Methods to Accelerate Drying
-
Increase Airflow:
- There was this one project where I used a small table fan to get the air moving over the area. It was like magic seeing how quickly the solvent started to evaporate. If you’re in a pinch, an industrial fan can really kick things up a notch!
Equipment Effectiveness Table Fan Moderate Industrial Fan High -
Apply Heat:
- My hairdryer has saved me more times than I can count—just set it on low heat and watch it work its wonders. Just be cautious not to overdo it; too much heat can mess with the adhesive.
-
Environmental Control:
- A dehumidifier can be your best friend in humid weather. Lowering the moisture in the air makes evaporation a breeze, literally.
Practical Examples
I’ve used these tricks on everything from patching up household items to building more complex models. Each situation is a bit different, but understanding these techniques has been a real productivity boost for me, especially when deadlines are looming on time-sensitive projects4. It’s all about finding what works best for your particular setup and scale of work.
Increasing airflow speeds up rubber cement drying.True
Airflow enhances evaporation rates, reducing drying time effectively.
High heat application is recommended for faster drying.False
Excessive heat can damage surfaces or alter adhesive properties.
How Does Rubber Cement Compare to Other Adhesives?
Ever stood in the aisle of a craft store, overwhelmed by the sea of adhesives? I have, and rubber cement often stands out for its unique perks.
Rubber cement is a flexible adhesive perfect for paper projects due to its easy repositioning and clean removal. Unlike contact cement, it doesn’t create permanent bonds, making it unsuitable for heavy-duty tasks but ideal for crafts.
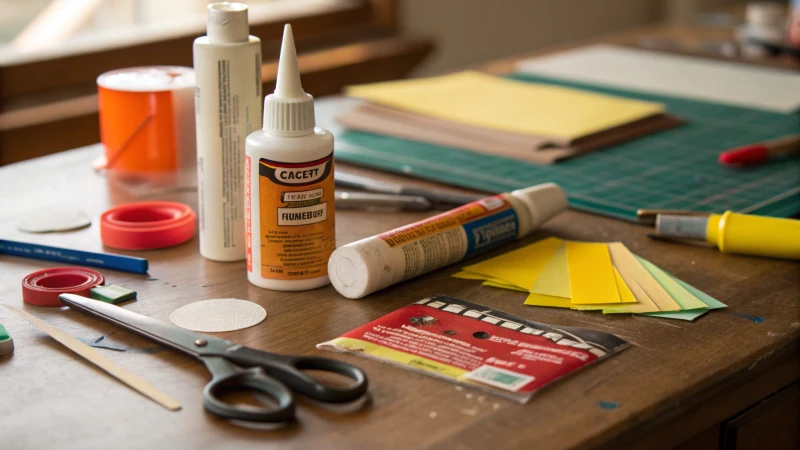
What is Rubber Cement?
I remember my first time using rubber cement during a scrapbooking session. Its magical ability to let me reposition pictures without tearing the delicate paper was a game-changer. Made from elastic polymers like latex in a solvent, this adhesive is a favorite in arts and crafts circles because it forms temporary bonds, allowing for adjustments and easy removal.
Comparing Rubber Cement to Contact Cement
Now, let’s talk about contact cement. It’s like the steadfast friend you can always rely on for strength. Unlike rubber cement, it forms permanent bonds and is made from neoprene, making it perfect for non-porous surfaces like metal and plastic. While rubber cement is all about flexibility, contact cement5 is about durability. This makes it essential for construction projects where nothing less than a strong bond will do.
| Property | Rubber Cement | Contact Cement |
|---|---|---|
| Flexibility | High | Low |
| Drying Time | Fast | Moderate to Slow |
| Bond Strength | Temporary/Weak | Strong/Permanent |
| Material Suitability | Paper, crafts | Wood, metal, laminate |
Drying Time and Application
I’ve always appreciated how quickly rubber cement dries. When working on a detailed art project, this quick drying time allows for precision without the rush. Unlike some other adhesives like PVA glue or epoxy6 that can slow down your workflow, rubber cement keeps things moving smoothly. Plus, it applies thinly so you don’t have to worry about altering the texture of your materials.
Environmental Considerations
Given today’s focus on sustainability, I’ve become more conscious of the environmental impact of my materials. Many adhesives now boast low VOCs due to environmental regulations. While rubber cement traditionally contains solvents, newer formulations are striving to be more eco-friendly, which is something I always consider when choosing products for my projects.
Use Cases and Limitations
When I’m layering or collaging, rubber cement’s repositionable nature is perfect. However, when tackling something more robust like woodworking or tile installation, I know it’s time to reach for something with more bonding power. Understanding your project’s needs—like whether you need rubber or contact cements7—is crucial to achieving the best results.
Ultimately, selecting the right adhesive means weighing factors like material type, bond strength, and environmental impact to ensure everything sticks just as it should.
Rubber cement is ideal for metal surfaces.False
Rubber cement is best for paper, not non-porous surfaces like metal.
Contact cement offers a permanent bond.True
Contact cement forms a strong, permanent bond suitable for durable applications.
How Do You Master the Art of Applying Rubber Cement?
Ever wondered how rubber cement can transform your projects from good to great? Let me share some tricks that I’ve picked up over the years to make sure your adhesive game is on point.
To apply rubber cement effectively, begin by ensuring your surface is clean and dry. Use a brush or applicator for smooth coverage, and let the cement become tacky before joining surfaces. Always work in a well-ventilated area.
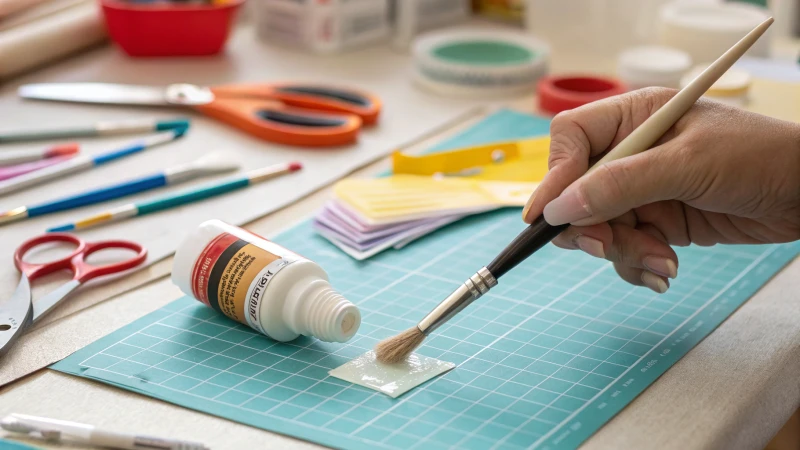
Preparing the Surface
Before diving into the application, I can’t stress enough the importance of prepping your surfaces. I learned this the hard way when a seemingly perfect project fell apart because I skipped this step. Always ensure surfaces are clean and dry8. Even a speck of dust or a hint of moisture can compromise the bond. If you’re working with glossy surfaces, lightly sanding them increases grip and guarantees a stronger hold.
Application Techniques
When it comes to applying rubber cement, less is more. I recall a time when I over-applied, thinking more glue would mean a stronger hold—it didn’t. Use a brush or applicator to spread a thin, even layer on both surfaces. This prevents lumps and ensures an even bond. Wait for the cement to become tacky, usually about 10-15 minutes, before pressing the surfaces together.
| Application Tool | Advantages | Considerations |
|---|---|---|
| Brush | Even coverage | Requires cleaning after use |
| Applicator | Precision in small areas | May need multiple layers |
Ventilation and Safety
I once worked in a poorly ventilated room with rubber cement—big mistake! The solvents can be hazardous if inhaled, so always ensure you’re in a well-ventilated space. Consider wearing a mask for extra protection and follow safety guidelines9 to keep yourself safe.
Optimal Drying Times
Patience is key here. Allow the cement to dry completely to achieve maximum bond strength. Depending on your environment, this can take 15 minutes to several hours. When it’s ready, press the surfaces firmly together.
Comparing with Other Adhesives
In my experience, rubber cement is often compared to contact cement. While both provide strong bonds, rubber cement offers the flexibility to reposition materials—a lifesaver in many of my projects. Learn more about these differences in adhesive comparisons10.
Rubber cement requires a glossy surface for best adhesion.False
Glossy surfaces should be lightly sanded to increase grip.
Rubber cement dries completely in 10-15 minutes.False
Drying time varies from 15 minutes to several hours.
Conclusion
Rubber cement dries in 5 to 15 minutes, influenced by temperature, humidity, thickness, and surface type. Proper application techniques can enhance drying speed and bond strength.
-
This link explores the impact of environmental conditions on adhesives, providing insights into optimizing adhesive performance. ↩
-
Discover the scientific principles behind adhesion that can enhance your understanding and application of rubber cement. ↩
-
Learning safe heating methods prevents material damage while ensuring quick adhesive curing. ↩
-
Time management strategies ensure successful completion of projects under tight schedules. ↩
-
Explore how contact cement offers permanent bonding for sturdy applications. ↩
-
Learn about various adhesive drying times to optimize your project timeline. ↩
-
Understand suitable applications for rubber and contact cements in detail. ↩
-
A clean surface ensures better adhesion, enhancing the effectiveness of rubber cement. ↩
-
Understanding safety measures prevents health hazards associated with inhaling rubber cement fumes. ↩
-
Learning about adhesive differences helps choose the right product for specific project needs. ↩






