

When I first tackled my tile installation project, cutting metal trim felt overwhelming. However, with the right techniques, it turned into an enjoyable challenge!
The best techniques for cutting metal tile trim involve using the right tools such as a miter saw with a metal-cutting blade or tin snips for softer trims. Ensure accurate measurements and steady cuts to avoid damaging the trim.
While this gives you a quick overview, diving deeper into each method and understanding the nuances can make your project easier and more successful. Continue reading for detailed guidance, tool recommendations, and troubleshooting tips.
A miter saw is essential for cutting metal tile trim.True
A miter saw with a metal-cutting blade provides precise cuts.
What Tools Are Essential for Cutting Metal Tile Trim?
Selecting the right tools ensures clean and precise cuts on metal tile trim.
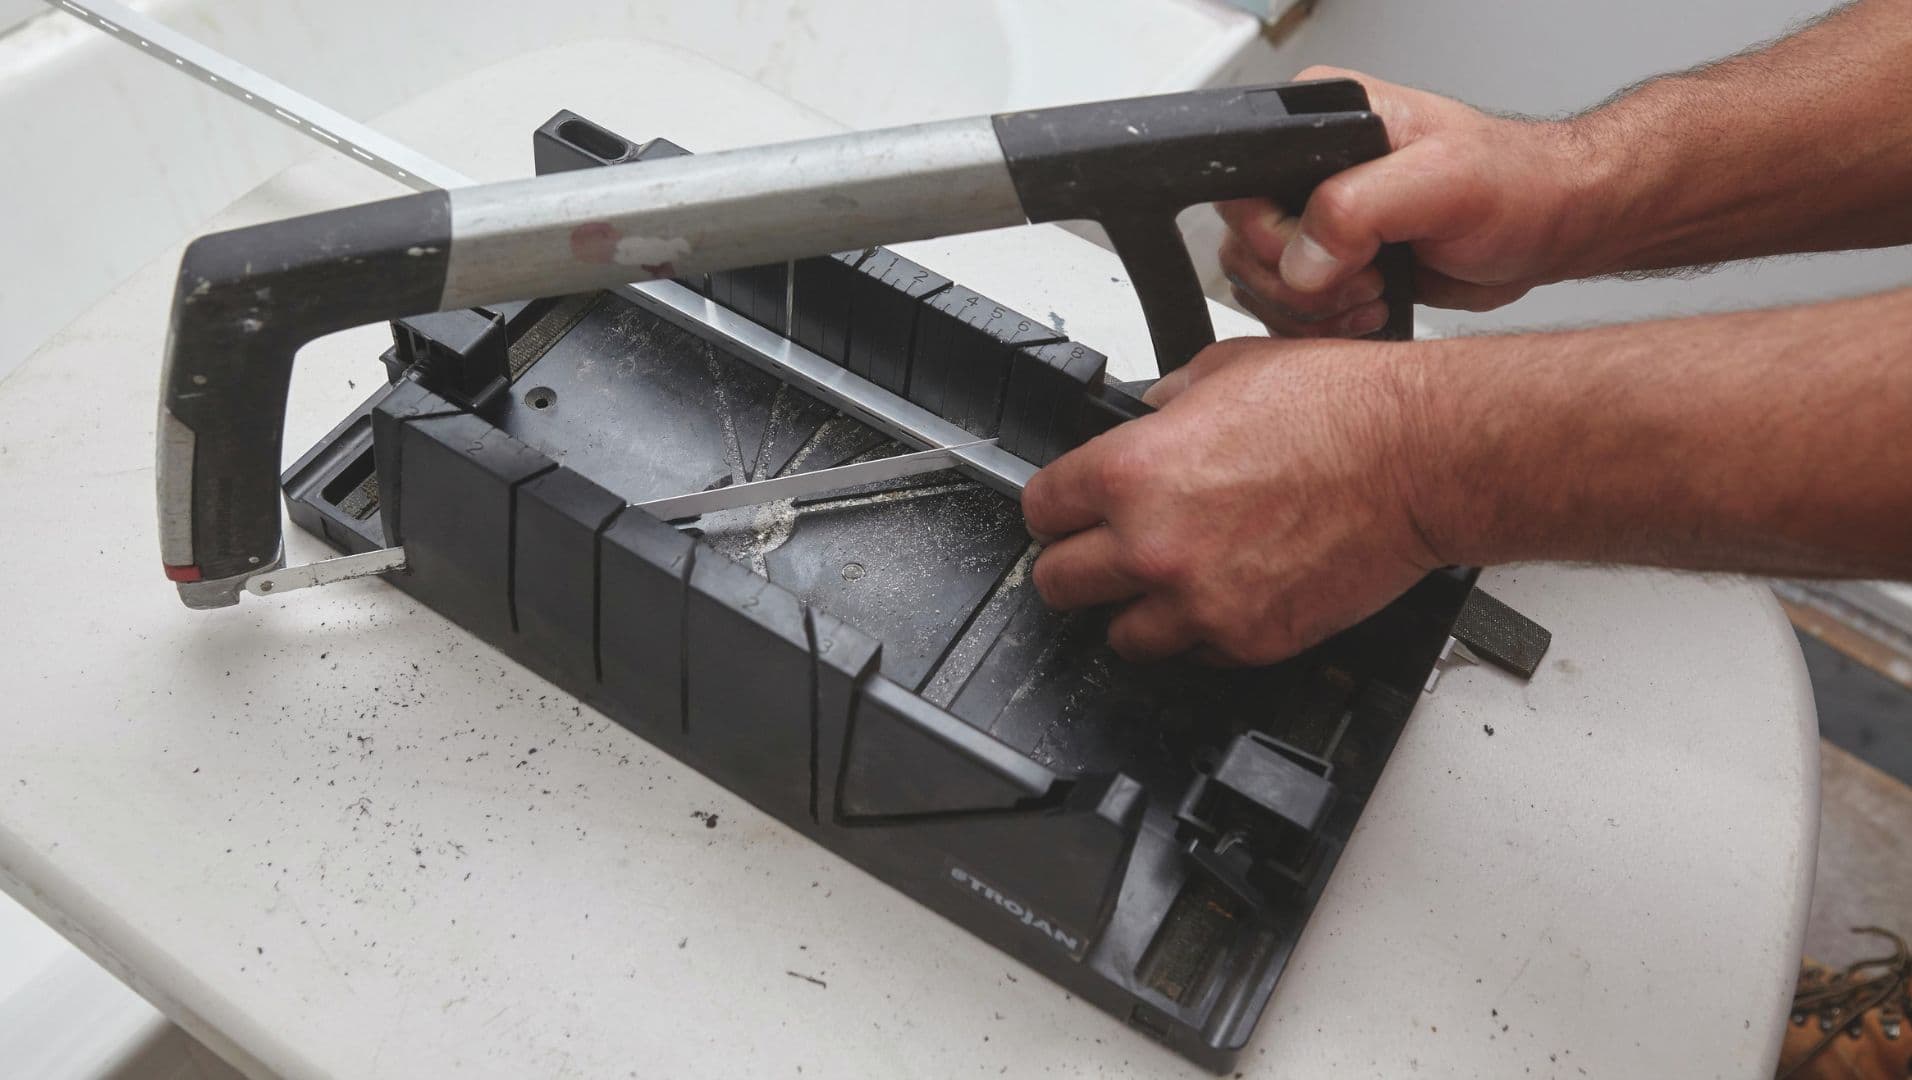
To effectively cut metal tile trim, essential tools include a miter saw with a metal-cutting blade, tin snips, and a file for smoothing edges.
The Versatility of a Miter Saw
A miter saw1 is a powerful tool that can make precise cuts on metal tile trim. For this task, it’s crucial to use a blade designed specifically for cutting metal. This will ensure cleaner cuts and extend the blade’s life. Adjusting the angle of the miter saw allows for accurate miter cuts, perfect for corners and edges in your tiling project. It’s recommended to practice a few cuts on scrap pieces before moving on to the actual trim to perfect your technique.
When to Use Tin Snips
Tin snips are an excellent choice for softer metal trims. They’re lightweight and easy to handle, making them ideal for quick, small cuts. Ensure you have a pair of snips suitable for cutting metal, as different snips are designed for different materials. Always opt for straight cuts with tin snips to maintain precision and avoid bending the metal.
Importance of a Metal File
After cutting, it’s common to have rough edges that need smoothing. A metal file is indispensable for this purpose. Running the file along the edges of the cut trim will remove burrs and sharp edges, providing a safer and more finished look. Remember to wear gloves during this process to protect your hands from sharp metal shards.
Additional Tools and Tips
While the above tools are essentials, having a workbench or table vice can stabilize your material and improve cutting accuracy. Safety goggles are crucial to protect your eyes from flying metal particles.
Here’s a quick reference table of tools:
| Tool | Use Case |
|---|---|
| Miter Saw | Precise miter cuts on hard metal trims |
| Tin Snips | Small, straight cuts on softer metals |
| Metal File | Smoothing edges post-cut |
| Workbench | Stabilizing material for cutting |
| Safety Goggles | Eye protection from metal particles |
A miter saw is essential for cutting metal tile trim.True
A miter saw with a metal-cutting blade ensures precise cuts.
Tin snips are unsuitable for cutting any metal tile trim.False
Tin snips are ideal for small, straight cuts on softer metals.
How Do You Measure Metal Tile Trim Accurately?
Accurate measurement of metal tile trim ensures a perfect fit and a polished finish.
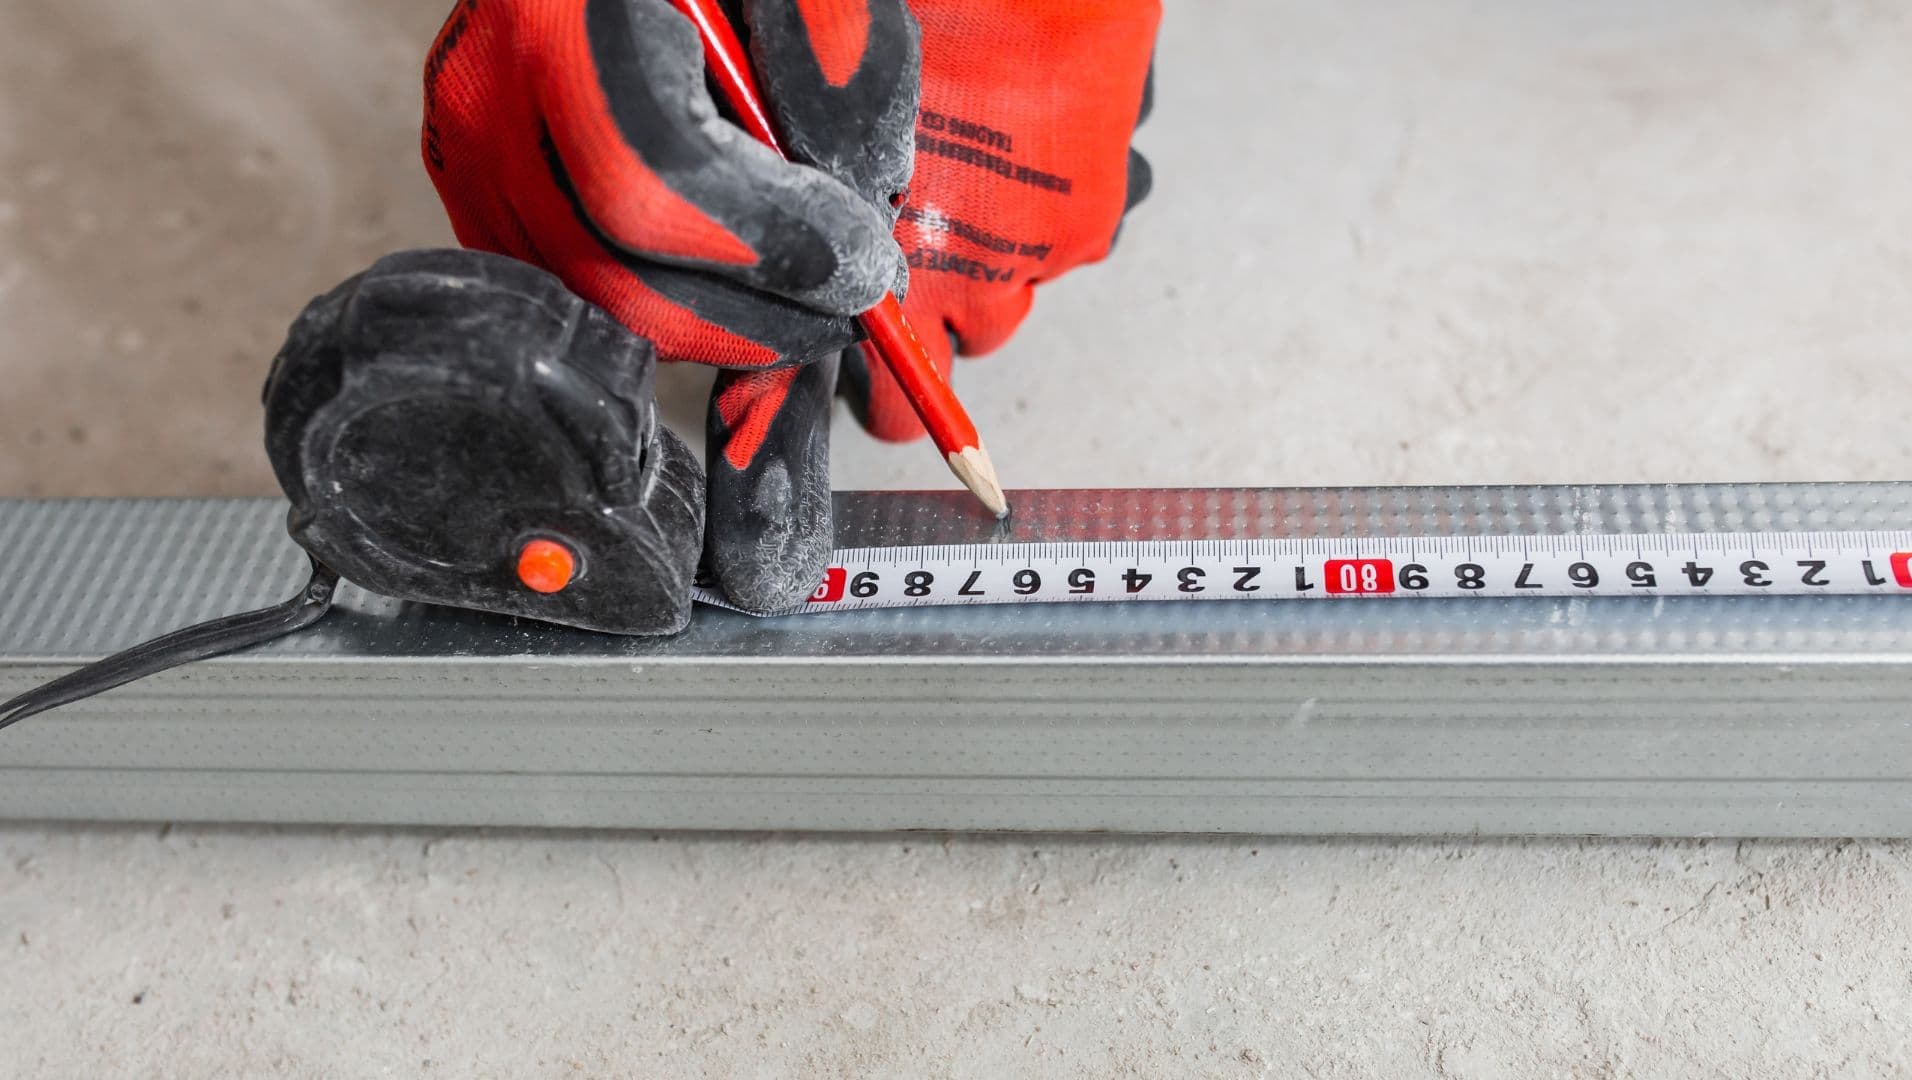
To measure metal tile trim accurately, use a tape measure or a ruler to obtain precise dimensions of the area. It’s crucial to account for the trim’s overlap on tiles and the exact cuts needed to fit around corners or edges.
Understanding the Basics of Measurement
Before you begin measuring, understand the layout of your tile installation2. Identify where the trims will be placed, such as edges, corners, or transitions between different materials. This will guide you in determining how much metal trim you need.
Essential Tools for Accurate Measurement
A few key tools can make measuring metal tile trim easier and more precise:
- Tape Measure: Ideal for longer distances and ensuring consistency across measurements.
- Ruler: Useful for shorter, more precise measurements, especially when dealing with intricate cuts.
- Protractor: Essential if you’re working with angles, particularly in corners or around features like archways.
Step-by-Step Measurement Process
-
Measure the Length: Begin by measuring the length of each edge where the trim will be applied. Record these measurements carefully.
-
Account for Overlaps: Trim typically overlaps with the edge of a tile. Ensure to add this extra distance to your total measurement for an accurate fit.
-
Consider Angles and Joints: If your project involves corners or joints, use a protractor to measure angles accurately. Mark these clearly on your trim to facilitate precise cutting later.
-
Double-Check Your Work: Re-measure all areas to confirm accuracy. This is particularly crucial in complex layouts.
Advanced Tips for Perfect Measurement
-
Create a Sketch: Draw a rough layout of your project area, marking each measurement directly on the sketch. This visual aid can help avoid confusion and ensure all measurements are accounted for.
-
Use Marking Tools: Mark each measurement directly onto the trim using a non-permanent marker. This helps keep track of where each piece will go once cut.
-
Test Fit: Before finalizing cuts, use cut pieces to test-fit in their respective positions. This practice can highlight any discrepancies before permanent installation occurs.
Accurate measurement is a foundational step that sets the stage for a successful installation of metal tile trim. By utilizing the right tools and techniques, you can achieve a professional-looking finish that enhances the overall aesthetic of your tiling project.
Tape measure is ideal for short measurements.False
Tape measures are ideal for longer distances, not short ones.
Protractors help measure angles accurately in tile projects.True
Protractors are essential for measuring angles, especially in corners.
What Are Common Mistakes to Avoid When Cutting Metal Tile Trim?
Avoiding common pitfalls is key to achieving a flawless finish when cutting metal tile trim.
Common mistakes when cutting metal tile trim include incorrect measurements, using the wrong tools, and rushing the process. Ensuring precise measurements, selecting appropriate tools, and maintaining a steady hand are crucial steps to avoid these errors.
Incorrect Measurements
One of the most frequent mistakes involves inaccurate measurements. This often results from a lack of attention to detail or failure to double-check dimensions. Before cutting, measure twice and mark your trim accurately to ensure it fits perfectly. Consider using a digital caliper3 for more precision.
Using the Wrong Tools
Choosing the wrong tool for cutting metal tile trim can lead to jagged edges or damaged trim. Always use tools designed specifically for cutting metal. For harder trims, a miter saw with a metal-cutting blade is recommended. Tin snips work well for softer materials. Avoid using standard wood saws or blades as they can dull quickly and ruin the trim.
Rushing the Process
Patience is essential when working with metal tile trim. Rushing can lead to uneven cuts or mishaps. Take your time to ensure each cut is clean and accurate. Practice on scrap pieces before making final cuts to build confidence.
Ignoring Safety Measures
Metal cutting can be hazardous if safety precautions are neglected. Always wear protective gear such as gloves and goggles. Be mindful of sharp edges and ensure your workspace is clear of any obstructions.
Inadequate Support During Cutting
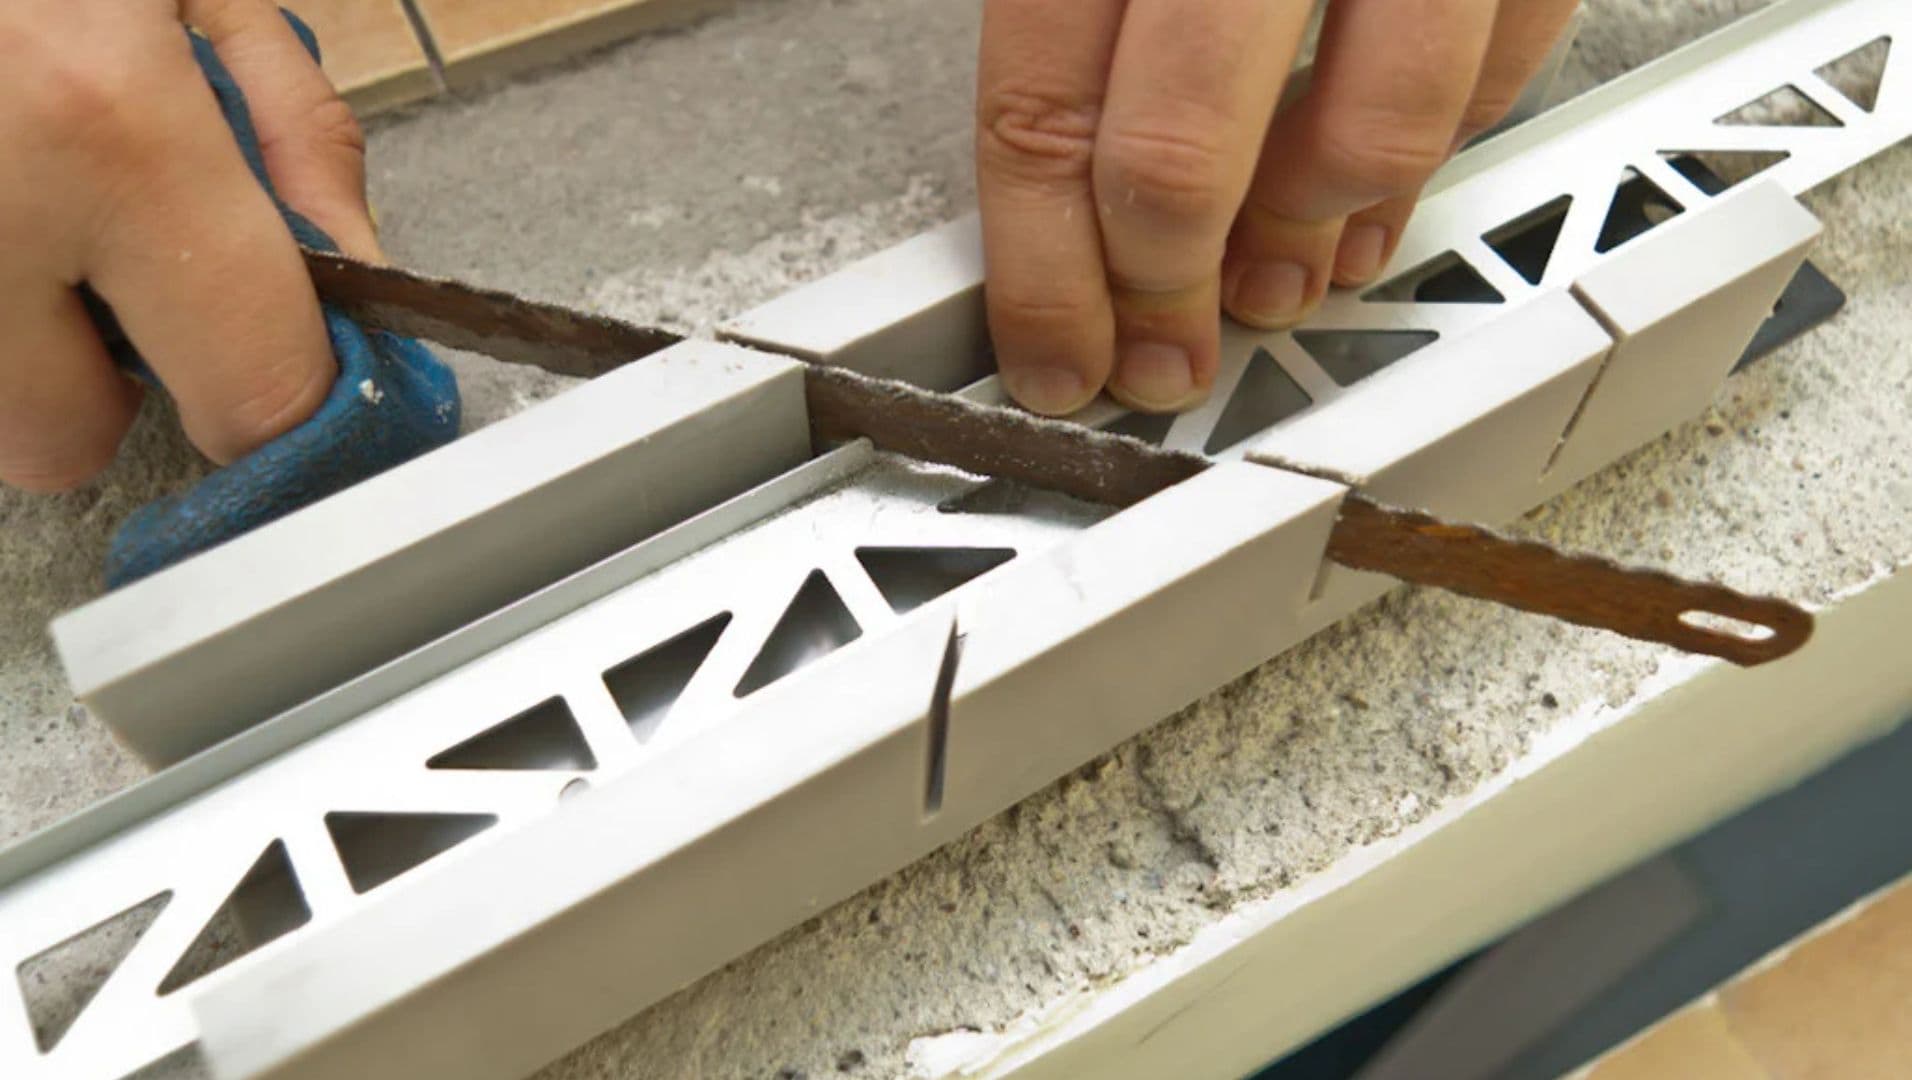
Without proper support, the metal trim can shift, resulting in imperfect cuts. Use clamps or a stable workbench to hold the trim securely in place during cutting. This will prevent movement and help achieve a straighter cut.
Each of these common mistakes can easily be avoided with the right preparation and tools. For more comprehensive guidance, consult expert tutorials or detailed guides on metalworking techniques.
Using a wood saw for metal trim is appropriate.False
Wood saws can dull quickly and ruin metal trim edges.
Double-checking measurements ensures perfect trim fit.True
Verifying dimensions prevents incorrect cuts and fitting issues.
Can You Use Power Tools for Cutting Metal Tile Trim?
Power tools can transform tedious tasks into efficient processes. But can they handle metal tile trim?
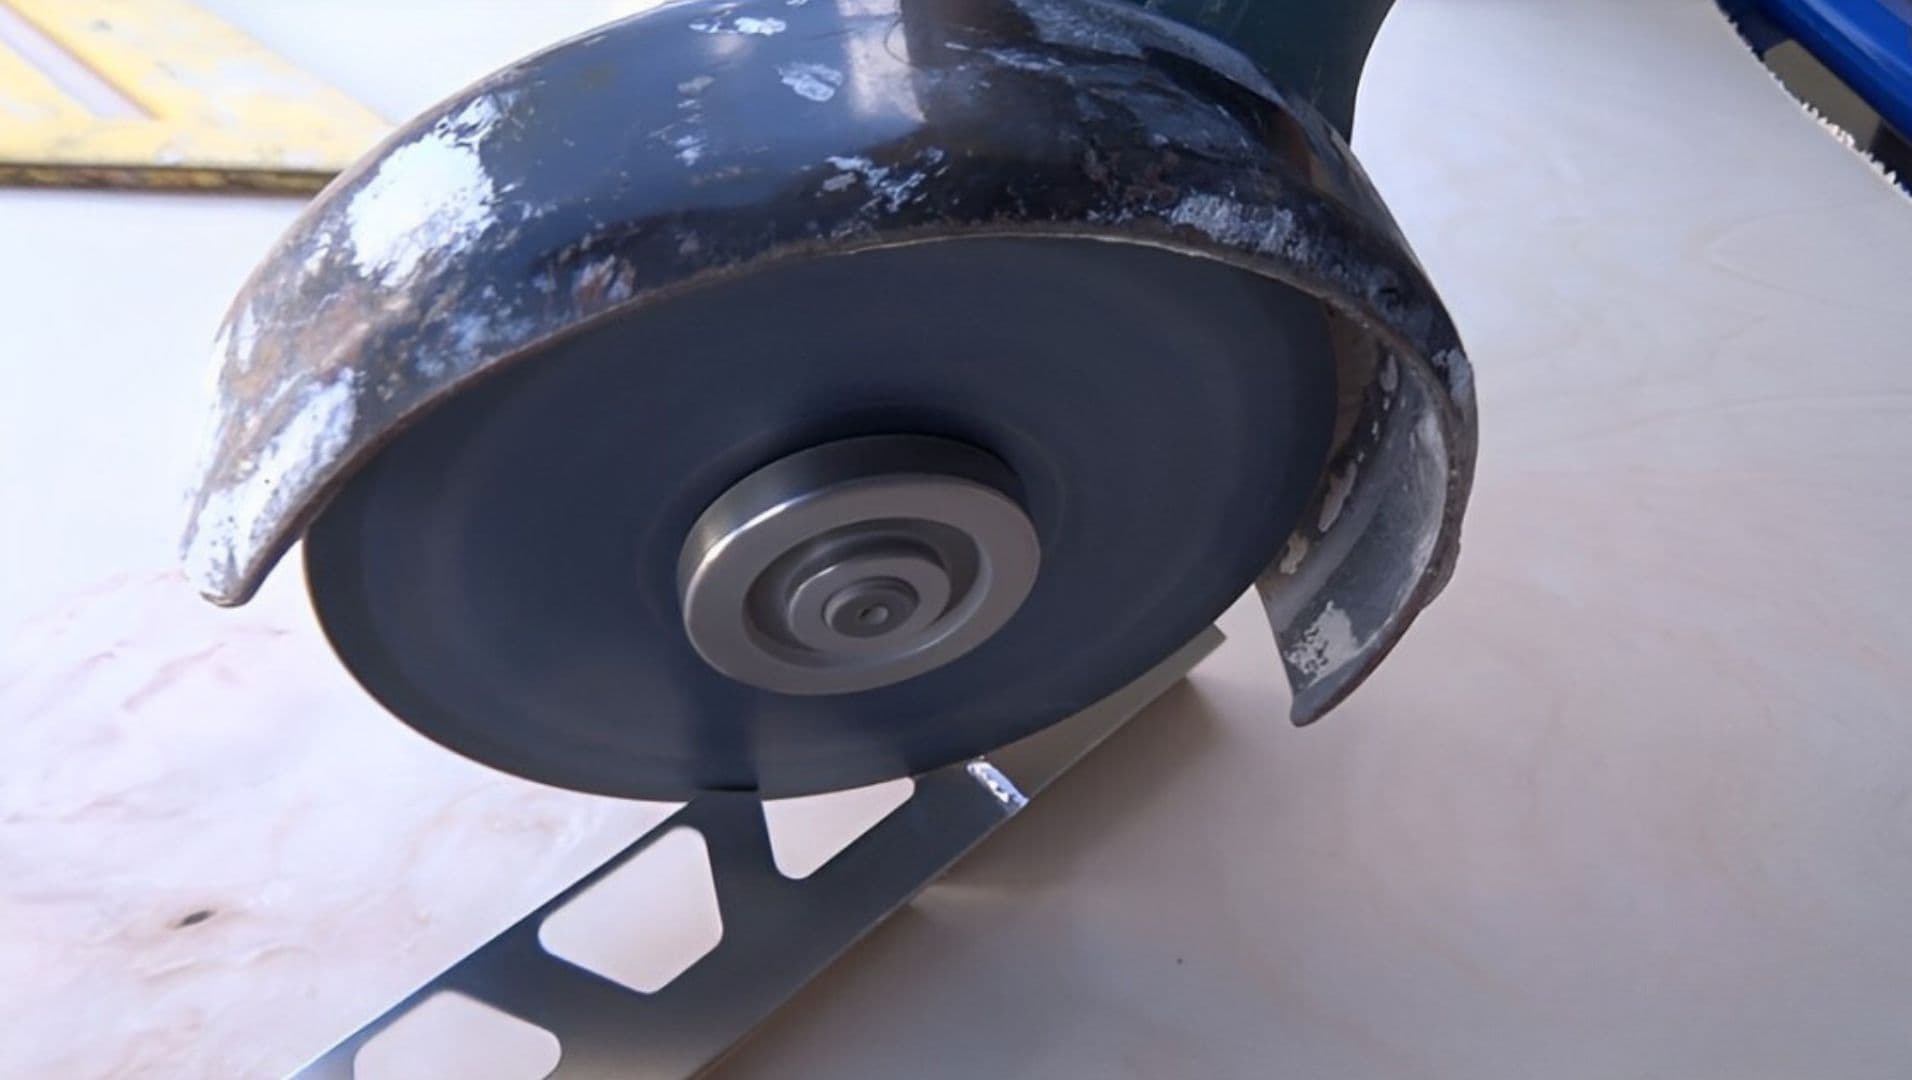
Yes, power tools like miter saws or angle grinders are effective for cutting metal tile trim. They provide precision and speed, but require proper safety measures and the right blade for optimal results.
Advantages of Using Power Tools
Power tools offer unparalleled precision and efficiency when working with metal tile trim4. A miter saw equipped with a metal-cutting blade can deliver accurate, clean cuts quickly, making it ideal for intricate trim work. Additionally, an angle grinder can be invaluable for more complex cuts or when working with thicker metal trims.
Essential Safety Precautions
When using power tools, safety cannot be overstated. Always wear protective eyewear and gloves to prevent injuries from metal shards. It’s crucial to secure the trim firmly to avoid slipping during cuts. Moreover, ensure your workspace is free from clutter and well-ventilated to manage dust and debris effectively.
Choosing the Right Blade
The success of your project heavily relies on selecting the appropriate blade. For a miter saw, a blade specifically designed for cutting metal will reduce wear and tear on both the tool and material. If using an angle grinder, a diamond blade or a cutoff wheel can provide smoother results on various metal surfaces.
Considerations for Tool Selection
Before diving into your project, evaluate the thickness and material of your tile trim. Thicker trims may require more robust tools like circular saws5 with metal-cutting blades, whereas softer or thinner trims might be efficiently handled by simpler power tools like multi-tools.
Potential Challenges
Despite their advantages, power tools can present challenges such as overheating or generating excessive noise. Investing in quality equipment can mitigate these issues. Always check manufacturer guidelines to ensure compatibility with your specific tool model, as improper use may lead to unsatisfactory results or equipment damage.
Miter saws can cut metal tile trim.True
Miter saws with metal-cutting blades provide precise and clean cuts.
Power tools eliminate the need for safety gear.False
Safety gear is essential to protect against metal shards and debris.
Conclusion
Mastering these techniques will elevate your tile projects, ensuring precision and a polished finish. Embrace the process and enjoy creating!
-
Learn safe and effective miter saw techniques for metal.: While most specialized metal cutting saws spin at a lower RPM, they do make metal cutting blades that are rated to spin at ~5000RPM for wood cutting miter saws. ↩
-
Provides guidance on planning a tile layout to ensure accuracy.: First, establish a series of layout lines to serve as a placement guide by finding the midpoint of each wall and drawing a line across to the opposing wall. ↩
-
Discover precision tools that enhance accuracy in measurement tasks.: The pros of digital calipers are quite evident. They’re incredibly easy to read, offer several features not included in other types, have a built-in … ↩
-
Discover top-rated power tools that enhance precision and efficiency.: I would use my 7.25" wet-saw, with diamond blade. Make sure that the material is secured, and adjusted properly to get the angle desired. ED. ↩
-
Learn about circular saws that excel at handling thicker metal trims.: We carry various Circular Saws to fit your project’s needs with features like Depth Adjustment, Keyed Blade Change, Laser Guide, Spindle Lock and Blade Guard … ↩






