
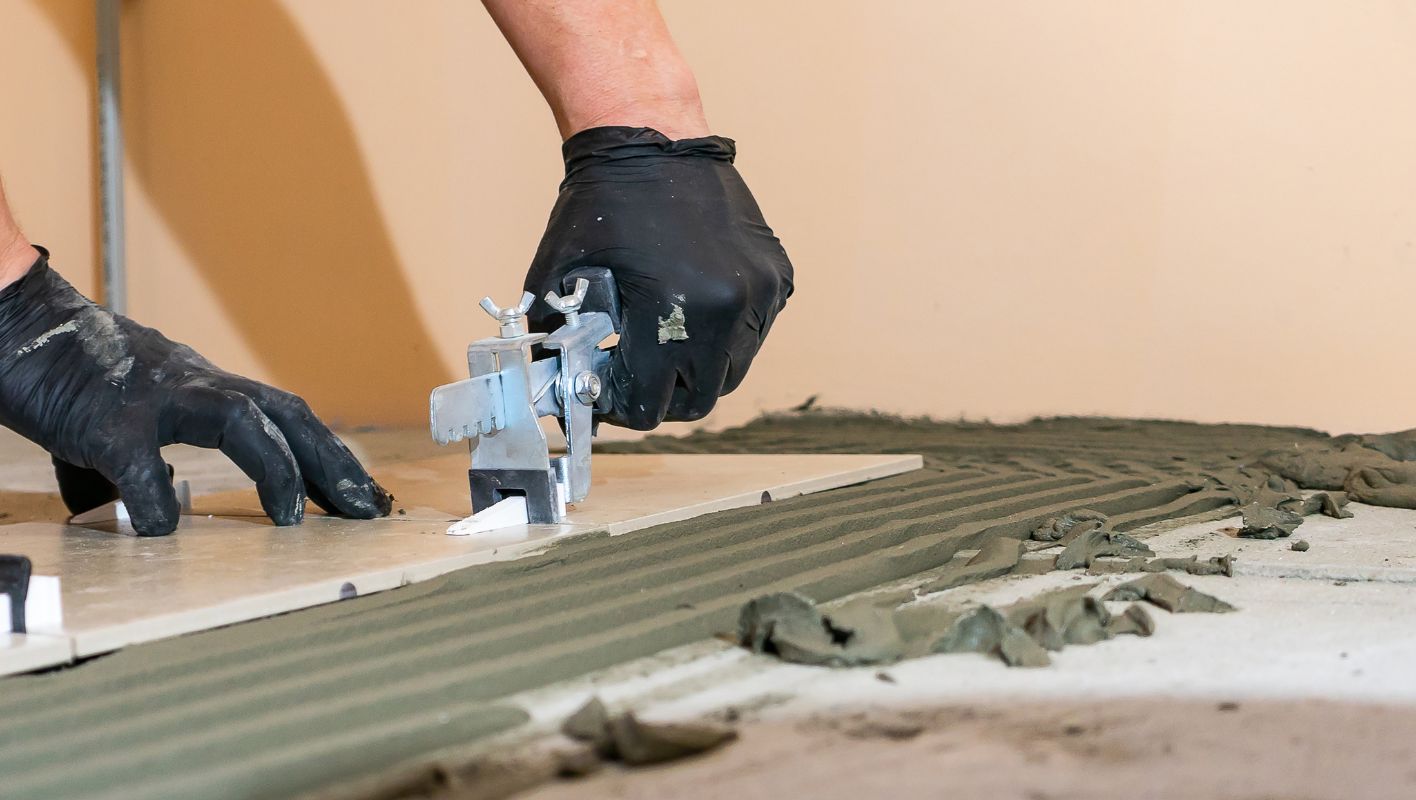
Ever felt like your tiles have a mind of their own? A tile leveling system can be your secret weapon for flawless installation.
Tile leveling systems are ingenious tools that help achieve a perfectly flat tile surface by eliminating lippage and maintaining consistent spacing. To use them, simply slide the clips under the tiles, insert the wedges or caps through the clips, and tighten until the tiles are level.
It might sound straightforward, but there’s more to it than meets the eye. Over time, I’ve picked up some tricks that transform a good tile job into a great one. For instance, picking the right system for your specific project is crucial. I’ve learned that not all tiles are created equal—some might need a bit more finesse. And then there’s the art of troubleshooting—because let’s face it, things rarely go exactly as planned. In my experience, it’s these nuances that make all the difference. Dive into our comprehensive guide where I share these insights and more to help you perfect your tiling skills.
Tile leveling systems eliminate tile lippage.True
Tile leveling systems help maintain a flat surface by preventing lippage.
Wedges are placed under tiles in leveling systems.False
Wedges are inserted through clips, not placed under tiles, in leveling systems.
How Do Tile Leveling Systems Work and Why Should You Use Them?
Ever started a tile project and found yourself wishing for a magic wand to make the tiles lay perfectly flat? Well, I might have just the trick up my sleeve.
Tile leveling systems are a game-changer in tile installation. They minimize lippage—the uneven heights between tiles—by using clips and wedges or caps to keep tiles level during installation, making the process smoother and the results more professional.
Understanding the Components of Tile Leveling Systems
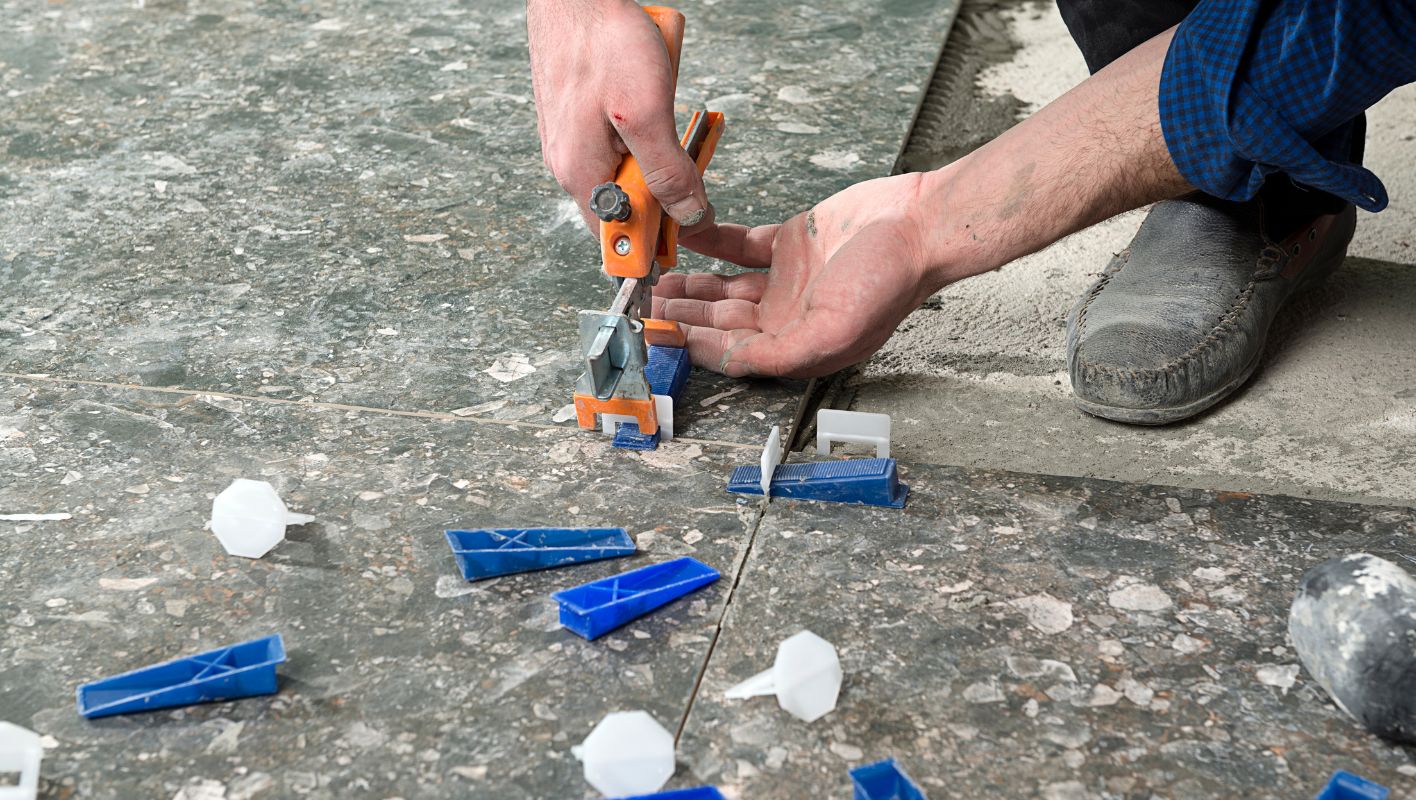
I remember the first time I used a tile leveling system. It was like discovering a secret weapon. These systems mainly include clips and wedges (or caps), which are simple yet genius.
| Component | Description |
|---|---|
| Clips | Go under the edges of each tile before the next one is laid, keeping tiles level |
| Wedges | Inserted into clips to adjust tile height, aligning tiles |
| Caps | Alternative to wedges, often reusable |
Benefits of Using Tile Leveling Systems
The biggest win? You kiss lippage issues1 goodbye! A smooth, polished surface isn’t just eye candy; it speeds up your work, saving both time and frustration.
How to Use Tile Leveling Systems Effectively
Using these systems correctly really ups your tiling game. Here’s how I do it:
- Prepare Surface: Start with a clean, even base. This sets you up for success.
- Lay First Tile: Position your first tile and place those trusty clips at its edges.
- Install Next Tile: Lay down the next tile and repeat with clips.
- Insert Wedges/Caps: Tighten everything up using a leveling tool.
- Remove System: Once the adhesive sets, snap off those clips.
Each step is crucial for improving installation outcomes2. But remember, not every tile needs this system, especially if they don’t vary much in thickness.
Choosing the Right Tile Leveling System
When picking a system, think about the tile’s thickness and material. Some systems work better with larger tiles or materials like stone or porcelain. It’s all about finding what fits best for your project. Look into various options3 and consider factors like price, ease of removal, and compatibility with different tile sizes. After all, the right choice makes all the difference.
Which Tile Leveling System Is Best for Your Project?
Imagine standing back to admire your new tiled floor, every piece perfectly aligned. Choosing the right leveling system is key.
The best tile leveling system for your project hinges on tile size, material, and your skill level. Options include wedge, clip-and-wedge, and screw-based systems, each with distinct benefits.
Understanding Different Tile Leveling Systems
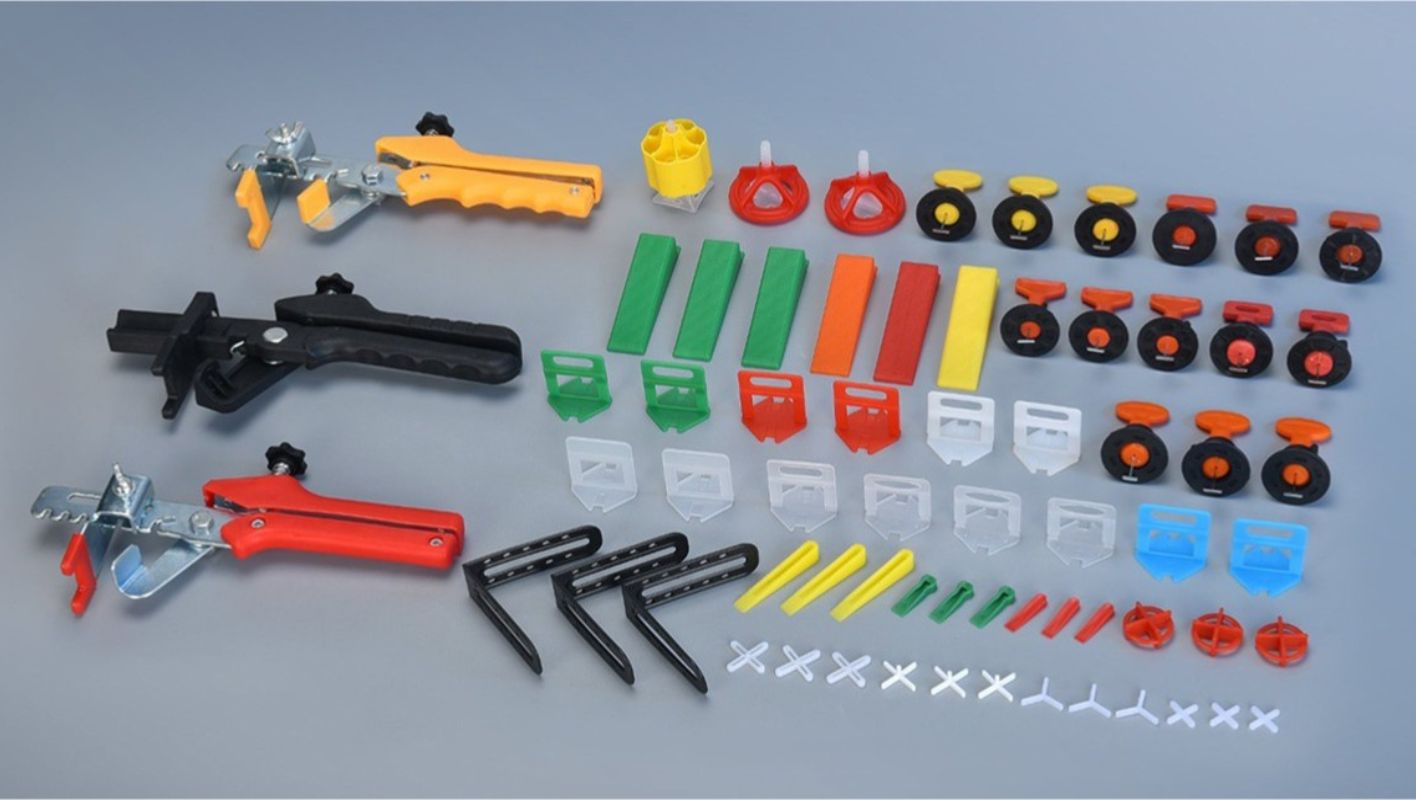
Let’s talk about the magic behind smooth, professional-looking tiles: leveling systems. These little wonders ensure that each tile sits flush with its neighbor, eliminating those unsightly bumps and uneven edges. With different systems catering to various needs and experience levels, choosing the right one can feel like a puzzle.
Wedge Systems
When I first started tiling, I found wedge systems to be a lifesaver. They’re straightforward and budget-friendly, using wedges and clips to keep everything in line. Ideal for smaller projects or if you’re just dipping your toes into the world of DIY tiling, these are perfect for beginners. But watch out if you’re working with larger tiles; they might struggle under the pressure.
| Pros | Cons |
|---|---|
| Cost-effective | Limited pressure |
| Easy to use | Reusable wedges |
Clip-and-Wedge Systems
Now, if you’re looking for something a bit more robust, clip-and-wedge systems might be your go-to. I remember using these when tackling my kitchen backsplash, and they offered the stability I needed. They work by snugly fitting a clip under the tiles and tightening a wedge on top. Great for medium-sized tiles, these are trusted by both DIYers and pros alike.
| Pros | Cons |
|---|---|
| Enhanced stability | Higher cost than wedges |
| Suitable for medium tiles | Not ideal for large-format |
Screw-Based Systems
For those big projects or when precision is non-negotiable, screw-based systems are unbeatable. My first experience with these was during a large patio project, and the precision was unmatched. Though they require more setup time and expertise, the payoff is in their ability to handle large tiles and natural stone with ease.
| Pros | Cons |
|---|---|
| High precision | Time-consuming setup |
| Excellent for large tiles | Requires more expertise |
Choosing the Right System for Your Project
When deciding which system to use, consider your project’s specific needs—think about the tile size and complexity of the job. For smaller DIY tasks, a wedge system4 might suffice. But if you’re dealing with something more ambitious, like a large-format tile installation, investing in a clip-and-wedge5 or screw-based6 system can make all the difference.
Don’t forget your budget! While more advanced systems come with a higher price tag, they often deliver superior results. It’s also worth checking if your supplier offers training materials or demos—these can be incredibly helpful in maximizing efficiency and precision.
Final Considerations
Beyond just picking the right leveling system, make sure your tools complement it effectively. Look for suppliers who offer comprehensive tool ranges7 with solid warranties. Opting for ergonomic designs8 and eco-friendly packaging9 keeps you ahead of the curve in quality and sustainability.
Wedge systems are ideal for large tiles.False
Wedge systems may not suit larger tiles due to pressure inconsistencies.
Screw-based systems require more expertise.True
Screw-based systems are complex, needing professional skill for setup.
How do you use tile leveling systems on uneven floors?
Ever tried laying tiles on an uneven floor and found yourself staring at a wobbly mess? Fear not! Let’s explore how tile leveling systems can transform your tricky floors into stunningly smooth surfaces.
To effectively use tile leveling systems on uneven floors, start by pinpointing high and low areas, then apply a self-leveling compound. Use spacers and wedges during tile installation, adjusting for a perfect finish.

Understanding the Challenge of Uneven Floors
Before diving into the leveling system, it’s crucial to grasp why uneven floors pose a challenge. Irregularities can cause lippage, where tile edges are misaligned, creating tripping hazards and an unprofessional look.
Preparing the Floor Surface
Armed with determination (and a spirit level), I set out to conquer those uneven spots. First, I marked the highs and lows on the floor. Then, with the help of a trusty self-leveling compound, I smoothed out the major bumps. If you’re new to this, understanding self-leveling compounds10 is crucial—they’re like magic in a bucket!
| Step | Action | Tools Needed |
|---|---|---|
| 1 | Identify uneven areas | Spirit level |
| 2 | Apply self-leveling compound | Trowel, Mixing bucket |
| 3 | Allow compound to cure | Patience |
Using the Tile Leveling System
Once the surface felt more like a flat canvas, it was time for the real fun. I laid the first tile down, carefully placing spacers at each corner. With every subsequent tile, I slipped wedges into those spacers, gently nudging them flush with their neighbors.
Tips for Effective Use:
- Consistent pressure while tightening wedges is key—think of it as coaxing rather than forcing.
- A quick check with a laser tool11 can keep everything level.
- Starting from the center and working outward helps maintain alignment.
Common Mistakes to Avoid
In my eagerness, I once rushed the curing time of the leveling compound—not my finest moment. It’s crucial to let it fully set to avoid later headaches. Also, double-check that all spacers are correctly aligned before finalizing tiles; missteps here can lead to serious issues later12.
By following these guidelines and using wedges and spacers effectively, you can achieve that elusive level tile finish on uneven surfaces. If you’re craving more tips or need additional guidance, feel free to explore effective tiling techniques13.
Uneven floors cause tile lippage.True
Irregularities in floors lead to misaligned tile edges, known as lippage.
Self-leveling compound is applied after tiles are laid.False
The compound is used before tiling to even out the floor surface.
Can Tile Leveling Systems Be Used for Wall Installations?
Picture this: you’ve just finished a tile job on your kitchen floor, and you’re gazing at your flawless handiwork. But then, you look up at the walls and think, can tile leveling systems work their magic up there too?
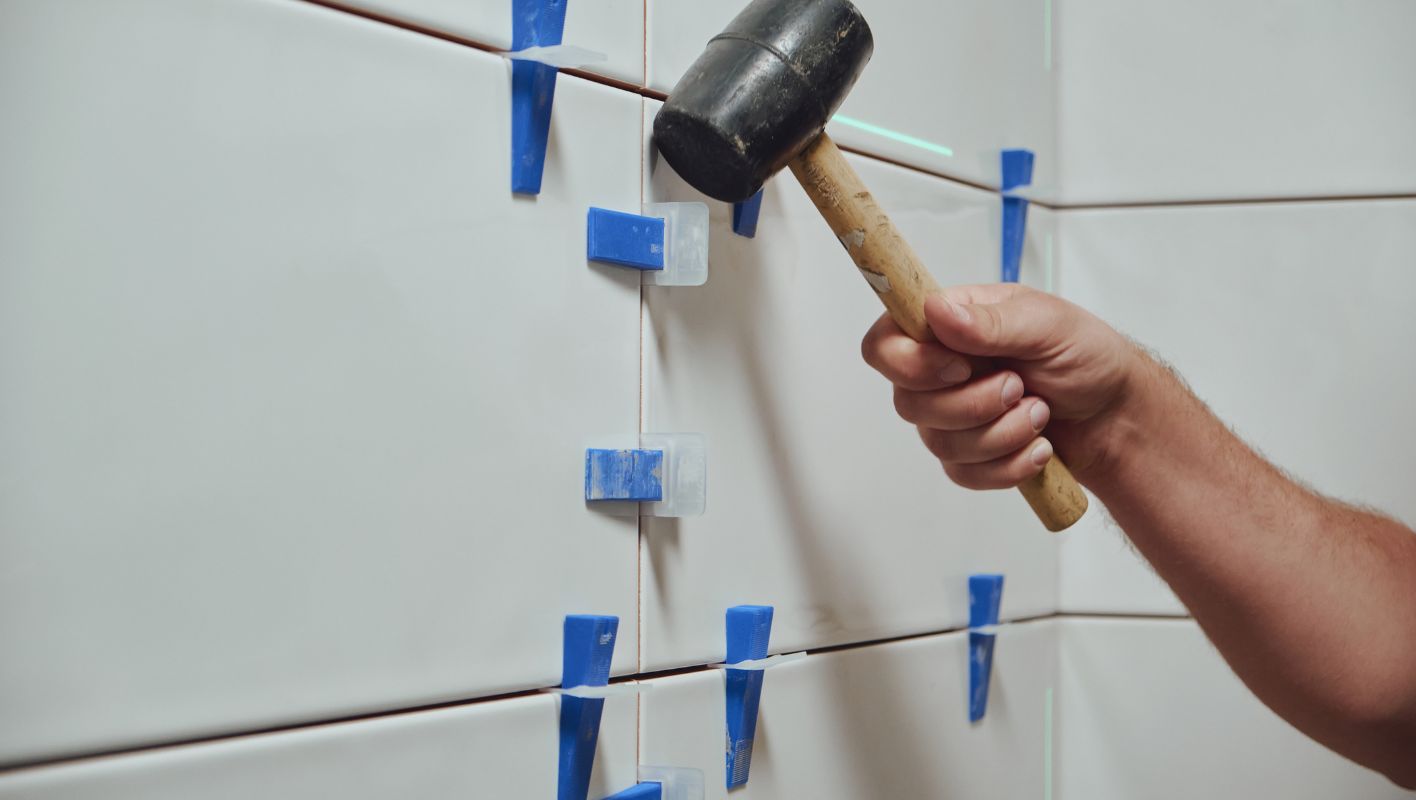
Absolutely, tile leveling systems are not just for floors; they’re perfect for wall installations too. They prevent lippage and ensure a seamless, professional finish by keeping tiles level as the adhesive sets.
Understanding Tile Leveling Systems
Let me take you back to my early days in tile tool crafting. I remember the first time I saw a tile leveling system in action. It was like watching a magic trick unfold—clips and wedges working together to keep everything perfectly aligned. Back then, it was mostly floors we were focused on, but soon, I began to see the potential these systems had for walls too. They work by applying even pressure across tiles, keeping them level as the adhesive cures, which is crucial to prevent that annoying lippage.
Benefits for Wall Installations
I recall a time when I decided to tackle a bathroom renovation by myself. I was skeptical about using a leveling system on the walls, but I gave it a try. The result? A perfectly aligned and polished finish that even impressed my family! Especially with larger tiles, which can be tricky to align perfectly, these systems really make a difference.
Techniques for Wall Application
- Preparation: First things first, make sure your wall is as smooth as a baby’s cheek. I often use a laser level14 to double-check.
- Installation: Start from the ground up—just like building a good story. Those clips and wedges will be your best friends.
- Adhesive: I can’t stress enough how important quality adhesive is for vertical surfaces. Spread it evenly to avoid any nasty surprises.
- Curing: Patience pays off here. Let the adhesive do its job before removing the clips and wedges.
Considerations and Limitations
While these systems are fantastic, it’s always wise to consider the specifics of your project. Intricate tile designs might not mesh well with the clips, and tiny tiles can be fiddly. Ensuring you use proper installation techniques15 is also key.
| Factor | Floor Installations | Wall Installations |
|---|---|---|
| Tile Size | Large, Medium | Small, Medium, Large |
| Adhesive | Floor-specific | Wall-specific |
| Tools | Floor trowels | Wall trowels |
Whether you’re a professional contractor16 or just dipping your toes into DIY projects like I often do on weekends, understanding tile leveling systems can truly elevate the quality of your work. So next time you find yourself staring at a blank wall wondering about your next tiling project, remember these tips and get ready to transform that space!
Tile leveling systems prevent lippage on walls.True
They ensure tiles are even during adhesive curing, minimizing lippage.
Tile leveling systems are unsuitable for small tiles.True
Very small or intricate tile designs might not be compatible.
Conclusion
Tile leveling systems ensure a flawless tile installation by preventing lippage and maintaining even spacing. This guide covers their components, benefits, and effective usage for both floors and walls.
-
Explore how tile leveling systems effectively reduce lippage, ensuring a seamless finish that enhances both functionality and aesthetics. ↩
-
Learn best practices for using tile leveling systems to achieve professional results and avoid common pitfalls. ↩
-
Find recommendations for tile leveling systems specifically designed for large tiles, helping ensure even installations. ↩
-
Discover top-rated wedge systems to enhance tile installation efficiency and precision. ↩
-
Learn why clip-and-wedge systems are favored for medium-sized tiles and professional finishes. ↩
-
Explore the high precision benefits of screw-based systems for large tile projects. ↩
-
Find suppliers offering extensive tool selections with reliable warranties. ↩
-
Understand how ergonomic tools improve comfort and efficiency during tile installation. ↩
-
Explore sustainable packaging solutions aligning with modern industry standards. ↩
-
Learn how self-leveling compounds create an even base for tiling on irregular surfaces. ↩
-
Explore top-rated laser levels that enhance precision in tiling projects. ↩
-
Discover potential problems caused by not properly aligning tiles. ↩
-
Uncover expert tips for achieving professional tile finishes in DIY tasks. ↩
-
A laser level ensures even surface preparation for tile installation, enhancing precision and preventing misalignment. ↩
-
Proper techniques ensure effective use of tile leveling systems, resulting in a professional finish. ↩
-
Learn how professionals benefit from tile leveling systems to achieve flawless installations. ↩






