
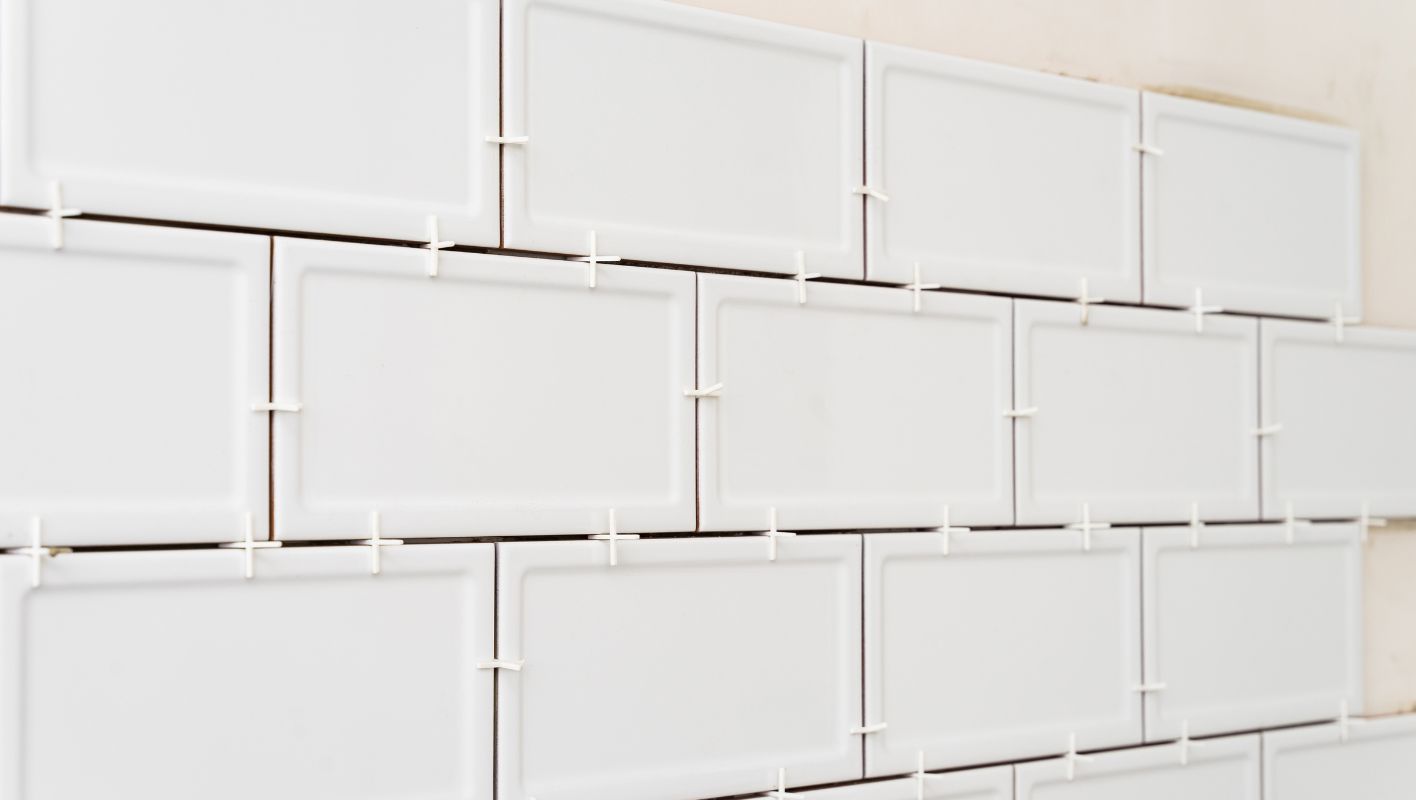
I remember the first time I tackled a room with those massive 2’x4′ tiles, and boy, did I learn a few tricks!
To lay down 2’x4′ tiles smarter, begin by meticulously planning your layout, ensure the surface is level, apply thinset evenly, and use a tile leveling system for alignment. Mastering spacing and cutting techniques will also help you achieve a professional finish.
I still recall standing in the middle of my kitchen, surrounded by stacks of tiles that looked more like surfboards. Handling larger tiles comes with its own set of challenges, but with a few smart strategies, it’s totally manageable. I’ll guide you through what I’ve learned—about layout planning, the right tools, and those little tricks that make all the difference. Whether you’re transforming your own space or working on a larger project, these insights will help make your tiling job smoother and more efficient. Let’s dive into the art of mastering these giant tiles together.
Using a tile leveling system ensures perfect alignment.True
Tile leveling systems help maintain even surfaces and precise alignment.
Thinset should be applied unevenly for better adhesion.False
Thinset must be applied evenly to ensure proper tile adhesion.
What Are the Best Tools for Installing Large Tiles?
Tackling a tiling project with large tiles can feel daunting without the right tools. Let me walk you through the essentials that make the job smoother and more precise.
The best tools for installing large tiles include a tile cutter, leveling system, notched trowel, rubber mallet, and tile spacers. These tools ensure precise cuts, even surfaces, and proper spacing.
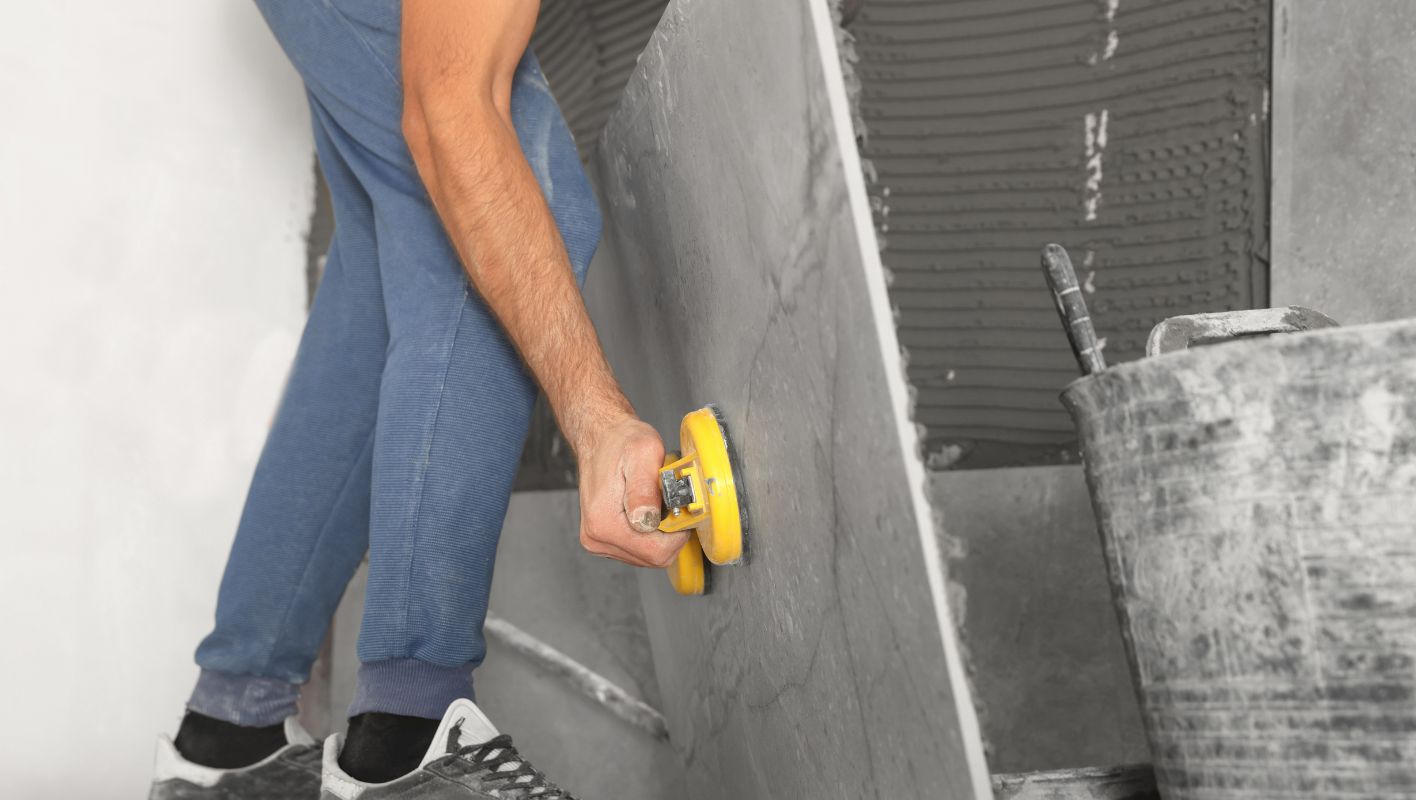
Essential Tile Cutting Tools
You know, there’s something oddly satisfying about cutting tiles perfectly. My first experience with a tile cutter felt like a rite of passage. A good tile cutter1 is indispensable, especially when you’re dealing with large tiles. I remember using a wet saw for the first time—it was like slicing through butter, and it saved me from so many headaches with chipped edges.
| Tool Name | Key Features | Price Range |
|---|---|---|
| Tile Cutter | Manual or Electric, Portable | $50 – $300 |
| Wet Saw | Water Cooling, High Precision | $200 – $800 |
Leveling Systems for Large Tiles
Once, I was working on a kitchen floor and skipped the leveling system—big mistake! The floor was more uneven than I imagined, and I ended up redoing it. Lesson learned: these leveling systems2 are game-changers for preventing lippage and keeping your work as smooth as a sheet of glass.
Notched Trowels and Rubber Mallets
Spreading adhesive isn’t just slapping paste on tiles; it’s an art form. I remember my first time using a notched trowel3, figuring out how the notch size really affected adhesive spread. Pair it with a rubber mallet—I still hear the soft thud of gently tapping tiles into place in my dreams.
Tile Spacers and Grout Tools
Tile spacing is another critical step. I once overlooked this on a small bathroom project, and the uneven grout lines haunted me every time I showered. Tile spacers4 ensure those perfect, uniform gaps.
Grouting? Oh, it’s messy but so rewarding once it’s all cleaned up. Grout floats and sponges become your best friends in this stage.
Innovative Tools to Explore
In my quest to streamline installations, I’ve stumbled upon some neat innovations. Laser levels have practically eliminated guesswork in alignment, and battery-powered mixers? They save my arms from the dreaded "tiler’s fatigue" when preparing adhesive.
Trying out these modern tools not only ups your efficiency but also keeps you at the cutting edge of tiling technology. Who knew laying tiles could be so futuristic?
A wet saw reduces chipping on thick tiles.True
Wet saws use water to cool the blade, minimizing tile chipping.
Rubber mallets damage tiles during installation.False
Rubber mallets gently tap tiles into place without causing damage.
How Can You Achieve Perfect Tile Alignment and Spacing?
Ever found yourself staring at a freshly tiled floor, noticing that one pesky crooked tile? It’s a nightmare, right?
To ensure perfect tile alignment and spacing, plan your layout meticulously, use tile spacers, and employ a level throughout the installation. This approach guarantees a polished, professional finish.
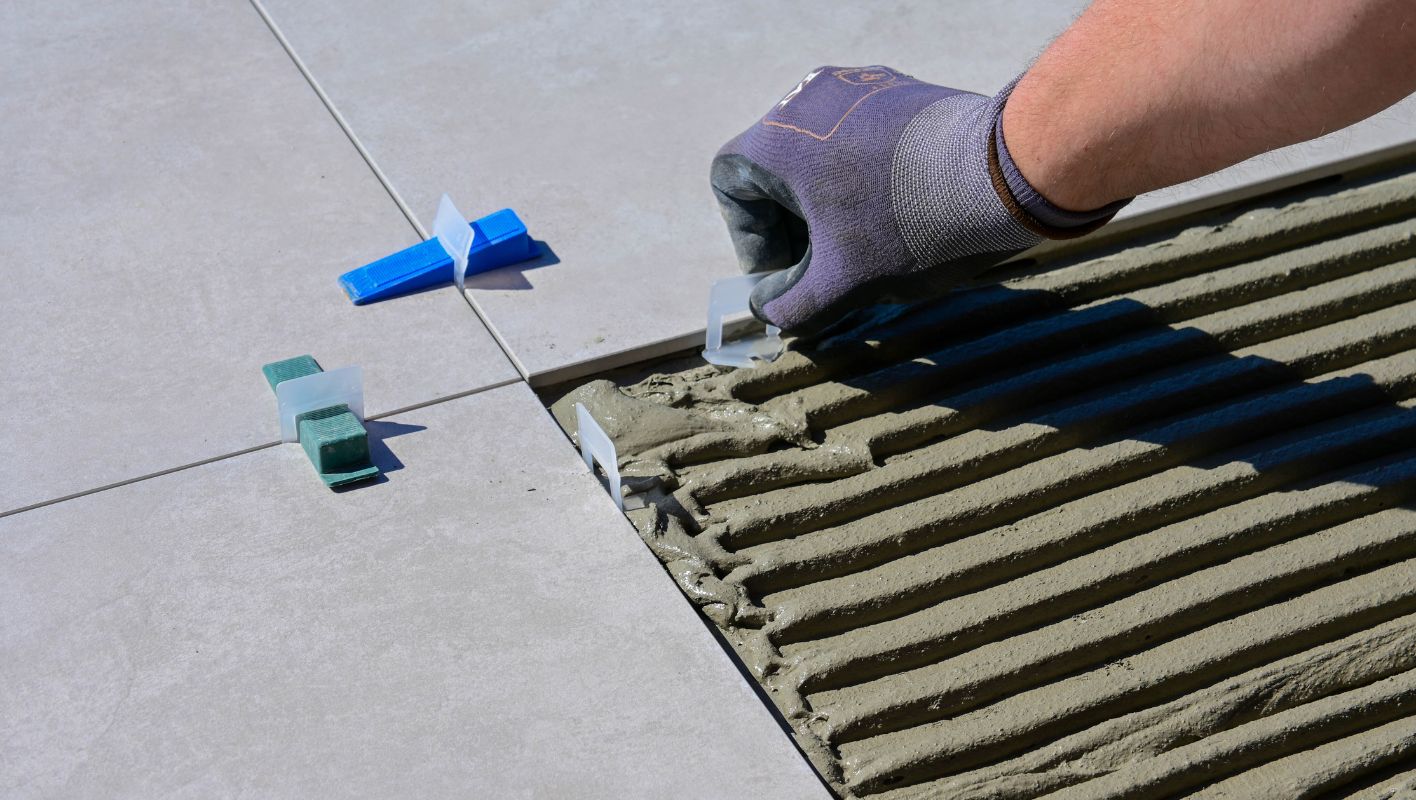
Understanding the Basics of Tile Layout
Let me take you back to when I first attempted to tile my kitchen. The excitement quickly turned into frustration as I realized my tiles were a jumbled mess. That’s when I learned the power of a detailed layout plan. Start by measuring your area; it’s like creating a blueprint for success. This not only helps in minimizing those awkward tile cuts but ensures everything looks symmetrical and sleek.
Creating a chalk line was my saving grace during this fiasco. Think of it as your guiding star, keeping everything in line and ensuring every tile has its place. Trust me, it’s a small step that makes a huge difference. Refer to tile placement guide5 for more details.
Tools for Precision: Tile Spacers and Levels
The first time I discovered tile spacers, I felt like I’d unlocked a secret weapon in the battle for perfect tiling. These little tools are essential for maintaining uniform grout lines, which is crucial for that seamless look we all crave. They come in different sizes—pick according to your desired grout width.
A spirit level should be your constant companion. It’s not just about horizontal perfection; check vertically too! Keeping everything even and aligned will save you from future headaches.
Step-by-Step Guide to Tile Installation
-
Surface Preparation: Ever tried sticking something to a dusty surface? Exactly. Make sure it’s clean, dry, and free of imperfections.
-
Mixing Adhesive: Follow those instructions religiously. You want smooth, lump-free adhesive—a consistency that holds but doesn’t overwhelm.
-
Applying Adhesive: Using a notched trowel, spread the adhesive evenly across small sections at a time. Press each tile firmly into place.
-
Aligning Tiles: Start at the center of the room using chalk lines as your guide. Spacers at each corner are non-negotiable.
-
Checking Alignment: Keep that spirit level handy. Check and adjust as you go along.
-
Final Adjustments: Let the adhesive set slightly before removing spacers. This is your last chance to make any necessary tweaks.
Troubleshooting Common Tiling Issues
Despite our best efforts, things can go awry—like lippage or uneven spacing. It happens! Address these hiccups by using leveling systems or adjusting tiles immediately after setting them.
Refer to troubleshooting guides6 for specific solutions to common problems encountered during tile installation.
Tile spacers ensure uniform grout lines.True
Tile spacers are used to maintain consistent spacing between tiles.
Chalk lines are unnecessary for tile alignment.False
Chalk lines provide a reference point, aiding in consistent alignment.
What Common Mistakes Should Be Avoided When Laying Large Tiles?
Laying large tiles can be transformative for a space, but it’s important to steer clear of mistakes that could lead to unsightly errors or expensive fixes. Let’s dive into the common pitfalls and how to sidestep them.
To avoid mistakes when laying large tiles, start with thorough surface preparation, select the right adhesive, maintain even spacing, and check tile flatness. These steps ensure a smooth and lasting installation.
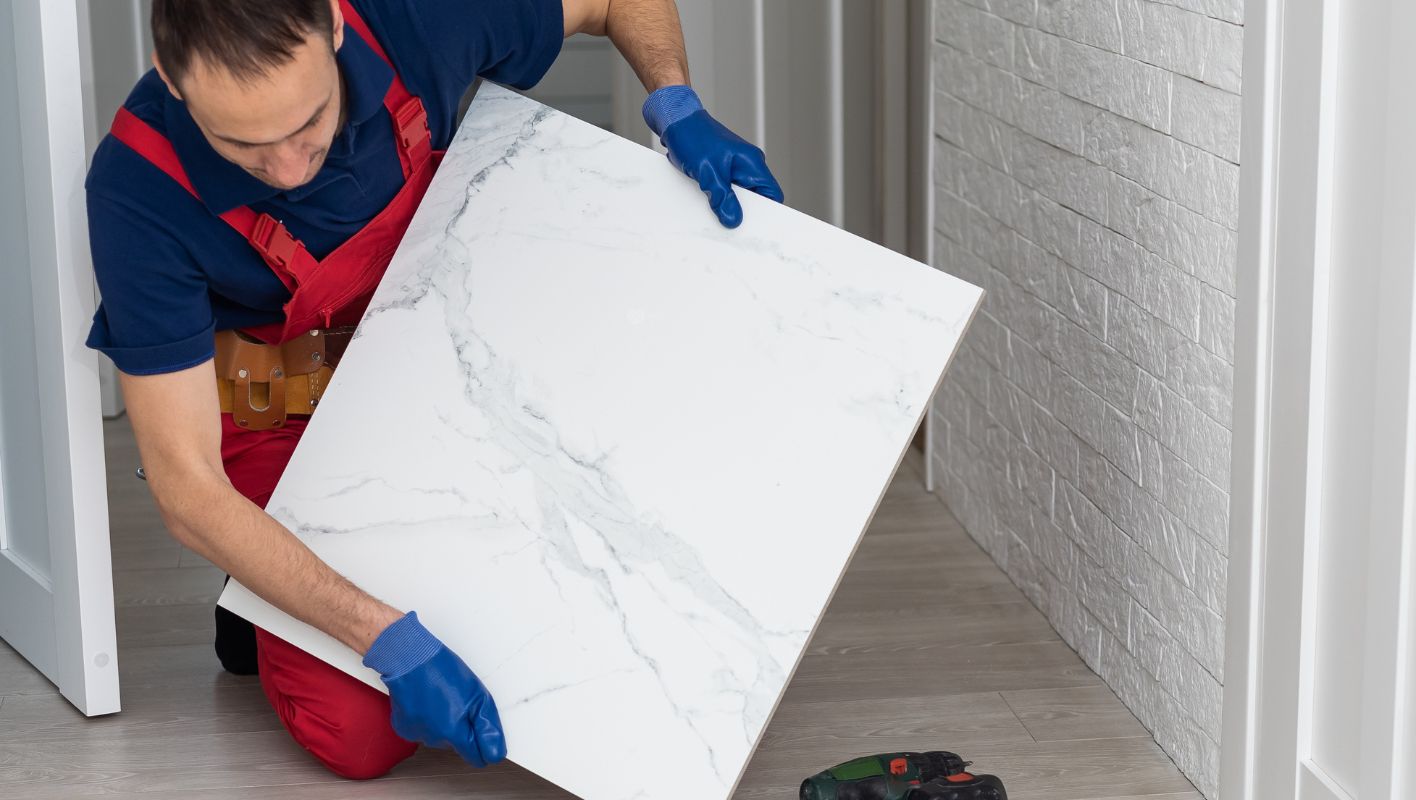
Importance of Surface Preparation
I remember tackling my first large tile project and learning the hard way that preparation is everything. The surface has to be perfectly level. Imagine laying a tile floor only to find one corner jutting out like a mini mountain range! Uneven surfaces lead to something called tile lippage, where tiles don’t line up properly, creating a trip hazard and a visual mess.
Before you even think about slapping down adhesive, grab a level. If things aren’t as smooth as you’d like, a self-leveling compound can be your best friend. This step is crucial to ensure that those large format tiles7 stick properly and hold their ground.
Choosing the Right Adhesive
Choosing adhesive for large tiles isn’t as simple as grabbing the first bag you see. I once used the wrong type, and let’s just say the results were less than impressive. Opt for an adhesive specifically designed for large-format tiles. These have special additives that boost their stickiness, reducing the chance of tiles popping up or moving around later.
A modified thin-set mortar8 is often recommended because it offers better flexibility and bonding strength than your standard mix. Always check the manufacturer’s guidelines to make sure you’re using something compatible with your tiles.
Maintaining Consistent Spacing
Space matters! Large tiles need precise spacing to allow for natural expansion and contraction with temperature changes. I once skipped this step in my eagerness, and ended up with crooked tiles and wobbly grout lines.
Tile spacers are non-negotiable if you want gaps that are straight and uniform. A tile leveling system9 can help you keep everything even and prevent lippage while you’re working. Just remember to remove those spacers before the adhesive sets, or they’ll become a permanent feature of your floor.
Ensuring Tile Flatness
Checking each tile for flatness is a must. A slight warp might not seem like a big deal—until it is! Lay them out on a flat surface before installation. Trust me, it’s worth the extra effort.
A straight edge tool10 can help you keep an eye on the alignment and flatness as you go. Correcting any issues right away saves you from future headaches.
Tools and Materials Checklist
| Tool/Material | Purpose |
|---|---|
| Level | To check surface evenness |
| Self-leveling compound | To smooth out uneven surfaces |
| Modified thin-set mortar | Adhesive for strong bonding |
| Tile spacers | To maintain consistent spacing |
| Tile leveling system | To prevent lippage |
| Straight edge tool | To ensure tile flatness |
Uneven surfaces lead to tile lippage.True
Uneven surfaces cause tiles to sit at different heights, causing lippage.
All adhesives are suitable for large tiles.False
Only adhesives designed for large tiles ensure proper bonding and durability.
How can you keep your 2’x4′ tiles looking brand new?
Ever stepped back to admire freshly installed 2’x4′ tiles, only to worry about keeping them spotless?
To keep 2’x4′ tiles in top shape, regularly sweep or vacuum to remove dirt. Mop with a pH-neutral cleaner and check grout lines for stains. This routine ensures lasting beauty and durability.
Daily Maintenance Practices
I’ve learned that daily care makes all the difference in keeping tiles looking as fresh as the day they were laid. It’s like brushing your teeth; skip it, and things quickly go downhill. Each morning, I grab a soft broom or the trusty vacuum to whisk away any lurking dust and dirt. This simple act prevents those tiny particles from scratching the surface over time. Once a week, I bring out the microfiber mop, just lightly dampened with water, to keep everything sparkling.
| Cleaning Tool | Frequency | Purpose |
|---|---|---|
| Soft Broom | Daily | Remove loose dirt |
| Vacuum Cleaner | Every other day | Collect hidden debris |
| Microfiber Mop | Weekly | Maintain surface cleanliness |
Deep Cleaning Techniques
When it’s time for a deeper clean, I turn to a trusty pH-neutral cleaner. I remember the first time I tried using a regular floor cleaner; I learned the hard way that not all cleaners are tile-friendly. Now, I mix a pH-neutral solution with warm water, following the label instructions, and give the tiles a thorough mop. If any stubborn stains pop up, I mix baking soda with a bit of water to create a gentle paste that works wonders without damaging the tiles.
Grout Line Maintenance
Grout lines can be tricky, right? They seem to attract grime like magnets. I’ve found that regularly using a specialized grout cleaner or a simple mix of vinegar and water (one part vinegar to two parts water) keeps them looking fresh. Applying this solution with a spray bottle and scrubbing with a toothbrush11 does the trick. I also apply a grout sealer every six months—it’s my secret weapon against moisture and stains.
Quick Tips for Tile Longevity
- Use Entry Mats: Place mats at entrances to reduce dirt transfer onto tiles.
- Avoid Abrasives: Learned this lesson early—no steel wool or harsh scrubbers here.
- Address Spills Promptly: Clean spills immediately to prevent staining hassles.
Implementing Eco-friendly Practices
Caring for the planet while caring for my tiles? Yes, please! I choose eco-friendly cleaners that don’t just tackle grime but are also gentle on Mother Nature. Many brands now offer biodegradable options that do the job without harming our world.
Discover more about sustainable tile cleaning options12 for an environmentally conscious approach.
Use a soft broom daily to prevent scratches on tiles.True
Sweeping with a soft broom removes dirt particles that can scratch tiles.
Bleach-based cleaners are safe for tile surfaces.False
Bleach-based cleaners can damage tile surfaces and grout, so avoid them.
Conclusion
Learn effective techniques for laying 2’x4′ tiles, including layout planning, tool selection, and maintenance tips to achieve a professional finish and ensure long-lasting beauty.
-
Discover top-rated tile cutters suited for handling large format tiles efficiently. ↩
-
Explore highly recommended leveling systems that prevent lippage in large tile installations. ↩
-
Learn how to select the appropriate trowel size based on tile dimensions and adhesive needs. ↩
-
Find out about the best tile spacers designed for maintaining uniformity in large tile projects. ↩
-
Explore effective strategies for laying tiles that enhance durability and appearance. ↩
-
Discover solutions to frequent tiling issues to ensure your project remains on track. ↩
-
Exploring this link reveals why large format tiles are ideal for modern spaces, enhancing their appeal and functionality. ↩
-
This link explains how modified thin-set mortar enhances tile adhesion, ensuring long-lasting installations. ↩
-
Learn how tile leveling systems help achieve professional results by maintaining even spacing and preventing lippage. ↩
-
Discover how a straight edge tool ensures perfect alignment and flatness during tile installation. ↩
-
Find out why certain toothbrushes are effective tools for scrubbing grout lines without causing damage. ↩
-
Learn about environmentally safe tile cleaners that effectively maintain tile surfaces while reducing ecological impact. ↩






