
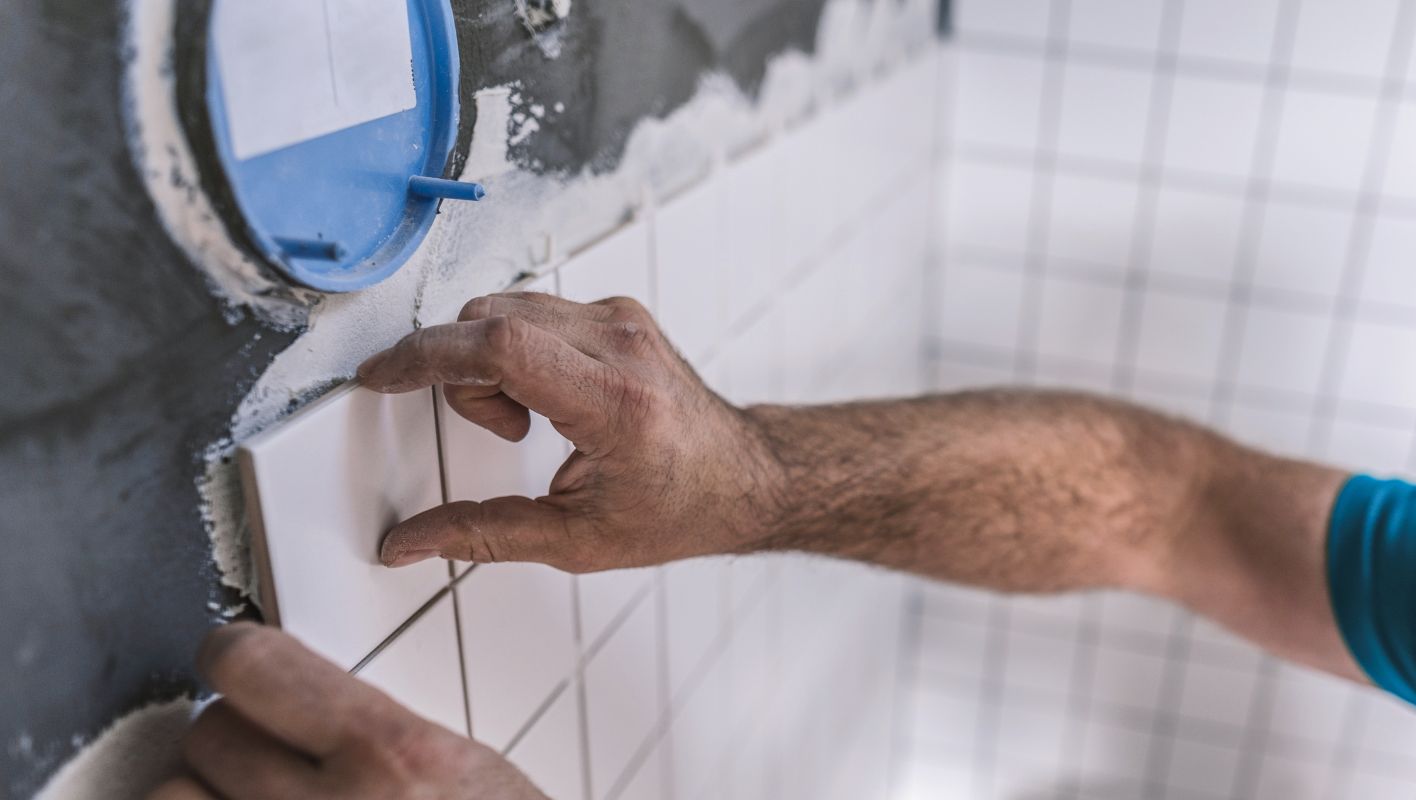
Embark on a transformative journey as you breathe new life into your home with stunning porcelain tiles. Whether you’re an old hand at DIY or just starting out, nailing the fundamentals is your key to a successful project.
To install porcelain tile, begin by prepping the surface, applying the right adhesive, and precisely laying each tile. Use spacers for uniform gaps and complete the look with grout for a sleek finish.
Thinking back to my first tiling adventure, I remember standing in my kitchen, tools in hand, feeling both excited and a bit overwhelmed. But as I took it step by step, from choosing the perfect trowel to mastering the art of grouting, it all came together beautifully. Let’s delve deeper into each part of the installation process. We’ll cover everything from selecting the right tools to applying finishing touches, ensuring your tiling journey is as smooth and rewarding as possible.
Porcelain tiles require a special adhesive for installation.True
Porcelain tiles are dense and need a suitable adhesive for proper bonding.
Grout is not necessary when installing porcelain tiles.False
Grout is essential to fill gaps, ensuring durability and aesthetics.
What Tools Do You Need for Porcelain Tile Installation?
Ever had one of those "let’s do it myself" moments with home projects? Let’s dive into the must-have tools for nailing that perfect porcelain tile look.
To tackle porcelain tile installation like a pro, you’ll need a tile cutter, trowels, spacers, a notched trowel, a tile leveler, and a wet saw. These tools ensure your tiles are precisely cut, well-adhered, and beautifully aligned.
I remember my first attempt at tiling—it was a kitchen backsplash that quickly turned into a learning experience. I thought I could wing it with just a few basic tools, but I soon realized that having the right equipment makes all the difference. Here’s what you’ll need to avoid my early missteps.
Key Tools for Cutting and Shaping
Cutting porcelain tiles can feel like an art form. You’ll want a manual tile cutter for those straight cuts—think of it as your trusty paintbrush. But when you’re up against the hard, dense material of porcelain, a wet saw1 is your best friend. Picture this: a diamond blade slicing through tiles like butter, all while being cooled by water to keep things from overheating. It’s as satisfying as it sounds.
Tile Nippers: These are great for those quirky little spots where tiles need to fit around fixtures. Think of them as your mini sculptors.
| Tool | Purpose |
|---|---|
| Tile Cutter | Straight cuts |
| Wet Saw | Precise cuts on hard tiles |
| Tile Nippers | Small, intricate cuts |
Tools for Adhesive Application
Applying adhesive evenly is crucial—think of it like icing a cake. A notched trowel helps spread it just right so your tiles stick securely.
Types of Trowels:
- Square-notch: Best for large tiles.
- V-notch: Ideal for smaller tiles or mosaics.
Getting the right size trowel can save you from future headaches like uneven surfaces or tiles popping up unexpectedly.
Tools for Layout and Spacing
Remember those perfectly spaced grout lines you see in showrooms? Tile spacers make that happen. They’re the unsung heroes of even surfaces.
Tile Leveling System: This system is a game changer. It uses wedges and clips to keep everything on the same plane, reducing the risk of lippage—a fancy term for uneven edges.
| Tool | Purpose |
|---|---|
| Tile Spacers | Maintain even grout lines |
| Tile Leveling System | Align tiles, prevent lippage |
Investing in a good leveling system is worth it. It’s like having an extra set of hands to ensure your tiles lie flat and even.
Final Touches with Grouting Tools
Once your tiles are in place, grouting fills those spaces between them, adding both durability and aesthetics. A rubber grout float applies grout smoothly, while a grout sponge cleans off excess without harming your tiles.
After installation, using a grout sealer2 helps protect against stains and moisture—consider it your tiles’ raincoat.
By gearing up with these essential tools, you’re setting yourself up for success in your porcelain tile project. From cutting to grouting, each tool plays its part in achieving that professional finish we all admire.
A wet saw is essential for cutting porcelain tiles.True
Wet saws are necessary for cutting dense porcelain tiles with precision.
Tile spacers are used for adhesive application.False
Tile spacers maintain even grout lines, not for adhesive application.
How do I prepare my surface for tiling?
Ever found yourself knee-deep in a tiling project, only to realize the surface isn’t quite ready?
To prepare your surface for tiling, clean it thoroughly, fix any damage, and ensure it’s level. Applying a primer can boost tile adhesion, especially on porous surfaces.
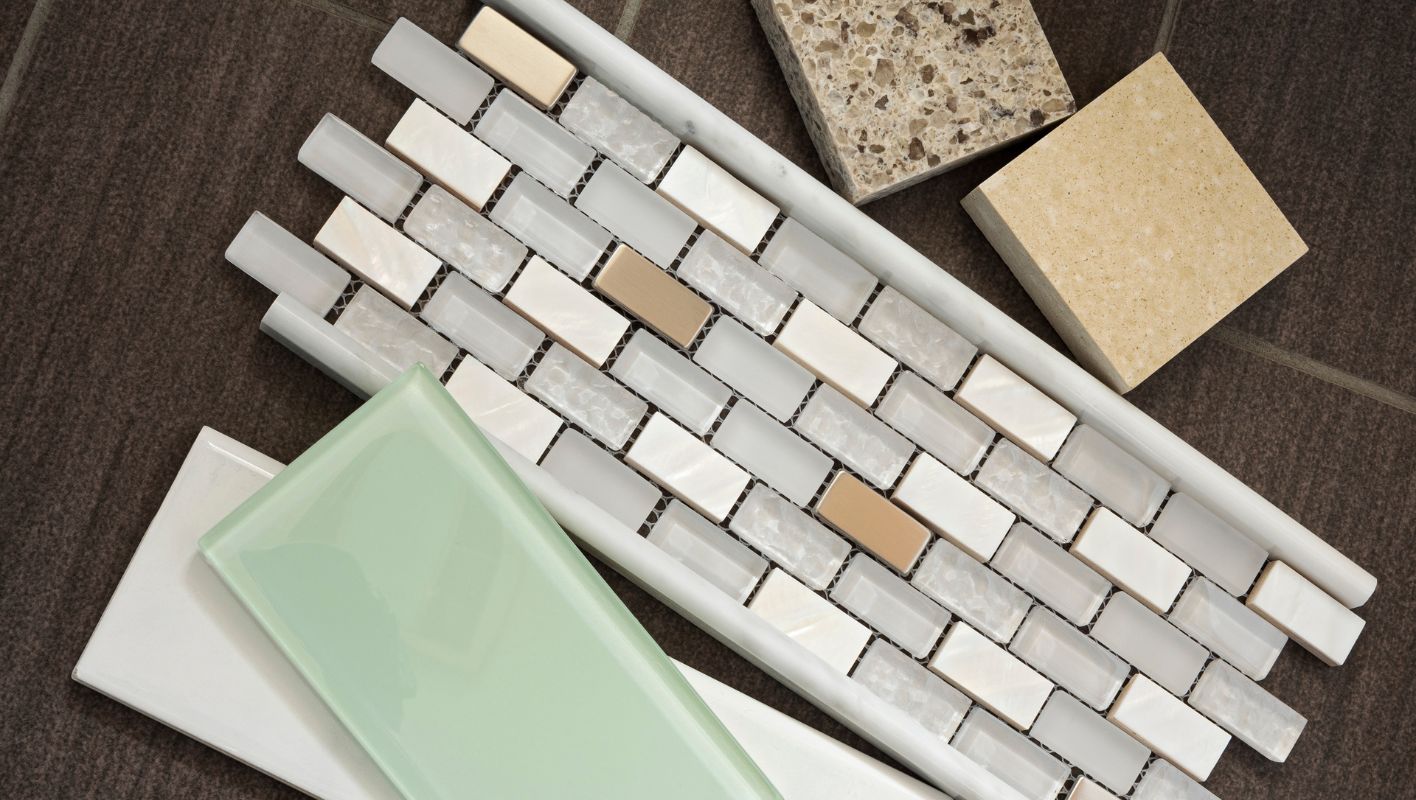
I remember when I first tackled a tiling project in my bathroom. I was eager to lay those beautiful tiles, but the excitement quickly turned into a bit of a challenge. Preparing the surface felt like laying the foundation for a good story—it needed just the right amount of care and attention.
Cleaning and Repairing the Surface
It’s like preparing a blank canvas before painting. I made sure my surface was clean and free of debris3, using a trusty vacuum and some elbow grease with a damp cloth. Those tiny cracks? I patched them up like I was filling gaps in my own life—carefully and with the right filler.
Leveling the Surface
Think of this step as getting your ducks in a row. I used a spirit level to check for any uneven areas4 and smoothed them out with a self-leveling compound. There’s something satisfying about seeing that bubble sit perfectly in the middle.
| Surface Type | Preparation Tips |
|---|---|
| Concrete | Fill cracks, use primer for adhesion |
| Wood | Secure loose boards, add underlayment |
| Old Tiles | Sand glossy tiles, use bonding agent |
Priming for Better Adhesion
Applying a primer felt like giving my tiles an extra hug, ensuring they stayed put on those porous surfaces. It’s all about setting them up for success with the right adhesion of tiles5.
Special Considerations for Bathrooms
Bathrooms are tricky, aren’t they? The moisture can wreak havoc if you’re not careful. I made sure everything was waterproofed, using a waterproof membrane6 to keep water from seeping through.
Preparing Over Existing Tiles
Tiling over existing tiles was like adding another layer to my story. I checked each one, sanded down the glossy finish, and used a bonding agent7 for extra grip. It’s about making sure the new fits seamlessly with the old.
By meticulously prepping my surface, I laid the groundwork not just for tiles but for a piece of art that brought my space to life.
A vacuum is used to remove dust before tiling.True
Vacuuming removes dust, ensuring a clean surface for tiling.
Primer is unnecessary on porous surfaces like wood.False
Primer enhances tile adhesion on porous surfaces like wood.
Can You Install Porcelain Tile Over Concrete Slabs?
Have you ever stared at your concrete floor and imagined it transformed with sleek porcelain tiles?
Yes, you can install porcelain tile over concrete slabs, but the concrete must be clean, level, and crack-free. Proper prep and the right adhesive are key for success.
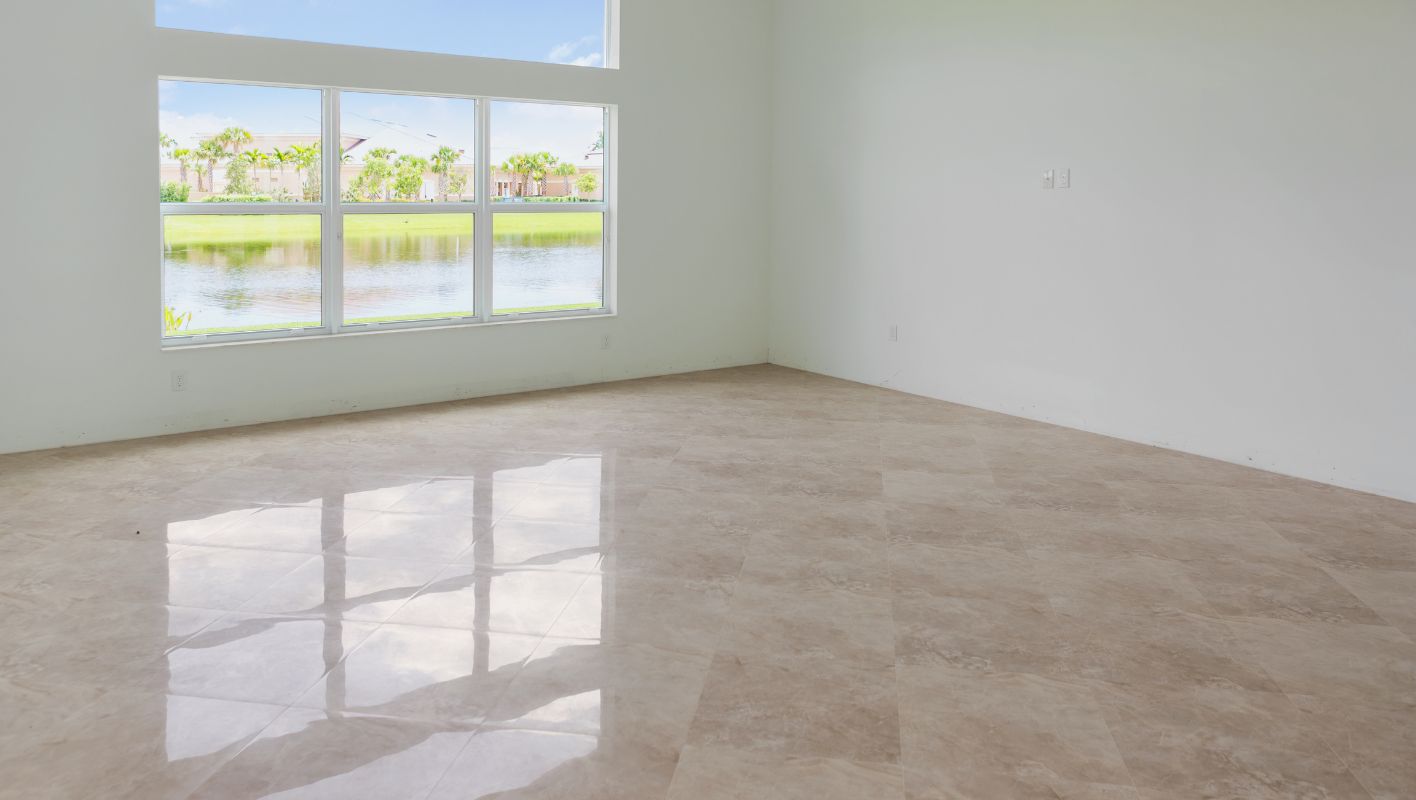
I remember the first time I decided to upgrade the flooring in my home office. There was something about that bare concrete slab that just screamed for a makeover. I wanted something durable yet stylish, and porcelain tiles seemed like the perfect choice.
Preparing Your Concrete Surface
Before getting started, I realized that a little elbow grease was necessary to ensure that my concrete slab8 was up to the task. Cleaning it thoroughly was my first step—dust and grime had no place on my new floor. But what really surprised me was how important it was to make sure the surface was perfectly level.
Leveling the Concrete
To avoid future headaches with cracked tiles, I learned to use a leveling compound to fill any low spots. It was a bit of a workout, but grinding down those high areas was essential. My tiles needed a smooth runway to really shine.
| Preparation Step | Description |
|---|---|
| Cleaning | Remove dirt, dust, and stains |
| Leveling | Use leveling compound or grinder |
Choosing the Right Adhesive
Another lesson from my tiling adventure: not all adhesives are created equal. For porcelain tiles, I opted for a thin-set mortar with latex additives. This combination offered the flexibility I needed, especially given porcelain’s characteristics9.
- Thin-set Mortar: Offers high bond strength.
- Latex Additives: Increase flexibility to accommodate movement.
Addressing Cracks in Concrete
One challenge I faced was dealing with small cracks in my concrete slab. Before laying the tiles, I used a crack isolation membrane. It was like giving my floor a protective shield to ensure those pesky cracks didn’t cause trouble later on.
Crack isolation products are available in rolls and can be applied over the concrete surface before tiling.
Environmental Considerations
Choosing porcelain wasn’t just about aesthetics for me; it was also about making an environmentally conscious decision. Porcelain tiles are known for their sustainability due to their long lifespan and low maintenance needs. I made sure to explore eco-friendly options10 that aligned with my green goals.
By following these steps, I managed to transform my space into something beautiful and enduring. From preparation to execution, every detail mattered, ensuring the success of my tiling project.
Concrete must be level before tiling.True
Uneven surfaces can cause tiles to crack or not adhere properly.
Thin-set mortar is unsuitable for porcelain tiles.False
Thin-set mortar with latex additives is recommended for porcelain tiles.
What’s the Secret to Choosing the Right Grout for Your Porcelain Tiles?
You know that moment when you stand back, admire your new tiles, and realize something just doesn’t click? The grout can make all the difference!
Choosing the right grout involves considering joint width, environment, and finish. For durability, epoxy is top-notch, while unsanded works for narrow joints. Don’t overlook color—it harmonizes the look.
Understanding Grout Types
When I first started tiling, I didn’t realize how much thought had to go into choosing grout. I learned the hard way that the right grout can completely transform a tile project. Let me break down the options so you don’t have to go through the same trial and error.
Here’s a table that categorizes grout types based on different tile projects:
| Grout Type | Best For | Features |
|---|---|---|
| Epoxy | High-moisture areas | Stain-resistant, durable, and waterproof |
| Sanded | Joints wider than 1/8 inch | Contains sand particles, strong and stable |
| Unsanded | Joints less than 1/8 inch | Smooth finish, ideal for delicate tiles |
Evaluating Grout Color
I remember standing in the tile aisle, overwhelmed by grout color choices. It felt like choosing the right shirt to match a suit—if you get it wrong, it throws everything off! Matching grout11 creates a seamless look, while contrasting colors can make your tiles pop. But don’t forget about how it will look over time; lighting and expected wear12 can alter appearances.
Application Environment
The environment was something I almost overlooked during my first project. Tiles in high-traffic areas or places exposed to moisture need special attention. I found that epoxy grout was the hero of wet spaces like bathrooms, ensuring everything stayed looking fresh and intact.
Consider temperature fluctuations and moisture exposure. Porcelain tiles13 in outdoor or wet areas require more resilient grout.
Practical Considerations
Before jumping into a decision, consider ease of application and maintenance. Trust me, I learned that a slightly more expensive grout can save you a lot of hassle down the road. Use a detailed comparison chart14 to weigh these factors effectively.
With these insights in mind, you’re equipped to choose a grout that doesn’t just complement your tiles but enhances their beauty and longevity.
Epoxy grout is best for high-moisture areas.True
Epoxy grout is waterproof, stain-resistant, and durable, ideal for wet areas.
Sanded grout is suitable for joints less than 1/8 inch.False
Sanded grout is recommended for joints wider than 1/8 inch due to its sand content.
Conclusion
Learn how to install porcelain tile with essential tools, surface preparation, adhesive application, and grout selection for a professional finish in your home improvement project.
-
Explore expert techniques for using a wet saw on porcelain tiles to achieve clean, accurate cuts and avoid common mistakes. ↩
-
Find top-rated grout sealers that provide excellent protection against moisture and stains, essential for maintaining tile longevity. ↩
-
This link provides detailed instructions on effectively cleaning surfaces before beginning your tiling project. ↩
-
Discover methods to achieve a perfectly level floor, essential for successful tile installation. ↩
-
Learn about the best primers that enhance tile adhesion and improve your project’s durability. ↩
-
Explore options for waterproof membranes that protect bathroom tiles from moisture damage. ↩
-
Find out which bonding agents work best for ensuring new tiles adhere securely to old surfaces. ↩
-
This link will guide you on preparing concrete slabs, crucial for successful tile installation. ↩
-
Discover the best adhesive types for porcelain tiles to ensure longevity and stability. ↩
-
Explore eco-friendly porcelain tile options to align your project with sustainability goals. ↩
-
Understanding grout color matching can help achieve a seamless or contrasting look as desired. ↩
-
Exploring wear conditions will guide in selecting a durable grout option for your project. ↩
-
Discovering porcelain tile types helps in choosing the right grout for outdoor installations. ↩
-
A comprehensive chart aids in evaluating different grout types for informed decision-making. ↩






