
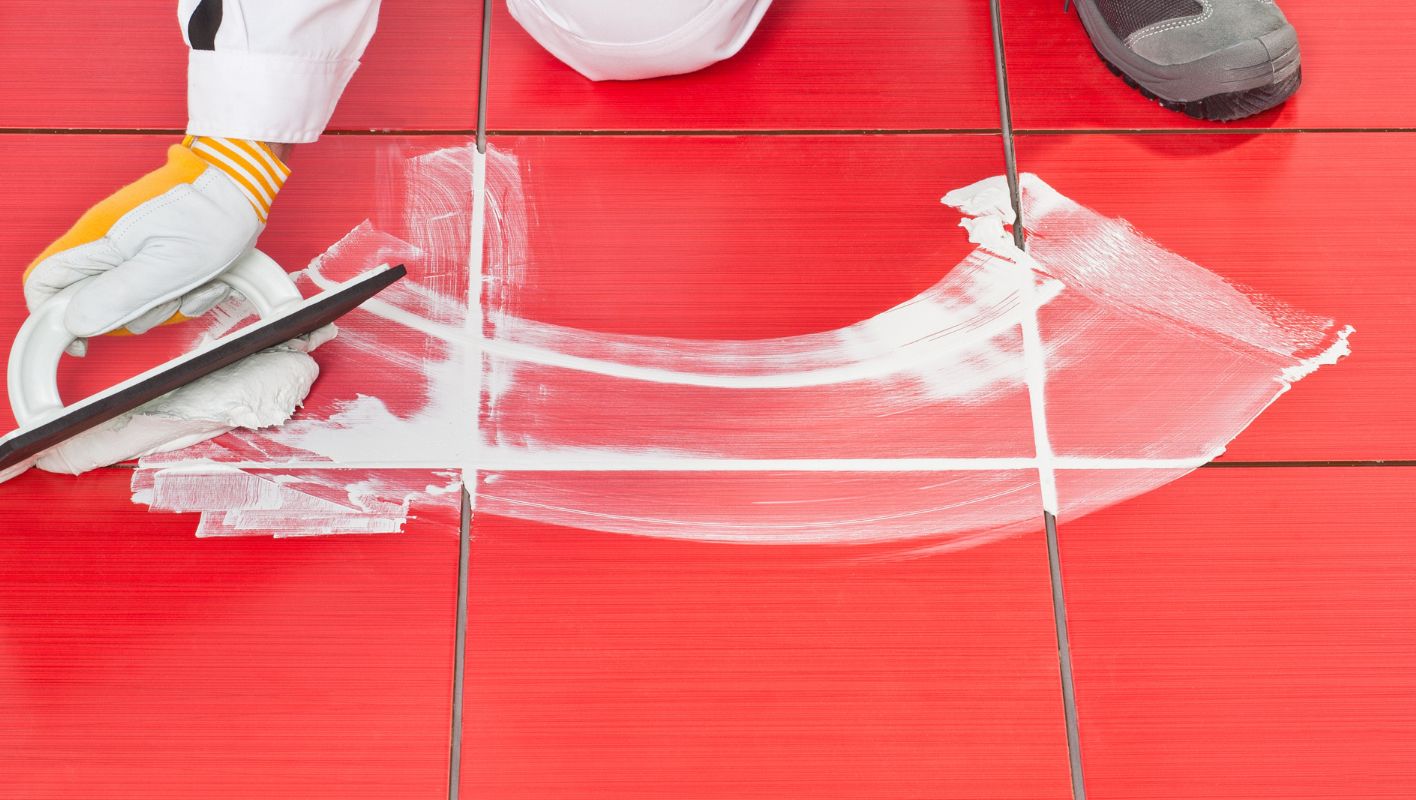
Have you ever mixed grout and ended up with a lumpy mess?
To mix grout perfectly every time, I start by carefully measuring the right amount of grout powder and water as per the manufacturer’s instructions. I stir until it reaches a smooth, peanut butter-like consistency, ensuring no lumps. After letting it slake for 5-10 minutes, I remix before application.
I learned this technique the hard way after a mishap during my first bathroom remodel. The grout I mixed back then was more like chunky soup than creamy peanut butter! Since then, I’ve picked up some expert tips and tricks to avoid those rookie mistakes. For instance, using a margin trowel instead of a stick for stirring has been a game-changer. And if you’re working in a small space or without power tools, don’t worry—I’ve got insights on that too. Let’s explore these strategies together to make your next tiling project as smooth as your grout.
Grout should be mixed to a peanut butter-like consistency.True
A smooth, lump-free consistency ensures even application and adhesion.
Letting grout slake is unnecessary before application.False
Slaking allows chemical reactions to complete, improving the grout's performance.
What Tools Do You Need to Mix Grout?
Ever stared at a bucket of grout wondering how to tackle it without a disaster? Let’s get you mixing like a pro.
To mix grout, you need a mixing bucket, margin trowel, grout float, and an electric drill with a paddle mixer. These essential tools ensure you achieve the perfect consistency and application for your tiling project.
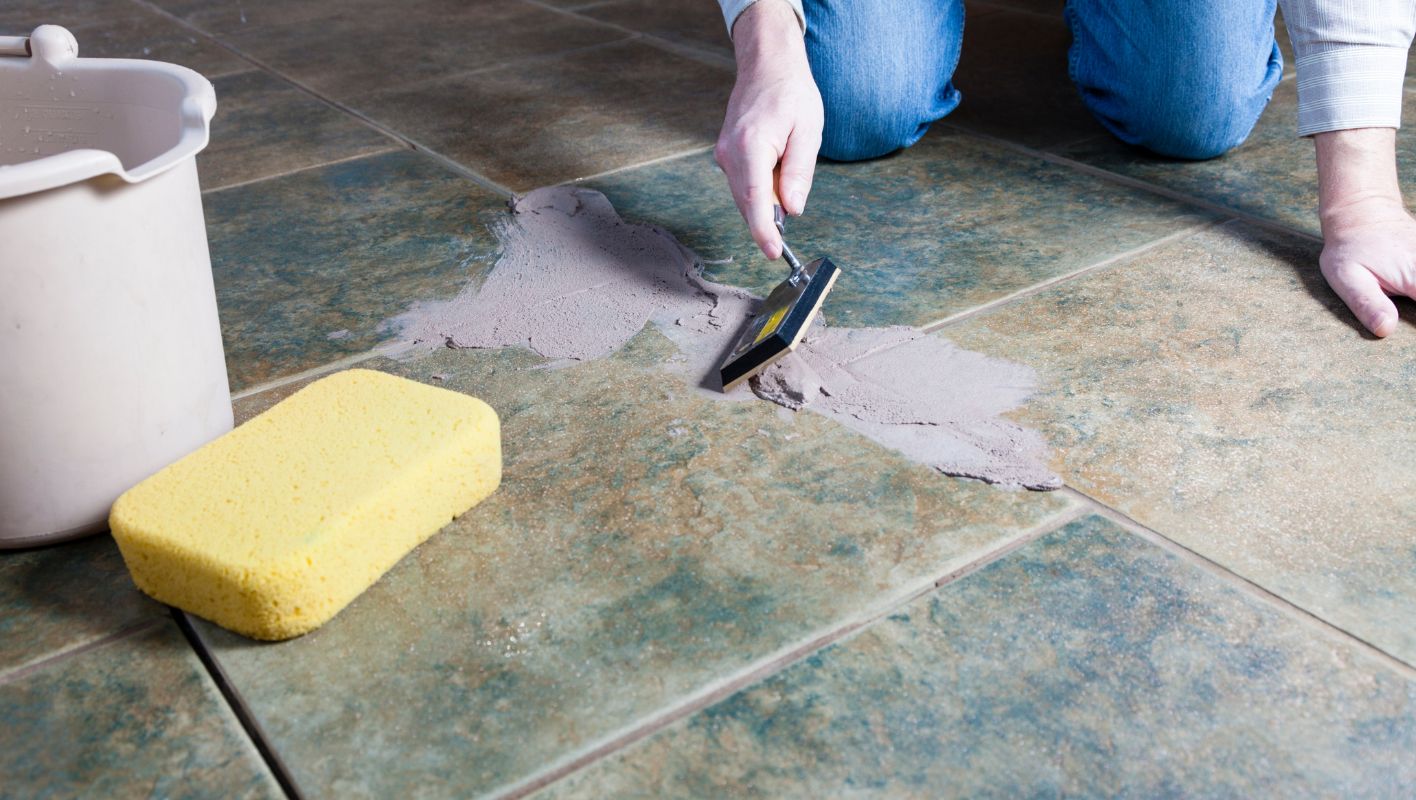
Essential Tools for Mixing Grout
When I first tackled mixing grout, I remember being overwhelmed by all the options. But trust me, having the right tools makes a world of difference.
Mixing Bucket: A clean and sturdy bucket is your best friend here. I always go for one that holds at least five gallons1. It gives me plenty of room to mix thoroughly without worrying about spills.
Trowel: My margin trowel is like an extension of my hand. It’s versatile enough to scoop grout and apply it smoothly, especially when working on those tricky corners.
| Tool | Function |
|---|---|
| Mixing Bucket | Holds grout for mixing |
| Margin Trowel | Scoops grout; assists in application |
Grout Float: This tool is indispensable for pressing grout into tile joints. Its rubber surface ensures a smooth finish without leaving scratches, which is a relief after all that hard work.
Electric Drill with Paddle Mixer: Investing in a drill with a paddle mixer attachment was a game changer for me. It effortlessly achieves a smooth and even2 mixture, saving me time and energy compared to mixing by hand.
Optional Additives and Tools
Over the years, I’ve found that some projects benefit from extras:
- Grout Admixture: Sometimes, instead of water, I use a liquid additive to enhance durability and flexibility, which is crucial for high-traffic areas.
- Sealer Applicator: Not needed during mixing, but applying sealer afterward protects grout from stains, which is something I learned the hard way.
Sponges and Rags: I keep these handy to clean excess grout off tiles immediately—trust me, it’s much easier than waiting until it dries.
Safety Gear
Safety first! I always wear gloves to protect my hands from harsh chemicals and a dust mask if I’m mixing powdered grout—better safe than sorry.
For more information on these tools and where to find them, check out reliable building materials suppliers3.
A mixing bucket should hold at least five gallons.True
A five-gallon bucket allows thorough mixing without spillage.
Grout admixture is used instead of water for mixing.True
Grout admixture enhances durability and flexibility, replacing water.
How Do You Achieve the Right Consistency for Different Tile Types?
Ever tried laying tiles and found yourself battling with the adhesive consistency? I’ve been there, and it’s all about mastering the mix for each type of tile.
To nail the perfect adhesive consistency for various tiles, start by matching the mix to the tile type. For ceramic tiles, aim for a creamy peanut butter feel, while natural stone demands a thicker mix. Adjust your water-to-powder ratios accordingly for best results.
Understanding Tile Types and Their Requirements
Let’s dive into the nitty-gritty of tile types and what they ask of us. Each tile has its quirks—ceramic, porcelain, or natural stone—and that influences the adhesive consistency we need to get just right.
-
Ceramic Tiles: Remember when I first tackled ceramic tiles? They were light as a feather but thirsty, needing a peanut butter-like consistency to grip the surface well. This lighter touch helps the adhesive seep into their pores seamlessly.
-
Porcelain Tiles: These tiles are the dense, no-nonsense types. I learned pretty quickly that they need a mix that stands firm on the trowel but remains workable—kind of like trying to balance work and play in life!
-
Natural Stone Tiles: These guys can be as heavy as my heart was during my first big project. They often require a stiff mix, especially for those larger stones or vertical installations.
| Tile Type | Ideal Consistency |
|---|---|
| Ceramic | Creamy Peanut Butter |
| Porcelain | Holds Shape on Trowel |
| Natural Stone | Stiff (for heavier stones) |
Mixing Techniques for Optimal Results
Mixing adhesive is like cooking—it’s all about getting those ingredients just right. Here’s how I do it:
- Measure Water and Powder: Trust me, stick to the manufacturer’s guide on this one. Too much water? Your adhesive will be as weak as my first attempts at DIY.
- Start Mixing: I use a drill with a paddle attachment—game changer! Start with half the water, then slowly add more until you hit that sweet spot.
- Check Consistency: For ceramic tiles, you want it spreadable yet not too runny. With porcelain tiles4, it should hold its ridges when you trowel it out.
Environmental Considerations
Ah, the environment—the unseen player in our tiling game. Here’s what I’ve learned about dealing with Mother Nature:
- High Humidity: She can sneak extra moisture into your mix, so hold back on the water.
- Temperature Extremes: In chillier weather, your mix might thicken quicker than you’d like, so a touch more water can help.
Practical Tips for Adjustments
- Thickening the Mix: If your mixture ends up like soup, slowly add more powder and mix thoroughly—been there, fixed that!
- Thinning the Mix: Drip in water bit by bit if it’s too thick, ensuring you mix evenly.
For more detailed guidance on adjusting tile adhesive based on environmental conditions and specific tile types, consult professional resources5 to refine your technique and improve your project’s success rate.
Ceramic tiles need a peanut butter-like adhesive consistency.True
Ceramic tiles are lightweight and porous, requiring a thin, creamy adhesive.
Porcelain tiles require a runny adhesive mix.False
Porcelain tiles need a thicker mix that holds shape on the trowel.
What Are Common Mistakes to Avoid When Mixing Grout?
Mixing grout sounds simple, but trust me, it’s trickier than it looks! Even the pros can miss a step or two.
To avoid common grout mixing mishaps, ensure you use the correct water-to-powder ratio, mix thoroughly without overdoing it, and let the grout slake properly. These practices help prevent issues like cracking and poor adhesion.
Understanding the Water-to-Powder Ratio
I remember my first tiling project like it was yesterday. I was so eager to get started that I didn’t pay much attention to the water-to-powder ratio. It wasn’t long before I realized my mistake when the grout began to crack and crumble. So, the key is to follow the manufacturer’s instructions meticulously. They’re usually right there on the packaging.
| Grout Type | Ideal Ratio (Water:Powder) |
|---|---|
| Sanded Grout | 1:4 |
| Unsanded Grout | 1:3 |
The Importance of Thorough Mixing
On another occasion, I thought a quick mix would suffice—big mistake! Proper mixing is crucial, but over-mixing is just as problematic because it can introduce air bubbles. These little pockets of air can make your grout porous and less durable. Use a low-speed mixer or mix by hand until you achieve a smooth consistency.
Allowing Proper Slaking Time
One thing I always underestimated was slaking time. This is when you let the grout rest after mixing. It’s like allowing dough to rise—essential for activating those chemicals. Let it sit undisturbed for about 10 minutes, then give it a quick re-mix before application.
- Step 1: Mix to a smooth consistency.
- Step 2: Let it slake undisturbed.
- Step 3: Re-mix briefly before application.
Avoiding Contaminants
I can’t stress enough how important clean tools are. One time, I was rushing and used a slightly dirty container—it totally messed up my grout’s color and performance. A clean workspace ensures quality results.
Temperature and Humidity Considerations
I’ve also learned to keep an eye on the weather. High temperatures or humidity levels can play havoc with grout, causing it to dry too quickly or not set properly at all. Working in moderate conditions helps, or if you can’t avoid extremes, adjust your technique accordingly.
| Factor | Impact on Grout |
|---|---|
| High Humidity | Slower drying time |
| Low Humidity | Faster setting time |
| High Temperature | Premature hardening |
By understanding these common mistakes and how to avoid them, you can ensure your grout mixing process is smooth and successful, resulting in a professional finish that lasts.
Incorrect water-to-powder ratio weakens grout.True
An incorrect ratio can lead to cracking or weak adhesion.
Over-mixing grout introduces beneficial air bubbles.False
Over-mixing introduces air bubbles that weaken the grout.
How Can You Mix Grout Without Power Tools?
Ever found yourself ready to grout but without power tools? Don’t worry; I’ve been there too. With a bit of elbow grease and patience, you can achieve that perfect grout consistency manually.
Mixing grout by hand is simple: use a bucket and a sturdy stick or trowel. Gradually add water to the grout powder, stirring until smooth like peanut butter. This method ensures even mixing without lumps.
Essential Tools for Manual Grout Mixing
To tackle this task, you don’t need much—just a few basic items that are probably already lying around your home:
- Mixing Bucket: Think of it as your blank canvas. Any sturdy bucket will do, as long as it can hold enough grout for your project.
- Mixing Stick or Trowel: A strong stick or masonry trowel will become your new best friend, serving as your manual mixer.
- Measuring Cup: Accurate water measurement is key here; it’s like baking, but for your tiles.
Step-by-Step Grout Mixing Process
-
Preparation:
- I always start by ensuring my tools are clean and my workspace is dust-free—there’s nothing worse than finding unexpected debris in your mix.
- Carefully measure the grout powder and water based on the manufacturer’s instructions. It’s worth taking the time to get this right.
-
Mixing:
- Slowly add water to the grout powder in your bucket. Trust me, patience pays off here.
- Stir with your mixing stick9 or trowel continuously. It’s a bit of a workout, but think of it as arm day!
- Aim for a smooth mixture with no lumps—like achieving the perfect peanut butter consistency.
-
Rest and Remix:
- Let the grout rest for about 5-10 minutes. This process, known as slaking, really does improve performance.
- Give it one last stir before you apply it.
Tips for Perfect Grout Consistency
- Avoid Excess Water: I’ve learned the hard way that too much water can weaken grout strength. Stick to the recommended ratio.
- Consistency Check: If the mix seems dry, add water in small increments. It’s easier to add than take away.
- Manual vs. Power Mixing: While manual mixing is great for smaller projects, larger jobs might benefit from power tools. Explore more about manual mixing advantages10.
Troubleshooting Common Issues
| Issue | Solution |
|---|---|
| Lumpy Grout | Stir thoroughly; ensure proper water ratio. |
| Too Thick | Add water slowly and mix until smooth. |
| Too Watery | Add more powder gradually while mixing. |
These steps and tips have been my go-to whenever I’m knee-deep in a project and want to ensure that everything runs smoothly. And if you’re ever curious or want to expand your skills further, exploring more on hand-mixing techniques11 might be just what you need.
Manual mixing of grout requires a power tool.False
Grout can be mixed manually using a stick or trowel without power tools.
Excess water weakens grout strength.True
Too much water dilutes the mixture, reducing its structural integrity.
Conclusion
Learn how to mix grout perfectly with expert tips on measuring, mixing techniques, essential tools, and troubleshooting common issues for a smooth tiling project.
-
Discover options for five-gallon buckets that are durable and suited for grout mixing. ↩
-
Find out which paddle mixer attachments are best for achieving smooth grout consistency. ↩
-
Explore trusted suppliers who offer quality tools and materials for construction projects. ↩
-
This link offers professional insights into achieving perfect adhesion with porcelain tiles, enhancing durability. ↩
-
Learn how temperature and humidity can impact adhesive consistency, providing tips for adjustments. ↩
-
Discover why slaking is crucial for chemical activation and achieving optimal grout strength. ↩
-
Understand how impurities can alter grout color and adhesion, impacting the quality of your project. ↩
-
Find out how environmental conditions influence drying and curing times for better project planning. ↩
-
Explore a variety of tools that make manual grout mixing efficient and less strenuous. ↩
-
Understand why manual grout mixing can be beneficial compared to power tools in certain situations. ↩
-
Delve into various hand-mixing techniques to improve your grouting results and efficiency. ↩






