
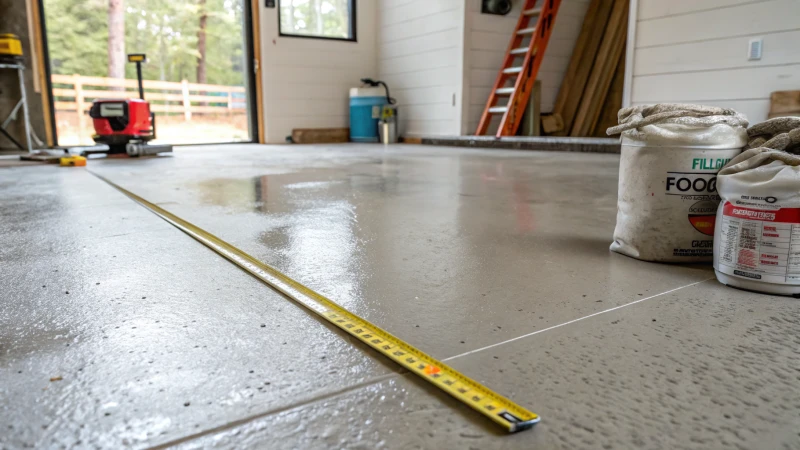
Ever wondered how to make your vinyl flooring dreams a reality?
To ensure your vinyl flooring looks perfect, start with a level floor. Whether your subfloor is wood or concrete, using the right leveling compounds or techniques is key to achieving a smooth surface. This prevents future issues like warping or uneven wear.
I remember when I first tackled a flooring project. It seemed daunting, but with the right tools and some patience, I turned my uneven living room floor into a sleek, modern space. Let’s dive into how you can do the same, exploring expert tips and budget-friendly methods for every subfloor type.
Leveling compounds are used for smooth vinyl flooring installation.True
Leveling compounds help create a flat surface, essential for vinyl.
Vinyl flooring can be installed on uneven surfaces.False
Vinyl flooring requires a level surface to prevent warping and wear.
What Tools Do You Need to Level a Floor?
Taking on a floor leveling project might sound intimidating, but trust me, with the right tools, it’s something you can totally manage. Here’s my personal take on what you’ll need.
To level a floor, you’ll need a laser level for precision, self-leveling compound, a trowel for smoothing, and a straight edge. Don’t forget a mixing paddle and bucket for blending your materials!
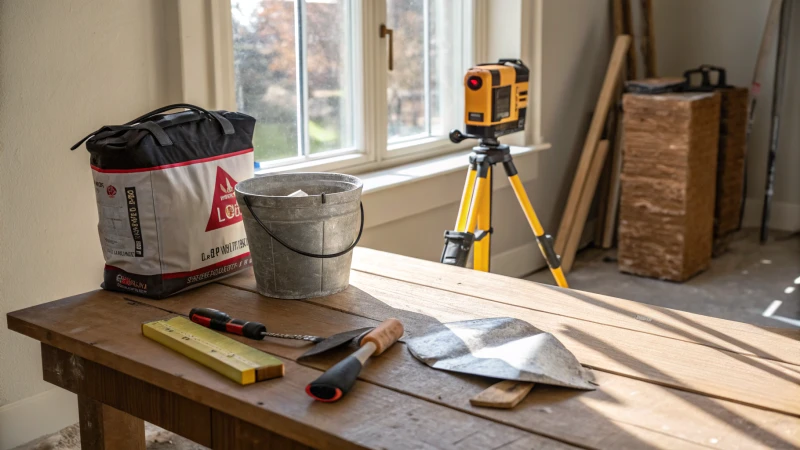
Essential Tools for Floor Leveling
When I first faced the challenge of leveling a floor, I quickly realized that having the right tools is like having the best teammates—they make all the difference. Here’s what I found essential:
| Tool | Purpose |
|---|---|
| Laser Level | Ensures precision in identifying uneven spots. |
| Self-Leveling Compound | Fills and smoothens uneven areas. |
| Trowel | Used for applying and smoothing the leveling compound. |
| Straight Edge | Helps check the levelness across the floor surface. |
Understanding Tool Functions
I still remember standing in my garage, laser level1 in hand, feeling like I was about to embark on a space mission. The laser level is crucial—it beams lines across the room, revealing where the floor undulates like tiny waves.
Additional Tips and Techniques
After several trials and errors (and some hilarious mishaps), I found that using a high-quality self-leveling compound2 makes a world of difference. Pouring it out is like spreading cake batter—it’s oddly satisfying! Then, with a trusty trowel in hand, I smoothed it out, channeling my inner artist.
Using a straight edge3 felt like playing detective, ensuring that no sneaky bumps were left unchecked before the compound set. It requires patience, but it’s worth every second.
Other Considerations
Depending on what your floor is made of, you might need extra gear. Working with concrete floors4 might mean bringing in a grinder to clear away old adhesive or coatings.
For wooden floors, having sandpaper or an electric sander on standby helps smooth out imperfections, prepping your surface perfectly for the leveling compound.
By getting to grips with these tools and techniques, you’ll feel more confident tackling your floor leveling project—just like I did! You’ll soon see that it’s not just about fixing floors; it’s about building your confidence and skills along the way.
A laser level is essential for floor leveling projects.True
A laser level ensures precision by identifying uneven spots accurately.
A mixing paddle is optional for floor leveling projects.False
A mixing paddle is necessary to thoroughly mix the leveling compound.
How Do You Level a Wood Subfloor for Vinyl?
Have you ever stared at a floor and thought, "This just isn’t right"? Let’s fix that before laying vinyl!
To level a wood subfloor for vinyl, start by cleaning the surface, identify uneven spots, sand down any high areas, fill low spots with leveling compound, and ensure it dries completely before you lay your vinyl.
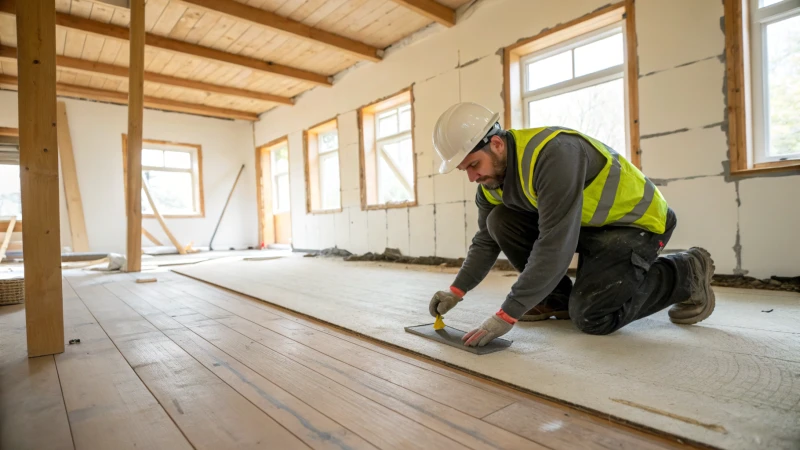
Assessing Your Subfloor’s Condition
I still remember the first time I decided to install vinyl flooring in my home. I was excited but soon realized my wood subfloor was less than perfect. Before diving into leveling, it’s crucial to inspect the subfloor for any damage. Loose nails, screws, or signs of moisture can be troublemakers. Addressing these issues upfront can save headaches later.
Tools You Might Need
| Tool | Purpose |
|---|---|
| Level | Check for flatness and alignment |
| Sandpaper or Sander | Smoothen high spots |
| Trowel | Spread leveling compound evenly |
Cleaning the Subfloor
Think of this as preparing a canvas for a masterpiece. A clean subfloor is the foundation of a smooth finish. I found that sweeping or vacuuming away every speck of dust made all the difference. It ensures that the leveling compound adheres perfectly to the surface.
Identifying High and Low Spots
This step reminded me of hunting for Easter eggs as a kid, only this time with a level or straightedge. Mark those sneaky high and low spots clearly because this is where you’ll work your magic—sanding down the highs and filling the lows.
Sanding Down High Spots
Sanding can be surprisingly satisfying—just be careful not to overdo it. Use sandpaper or an electric sander to gently bring down those high spots to create a smooth surface. It’s like sculpting, but for floors.
Filling Low Areas with Leveling Compound
Mixing the leveling compound felt a bit like baking, except instead of cookies, you’re creating a seamless floor. Follow the manufacturer’s instructions closely, and use a trowel to spread it over the low areas. Feathering the edges helps it blend beautifully with the rest of the floor. Give it ample time to dry thoroughly before moving on.
Final Checks Before Installation
Once everything’s dry, grab your trusty level one last time. This final check ensures that your hard work has paid off and your subfloor is ready for vinyl installation5. Avoid future issues like buckling or gaps by ensuring everything is perfectly even.
Don’t forget that factors like room temperature and humidity can affect your results. For more insights on these considerations, check out resources like climate control impact6. Happy flooring!
A level is used to check subfloor flatness.True
A level helps ensure the subfloor is even before vinyl installation.
Low spots should be sanded down on a wood subfloor.False
Low spots require filling, not sanding, to achieve a level surface.
Are There Cost-Effective Alternatives to Self-Leveling Compounds?
Ever felt the pinch when shopping for self-leveling compounds? Let’s uncover some wallet-friendly alternatives that deliver impressive results without emptying your pockets.
Absolutely! You can opt for cost-effective alternatives to self-leveling compounds like floor patching compounds, plywood underlayment, and gypsum-based solutions. These options help you achieve a smooth, level floor without the hefty price tag.
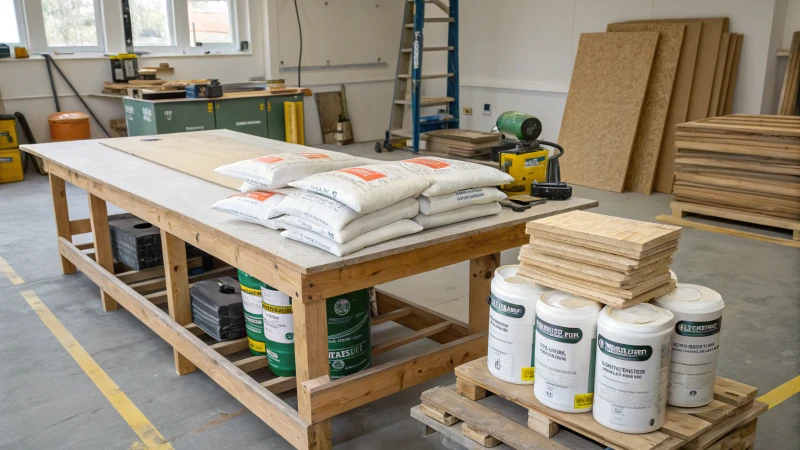
Exploring Budget-Friendly Floor Leveling Solutions
When faced with the challenge of leveling floors, it’s essential to consider both the cost7 and effectiveness of available solutions. Let’s explore some affordable alternatives that cater to different flooring needs:
| Alternative | Pros | Cons |
|---|---|---|
| Floor Patching Compounds | Ideal for small areas and quick repairs | Limited to minor leveling tasks |
| Plywood Underlayment | Provides a stable base for various floorings | May not work well for concrete floors |
| Gypsum-Based Solutions | Eco-friendly and excellent for sound insulation | Requires careful application |
Floor Patching Compounds
I found these handy when dealing with those pesky little dips and bumps that pop up in older homes. They’re a great way to handle minor leveling without going all out.
Plywood Underlayment
Think of plywood as your trusty sidekick. I once used it to prep the floor for a new carpet installation, and it worked wonders in providing a smooth base.
Gypsum-Based Solutions
For the eco-conscious renovator, gypsum-based products are fantastic. I love how they offer sound insulation, which was a blessing when I was redoing my home office.
Practical Tips for DIY Enthusiasts
If you’re like me and enjoy getting your hands dirty, make sure you’ve got the right tools and know-how before you start. Prepping the surface and checking moisture levels are game-changers in achieving a flawless finish.
By considering these options, you can choose solutions that align with your budget and specific project needs. Exploring different techniques might even spark some creative ideas tailored just for your home.
For deeper insights, professional guides8 or advice from seasoned contractors can offer invaluable tips for achieving top-notch results.
Floor patching compounds are ideal for large area leveling.False
Floor patching compounds are best for small areas and minor repairs.
Plywood underlayment works well on concrete floors.False
Plywood underlayment is not recommended for concrete floors.
What Are Common Mistakes When Leveling Floors and How to Avoid Them?
Ever started a project thinking it would be a breeze, only to find yourself knee-deep in unexpected challenges?
Common mistakes in floor leveling include overlooking subfloor preparation, neglecting moisture levels, and choosing the wrong materials. To avoid these pitfalls, inspect the subfloor thoroughly, check for moisture using a meter, and select the right leveling compounds based on the flooring type.
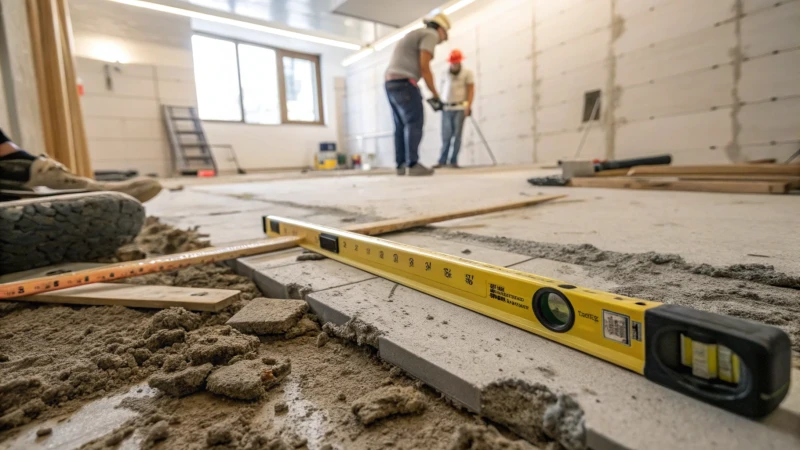
Missteps in Subfloor Preparation
I remember the first time I tackled a floor leveling project. I thought I could just pour some compound and call it a day. Boy, was I wrong! It all starts with the subfloor. Failing to clean and inspect thoroughly can lead to a bumpy ride later. I learned the hard way when I skipped this step, only to find the compound didn’t stick properly. Dust and debris can really mess things up, so now I make sure every nook and cranny is spotless.
Key Actions:
- Thoroughly clean the subfloor.
- Inspect for damage or weak spots.
- Repair any cracks or holes before leveling.
Overlooking Moisture Content
Moisture is like that sneaky guest who crashes your party without an invite. Many of us, including myself, overlook its importance. I once laid down a beautiful new floor only to see it buckle because I hadn’t checked for moisture. Using a moisture meter has become second nature now. Trust me; it saves you from seeing your hard work literally come apart.
Moisture Check Steps:
- Use a moisture meter to assess levels.
- Ensure levels are within manufacturer specifications.
- Address any moisture problems before proceeding.
Choosing Incorrect Materials
Have you ever grabbed the wrong tool or material, thinking "this will do," only to regret it later? It’s crucial to choose the right leveling compound for your specific flooring. There was this time I used a compound meant for concrete on wood—let’s just say my floor wasn’t happy. Now, I always double-check the manufacturer’s guidelines and consider the final flooring material before making my choice.
| Flooring Type | Recommended Compound |
|---|---|
| Concrete | Cement-based |
| Wood | Acrylic-based |
| Tile | Latex-based |
Tips for Selection:
- Consult manufacturer guidelines.
- Consider the final flooring material9.
- Factor in environmental conditions.
Inadequate Mixing Techniques
The art of mixing compounds reminds me of baking—a little too much of this or too little of that, and it’s game over. I once mixed up a batch that looked more like lumpy oatmeal than smooth batter. Now, I follow mixing instructions as if they’re the holy grail. The right water-to-compound ratio makes all the difference.
Mixing Guidelines:
- Use precise water-to-compound ratios.
- Mix until you achieve a smooth consistency.
- Avoid letting the mixture sit too long before application.
Understanding and avoiding these common mistakes can make all the difference in your floor leveling project, giving you that smooth finish that not only looks great but lasts longer. Dive into more floor leveling best practices10 to refine your skills further.
Improper subfloor cleaning affects leveling results.True
Dirt and debris can hinder the bonding of leveling compounds.
All leveling compounds work on any flooring type.False
Different flooring materials require specific leveling compounds.
Conclusion
Learn how to level your subfloor for vinyl flooring installation using essential tools, techniques, and budget-friendly alternatives to ensure a smooth and durable finish.
-
Learn precise methods for using a laser level to identify uneven spots. ↩
-
Discover top-rated self-leveling compounds suited for various floor types. ↩
-
Explore step-by-step guides on using a straight edge to ensure floor evenness. ↩
-
Find essential tips on prepping concrete surfaces before applying leveling compounds. ↩
-
This link offers detailed steps on installing vinyl flooring effectively after preparing your subfloor. ↩
-
Understanding climate’s effect on flooring helps prevent common installation issues such as buckling or gaps. ↩
-
Explore a comprehensive breakdown of costs, helping you choose budget-friendly options for your flooring needs. ↩
-
Access expert advice and step-by-step instructions for achieving perfect floor leveling on a budget. ↩
-
Choosing the right leveling compound ensures compatibility with your flooring type, enhancing durability and finish. ↩
-
Exploring comprehensive guides on floor leveling best practices can improve technique and project outcomes. ↩






