
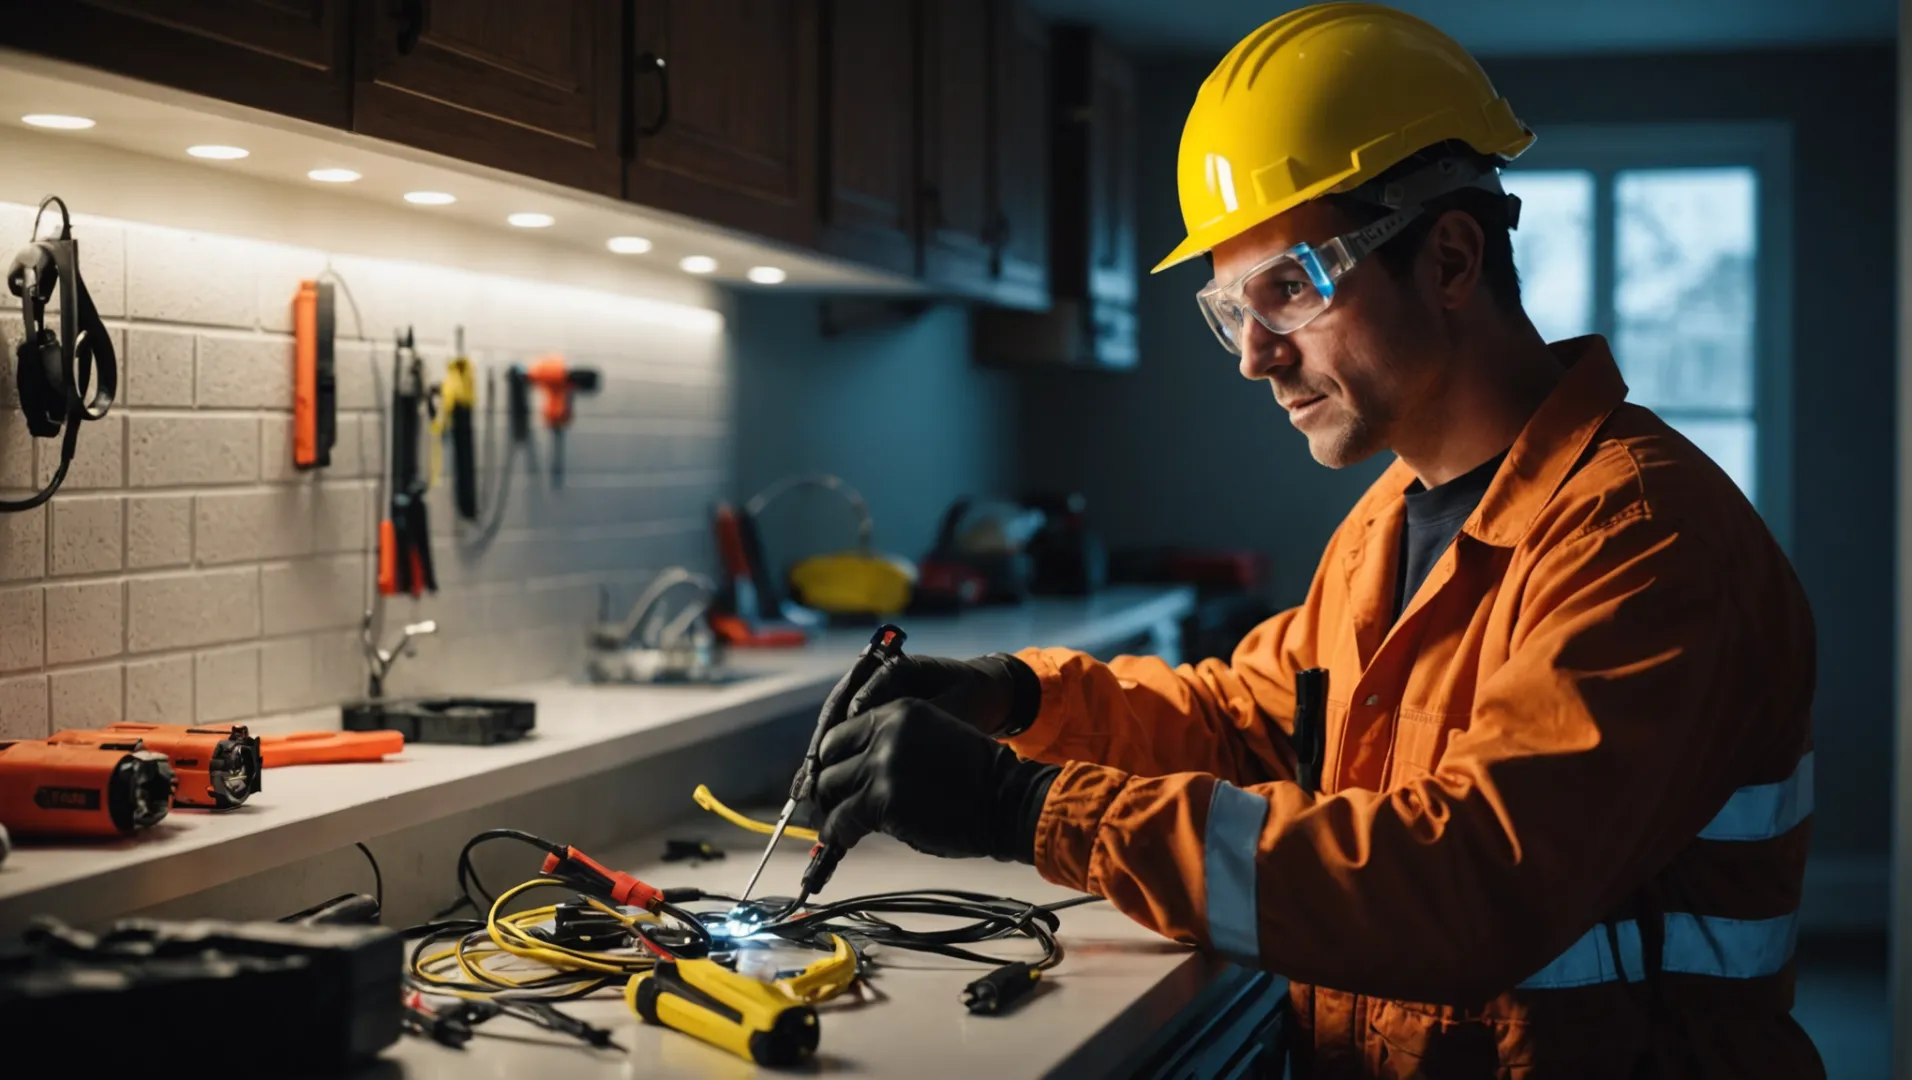
Ever thought about how much of a difference the right lighting can make in a space? I know I have! Hardwiring LED strip lights not only elevates your decor but also gives you that sleek, permanent feel that plug-in options just can’t match.
To safely hardwire LED strip lights, turn off the power supply, gather necessary tools like wire cutters and connectors, and follow the manufacturer’s wiring instructions closely. Always use appropriate safety gear and consider consulting an electrician if unsure.
But hold on! There’s so much more to this process than just turning off the power and connecting wires. Let’s dive deeper into each step, ensuring you’re well-prepared to tackle this project like a pro.
LED strip lights require a compatible power supply.True
LED strips typically operate on 12V or 24V DC, needing matching power supplies.
What Tools and Materials Are Needed for Hardwiring LED Strip Lights?
Hardwiring LED strip lights requires the right tools and materials for a successful installation. Here’s what you need to get started.
Essential tools for hardwiring LED strip lights include wire cutters, soldering iron, and connectors. You’ll also need LED strip lights, a compatible power supply, and safety gear. Follow guidelines for a seamless installation.
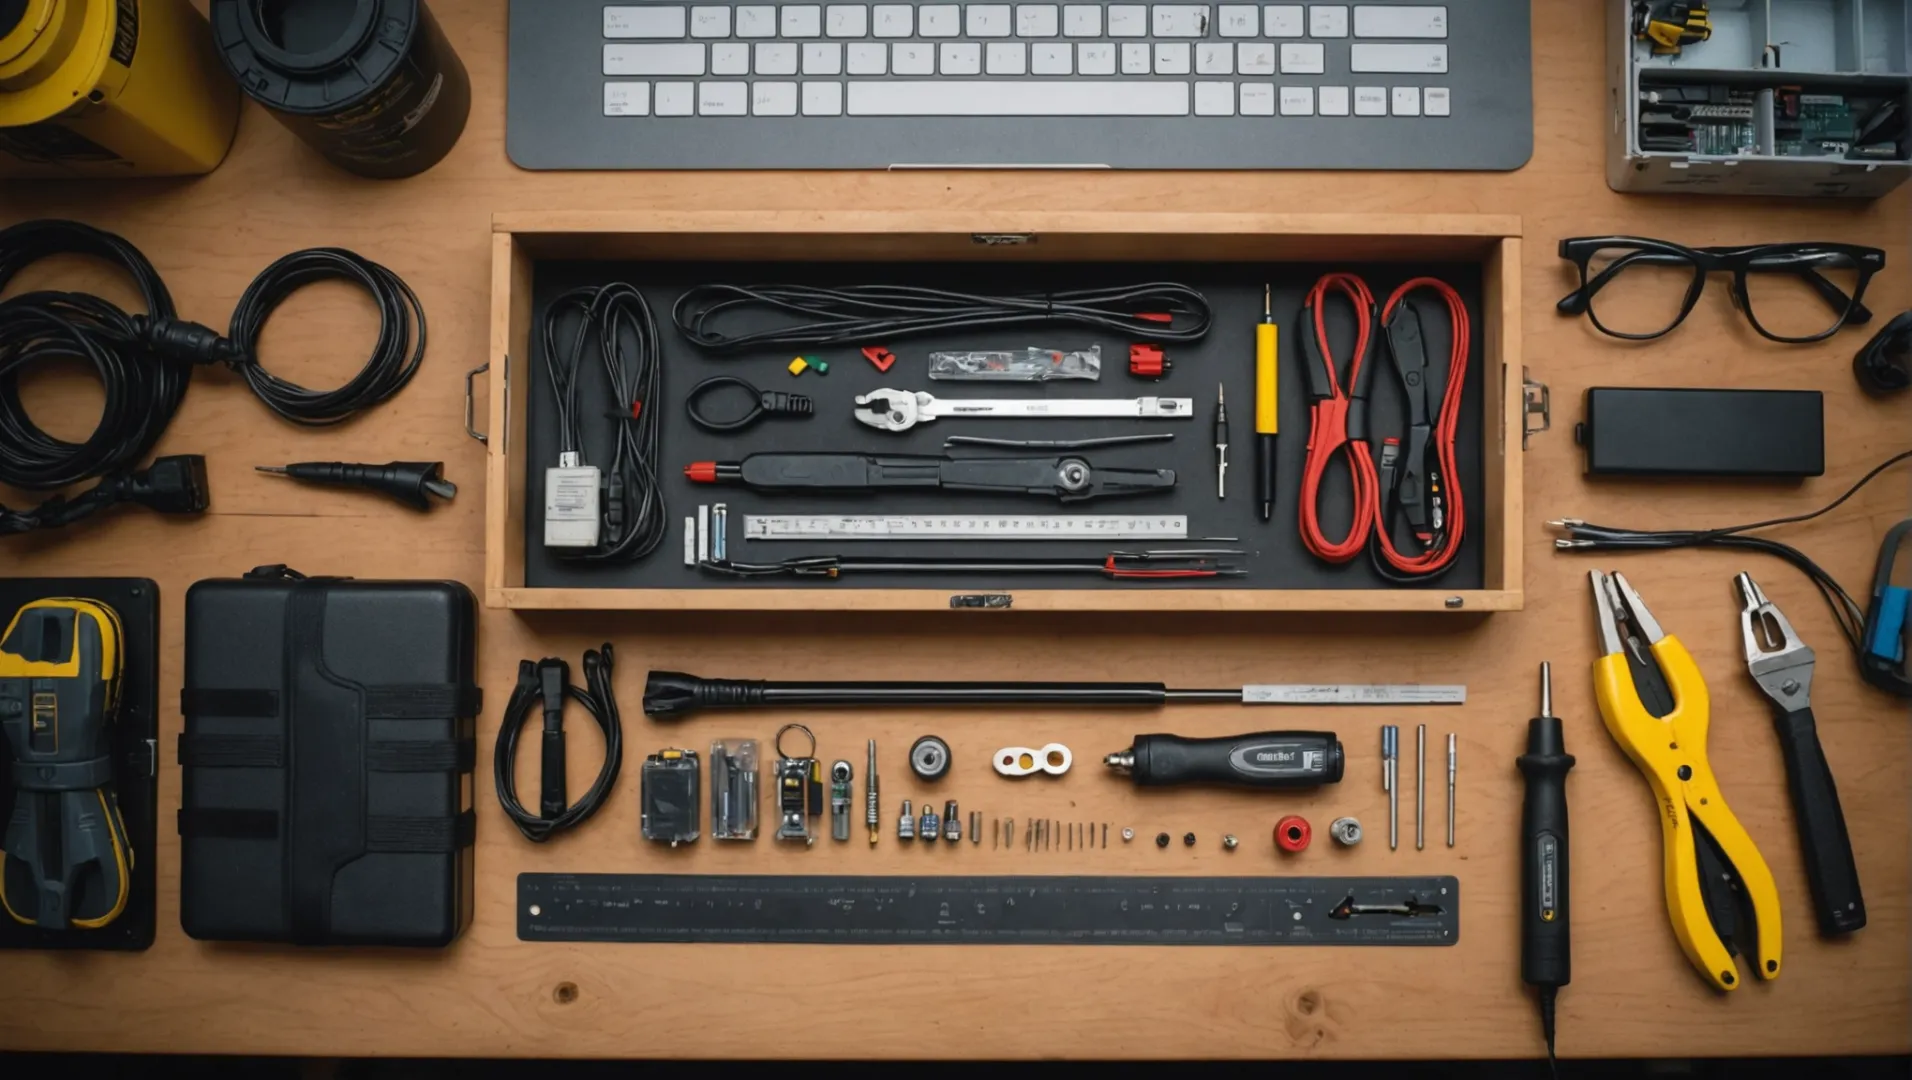
Essential Tools for Hardwiring LED Strip Lights
-
Wire Cutters: These are necessary to cut the LED strips to your desired length. Ensure they are sharp and in good condition to avoid damaging the strips.
-
Soldering Iron: While not always required, a soldering iron can help secure connections if you’re joining multiple strips or repairing any sections.
-
Connectors: These help in joining LED strips without the need for soldering, making the process easier for beginners. Look for quick-connect options that fit your LED type.
-
Screwdriver Set: A versatile set will aid in mounting the strips and securing connections to power supplies or switches.
-
Voltage Tester: Before connecting your lights, use this to ensure the circuit is safe to work on.
Key Materials You’ll Need
-
LED Strip Lights: Choose the correct type based on your project needs, such as waterproof options for outdoor areas.
-
Power Supply: Ensure it’s compatible with your LED strips in terms of voltage and wattage.
-
Heat Shrink Tubing: Provides insulation and protection to soldered connections.
-
Mounting Hardware: Clips or adhesive backing to fix the strips in place.
-
Safety Gear: Always wear gloves and safety glasses to protect against electric shocks or solder splashes.
Best Practices for Installation
-
Read Manufacturer’s Instructions: Every brand can have specific requirements, so always start by reading the instructions provided.
-
Plan Your Layout: Before cutting or mounting, plan where each strip will go. This avoids mistakes and ensures you have enough materials.
-
Test Before Installation: Connect your strips temporarily to ensure all parts are working before final installation.
For more comprehensive guidance on choosing the best connectors1, consult resources that offer in-depth reviews of various connector types suitable for LED strip lights. Understanding the range of options can make your project both easier and more professional-looking.
Wire cutters are essential for LED strip installation.True
Wire cutters are needed to cut LED strips to desired lengths.
Soldering iron is mandatory for all LED installations.False
Soldering irons are optional; connectors can be used instead.
How Do You Connect LED Strip Lights to a Wall Switch?
Connecting LED strip lights to a wall switch can elevate your lighting setup, offering more control and convenience.
To connect LED strip lights to a wall switch, first ensure power is off. Use a compatible driver to link the strip light’s input wires with the switch. Follow detailed wiring diagrams provided by the manufacturer to ensure safe installation.
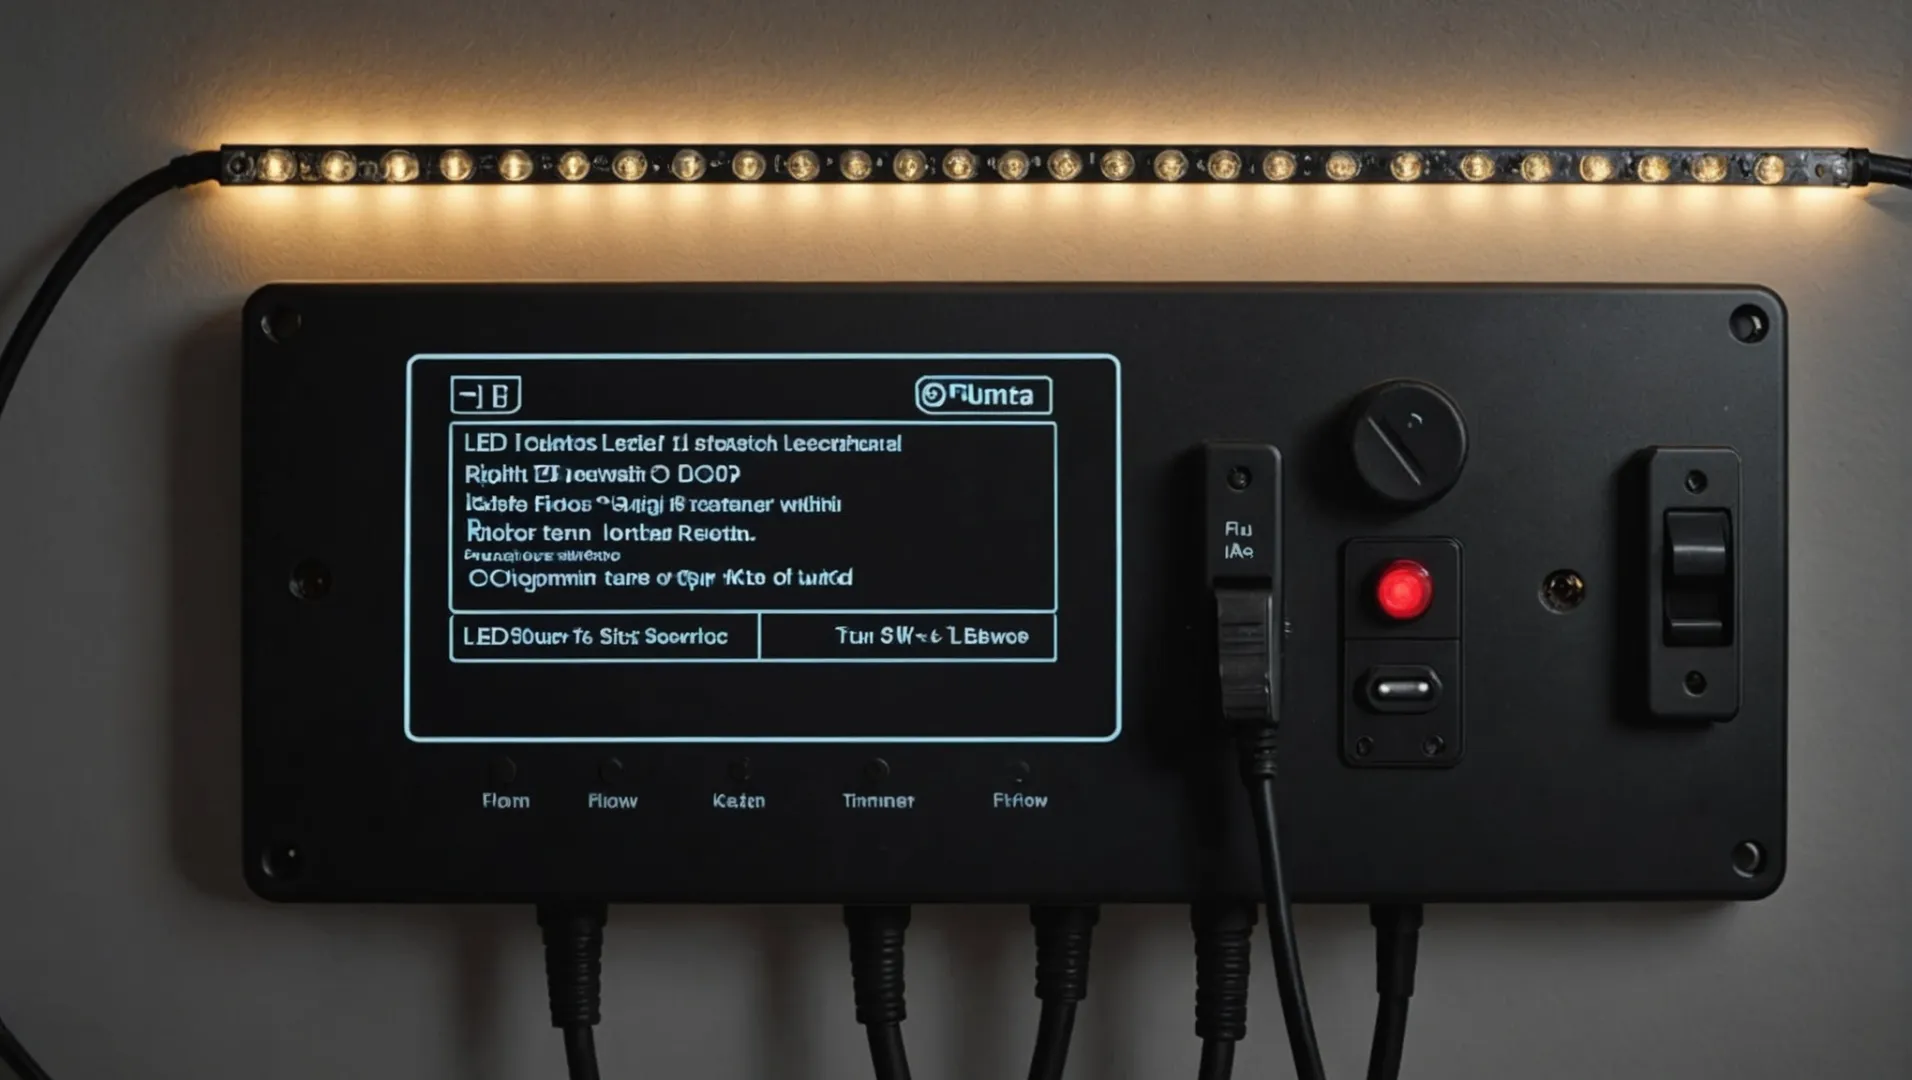
Understanding the Basics of LED Strip Lighting and Wall Switches
Before proceeding, it’s important to familiarize yourself with how LED strip lights and wall switches function together. LED strip lights require a constant voltage power supply, usually 12V or 24V DC. A wall switch, on the other hand, controls the power supply to these lights. By integrating them, you can control the LED lights easily from your wall.
Gathering Necessary Tools and Materials
- LED Strip Lights: Ensure they are compatible with your home’s electrical system.
- Wall Switch: Opt for a switch that supports LED lighting.
- LED Driver: Converts AC to the DC voltage required by the strips.
- Wire Cutters and Strippers: For preparing wires.
- Screwdrivers: For securing connections.
- Wire Connectors: Ensure secure, safe connections.
Consider using a wire connector kit2 to simplify the process of joining wires securely.
Steps for Connecting LED Strips to a Wall Switch
-
Turn Off Power Supply: Begin by switching off the main power to avoid any electrical hazards.
-
Install the LED Driver: Position it between the power source and the LED strip lights. This driver steps down the AC voltage to the appropriate DC voltage required by your LED strips.
-
Wiring the Switch:
- Connect the switch’s load terminal to the LED driver’s input.
- Attach the input terminal of the driver to the wall power supply.
- Connect the output terminals of the driver to the input ends of the LED strip lights.
-
Testing: Once everything is connected, turn on the power and test your setup by toggling the wall switch to ensure proper operation.
Troubleshooting Common Issues
If your LED strips do not illuminate after installation:
- Double-check all connections for tightness and correctness.
- Ensure compatibility between components (e.g., voltage ratings).
- Consult the manufacturer’s guide3 for specific troubleshooting tips.
By following these steps and ensuring all components are compatible, you can successfully connect your LED strip lights to a wall switch. If you’re ever unsure, consulting with an electrician can provide additional peace of mind.
LED strip lights require an AC power supply.False
LED strip lights need a constant DC voltage, not AC.
A wall switch can control LED strip lights.True
Wall switches manage the power supply to LED strips, enabling control.
What Are the Common Mistakes to Avoid When Hardwiring LED Strips?
Hardwiring LED strips offers a clean look, but mistakes can lead to malfunction or safety hazards.
Avoid common mistakes when hardwiring LED strips by ensuring proper voltage compatibility, secure connections, and following installation guidelines to prevent overheating or short circuits.
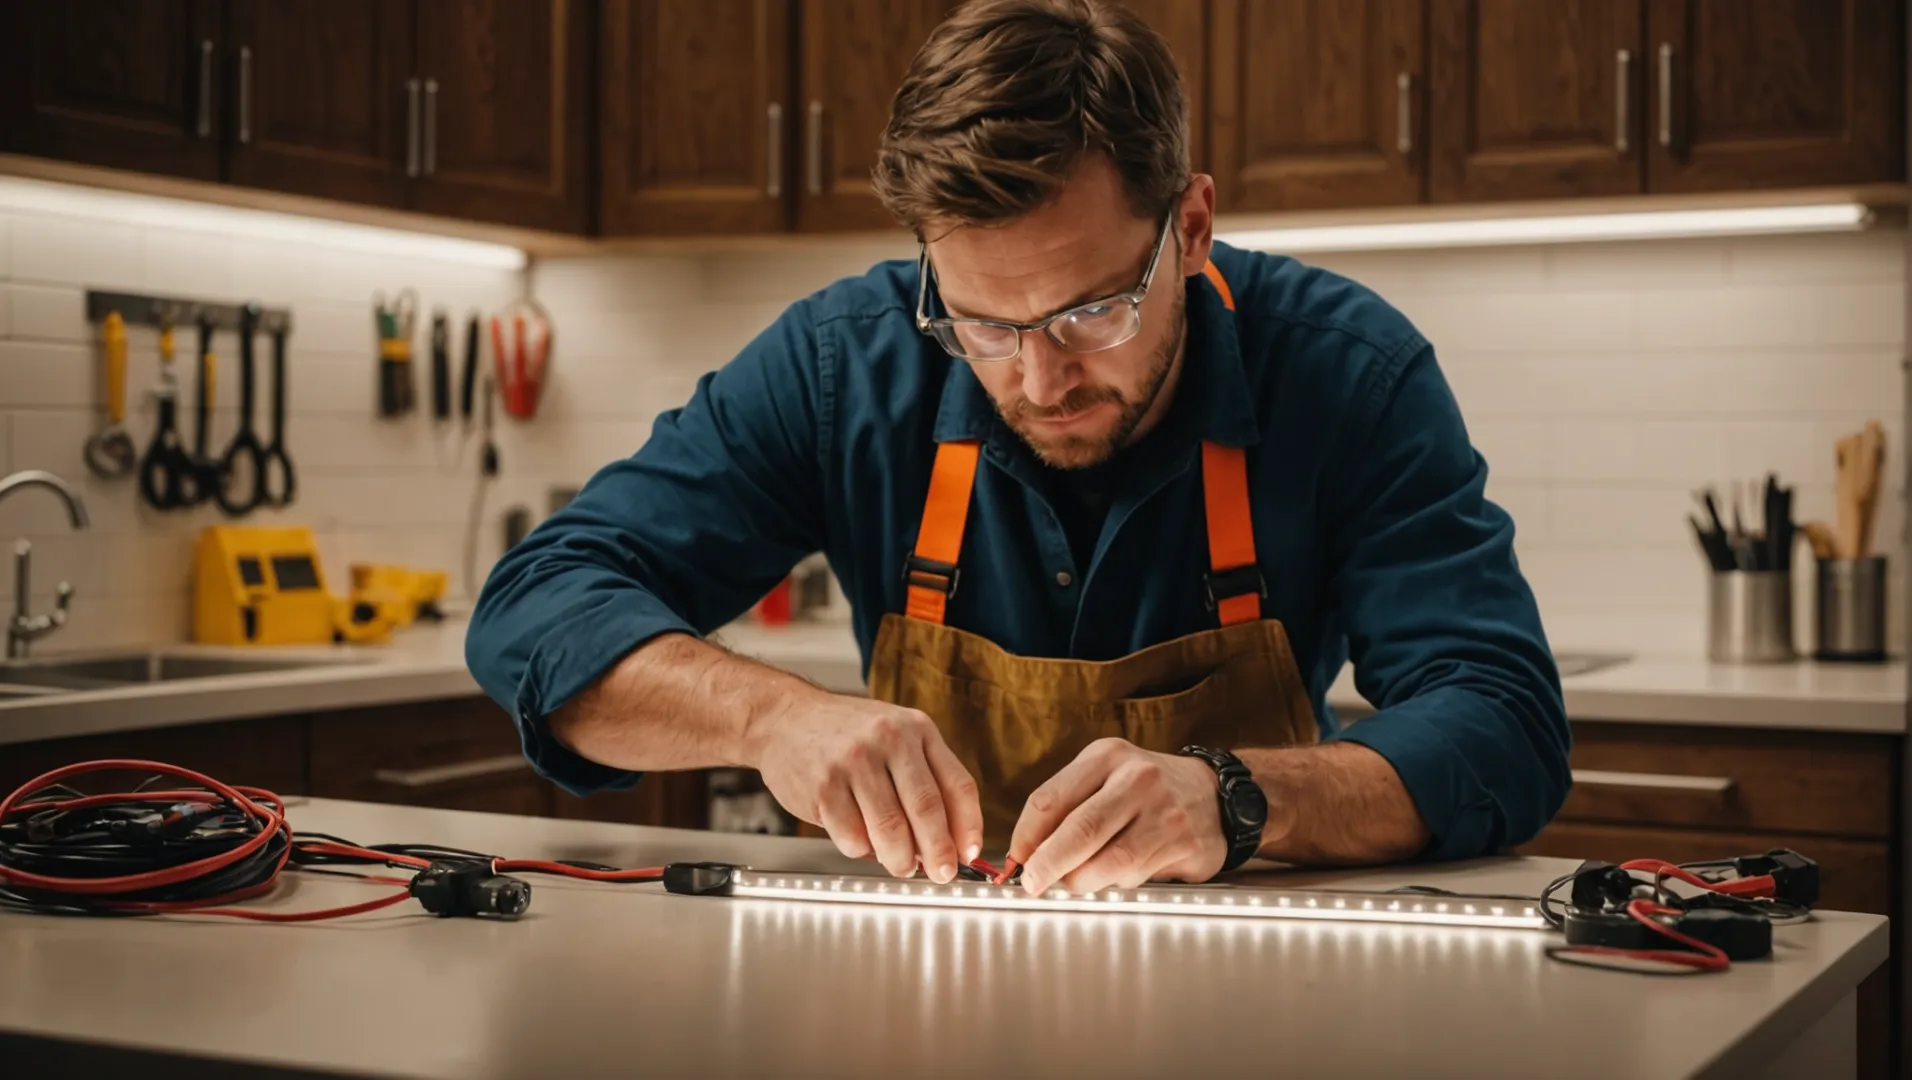
Overlooking Voltage Compatibility
One of the most common mistakes is not checking the voltage compatibility between the LED strip and the power supply. LED strips typically operate on 12V or 24V, while household currents are usually higher. Mismatched voltage can lead to damage or reduced lifespan of the LEDs. Ensure your transformer or driver matches the strip’s requirements.
Insecure Connections
Poorly secured connections can cause flickering or intermittent lighting issues. Use wire connectors specifically designed for LED installations to ensure a tight fit. Soldering wires directly onto the strip’s pads can provide a more secure connection but requires precision. Always double-check connections before finalizing your setup.
Skipping Heat Management
LED strips can generate heat, and without proper heat management, this can lead to overheating and failure. Use aluminum channels or heat sinks to dissipate heat effectively. Ensure there is adequate airflow around the strip, particularly if installed in enclosed spaces.
Ignoring Installation Instructions
Each LED strip comes with specific installation guidelines that should be followed closely. Deviating from these instructions can void warranties or lead to improper functioning. Always read the manufacturer’s instructions thoroughly before starting your project.
Neglecting Safety Precautions
Working with electricity requires caution. Turn off power at the circuit breaker before starting any installation work. Wearing insulated gloves and using tools with rubber grips can provide an additional safety layer. If you’re unsure about any step, it’s best to consult with a qualified electrician.
Using Inappropriate Tools
Using the wrong tools can damage the LED strips or create safety hazards. Essential tools include wire cutters, strippers, a multimeter for checking voltage, and appropriate connectors. Refer to essential tools for hardwiring LED strips4 for more details.
By understanding and avoiding these common mistakes, your hardwired LED strip lights can provide safe and reliable illumination for years to come.
LED strips operate on 120V household current.False
LED strips typically require 12V or 24V, not 120V.
Skipping heat management can cause LED strip failure.True
Without heat management, overheating may lead to failure.
Can You Use a Hardwiring Kit for Easier Installation?
Hardwiring kits simplify LED strip light installation, making the process more accessible and efficient.
Yes, hardwiring kits can streamline the installation of LED strip lights by providing all necessary components and clear instructions, making the process easier and more organized for both novices and experts.
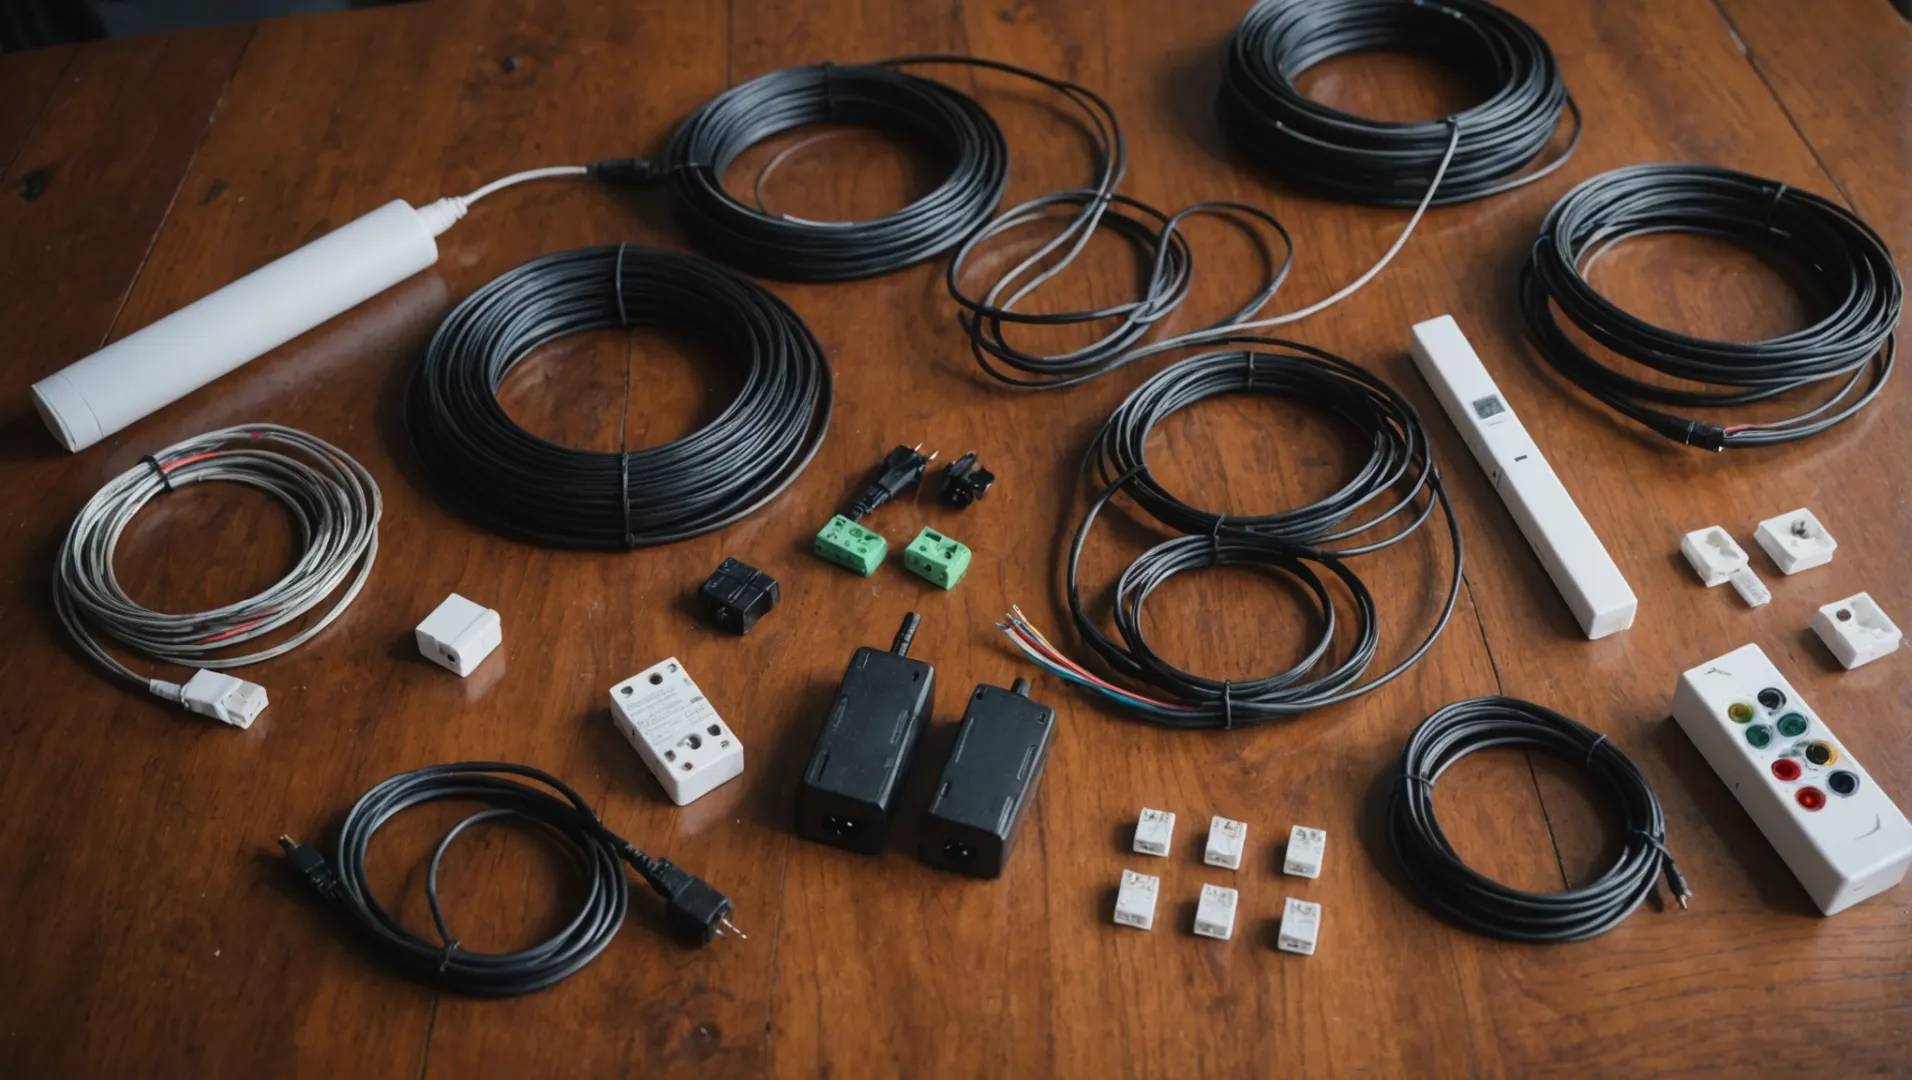
What is a Hardwiring Kit for LED Strip Lights?
A hardwiring kit typically includes everything you need to convert plug-in LED strip lights into a more permanent installation. These kits often contain items such as connectors, adapters, wire nuts, and sometimes even a power supply. By using a hardwiring kit, homeowners can ensure that they have all the necessary components in one package, reducing the risk of missing or incompatible parts.
Benefits of Using a Hardwiring Kit
- Convenience: A kit consolidates all needed parts, eliminating the hassle of sourcing them individually.
- Efficiency: Clear instructions help streamline the installation process.
- Professional Finish: Kits often include elements designed to create a seamless look, hiding unsightly wires and connectors.
Steps to Install Using a Hardwiring Kit
- Power Off: Before beginning, ensure that the power supply to the area is turned off to prevent electrical shocks.
- Layout Planning: Carefully plan the layout of your LED strip lights to determine where connections will be made.
- Connect Components: Use the connectors provided in the kit to attach the LED strips to the power supply and any controllers.
- Secure Wiring: Neatly secure and hide wires using cable ties or clips included in the kit for a clean finish.
- Test Setup: Once all connections are made, restore power and test the system to ensure everything is functioning correctly.
Considerations When Using a Hardwiring Kit
- Ensure compatibility with your specific LED strip model.
- Follow all safety instructions provided in the kit.
- Consider consulting an electrician if you encounter any challenges or uncertainties during installation.
By choosing a hardwiring kit5, you can enjoy a streamlined setup process that minimizes potential issues while enhancing the overall aesthetics of your lighting project.
Hardwiring kits include a power supply.True
Many hardwiring kits come with a power supply to ensure compatibility.
Using a hardwiring kit requires professional help.False
Clear instructions in kits make DIY installation feasible for most users.
Conclusion
By following these steps, you’ll not only enhance your space with beautiful lighting but also gain confidence in your DIY skills. Remember, take your time, stay safe, and enjoy the process!
-
Explore top-rated connectors to simplify your installation process.: If you’re trying to make your strips take a sharp turn, or a strange angle, then any-angle connectors 8mm or 10mm will give you just the kind of slack you need … ↩
-
These kits simplify secure wire connections for safer installations.: If you’re trying to make your strips take a sharp turn, or a strange angle, then any-angle connectors 8mm or 10mm will give you just the kind of slack you need … ↩
-
Manufacturer guides offer tailored troubleshooting tips for your specific LED model.: In this troubleshooting guide, we will explore the common problems that users encounter with LED strip lighting and provide solutions to fix them. ↩
-
Discover essential tools needed for safe and effective installation.: A wire gauge of 22 AWG or higher is recommended. You should also use a high-quality soldering iron and solder to connect your wires to the LED strip lights. To … ↩
-
Discover top-rated kits to simplify your LED installation process.: 60 in. Hardwired LED Under Cabinet Strip Light, 2300 Lumens, 3000K Warm White, Kitchen and Living Room 120V White Cove Lighting, No Power Supply Needed ↩






