
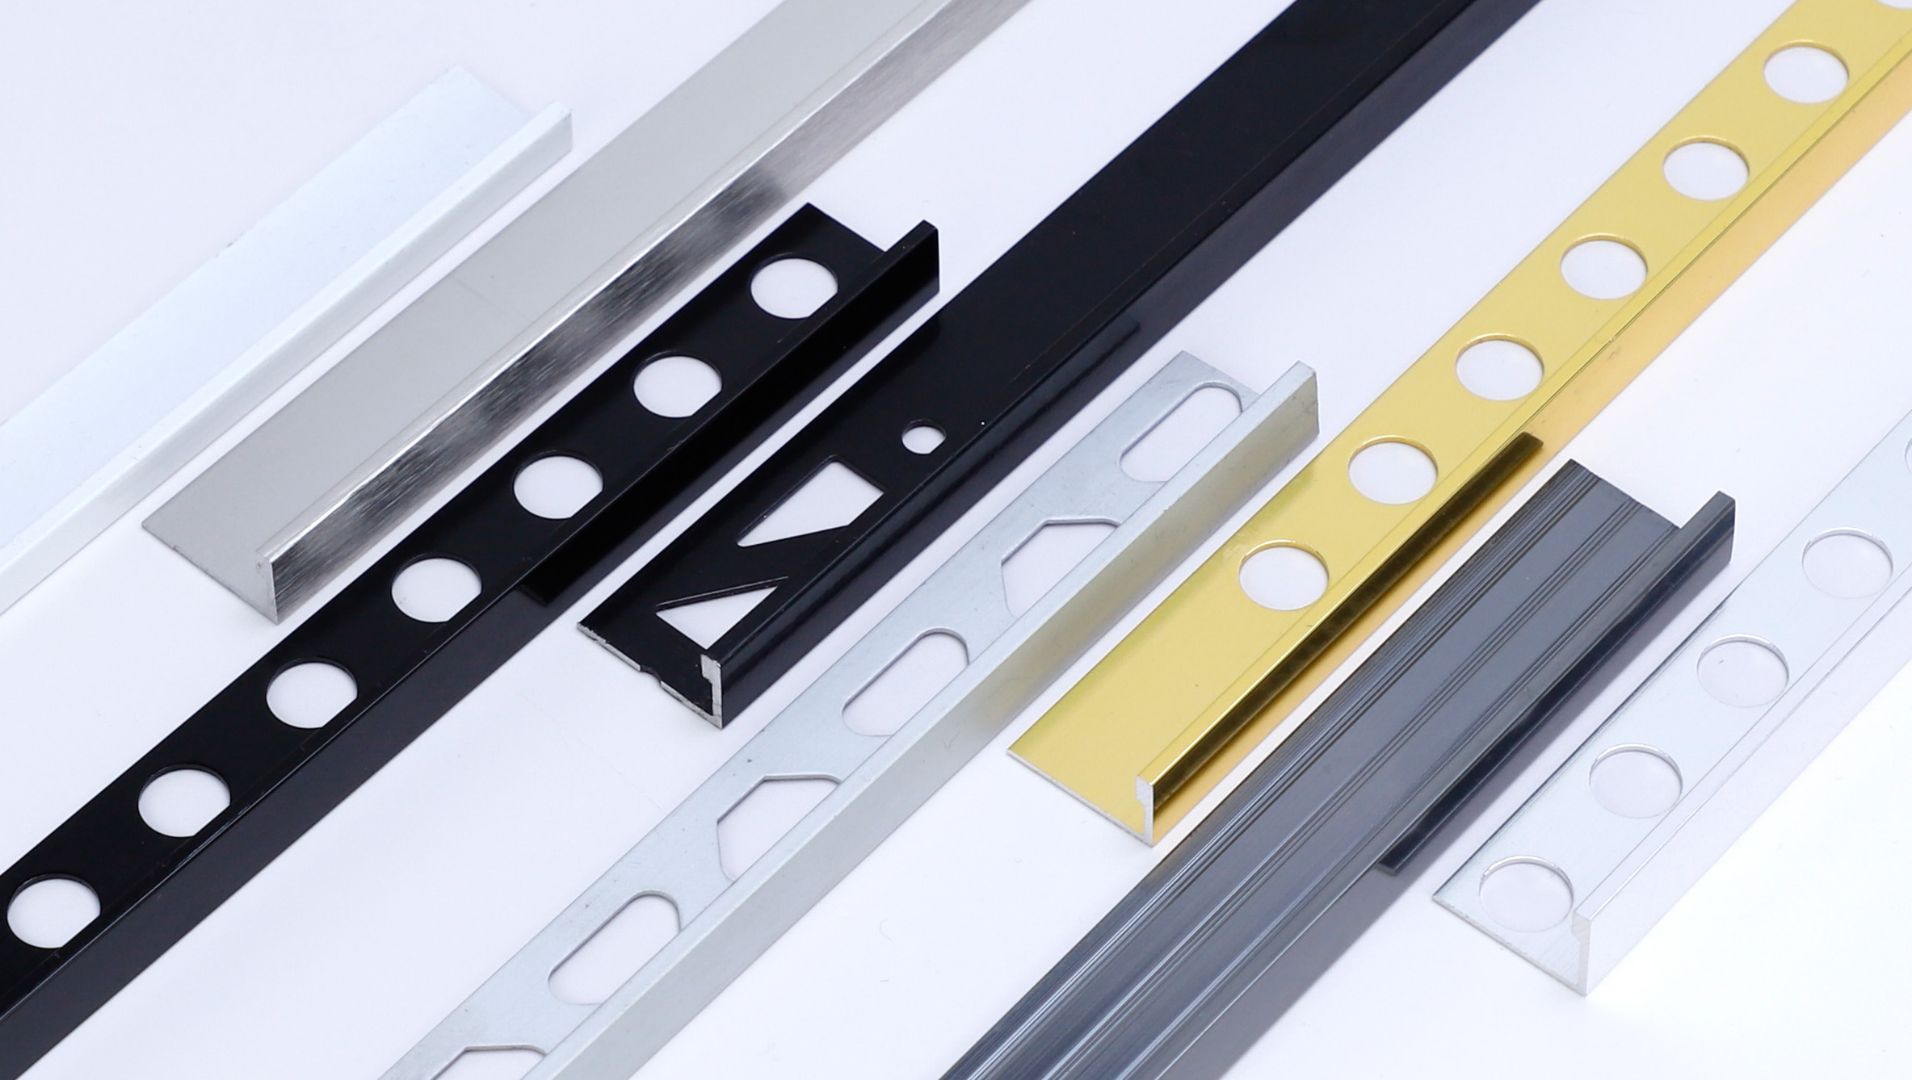
Choosing the right tile trim size isn’t just about looks; it’s about achieving a seamless, polished finish that lasts.
To choose the right size tile trim, measure your tile’s thickness and consider the type of installation (wall or floor). Match the trim size to the tile’s edge for a seamless look, ensuring both aesthetics and function are prioritized.
But understanding how to select the right tile trim is just the beginning! In this blog post, I’ll share expert tips on colors, tricky corners, and sizing charts that will elevate your project to professional-grade results.
Tile thickness is irrelevant to trim size.False
Trim size must match tile thickness to ensure proper coverage and support.
What Factors Should You Consider When Measuring Tile Trim?
Accurate tile trim measurement is essential for a seamless finish, but what should you consider?
When measuring tile trim, consider tile thickness, installation location, and the finish you desire. Accurate measurements ensure proper fit, prevent damage, and enhance aesthetics.

Understanding Tile Thickness and Its Impact
The thickness of your tile plays a pivotal role in determining the appropriate trim size. Thicker tiles generally require a larger trim to accommodate the depth. This ensures that the trim not only covers the edge but also provides a secure fit1. For instance, if you’re using large-format tiles, a more substantial trim might be necessary to support their weight and prevent chipping.
Installation Location Matters
The environment where the tiles will be installed can influence your trim choice. Wall installations might demand different trim considerations compared to floor tiles. For example, floor tiles2 often require more robust trims that can withstand foot traffic, whereas wall tiles might prioritize aesthetics over durability.
The Importance of Aesthetic Appeal
The aesthetic value of your project should not be underestimated. A well-chosen tile trim complements the overall look of your space. It’s important to match the trim’s finish with the tile for a cohesive appearance. Whether it’s a metallic sheen or a matte finish, choosing the right finish3 can enhance the visual appeal of your project.
Tools for Accurate Measurement
Utilizing proper tools ensures precision when measuring tile trims. A digital caliper or a reliable tape measure can provide accurate readings of both the tile and its prospective trim. It’s advisable to double-check your measurements4 to avoid costly mistakes later in the project.
Considering Future Maintenance
While aesthetics and fit are crucial, future maintenance should also be on your radar. Some trims are easier to clean and maintain than others. If the area is prone to moisture, like in bathrooms or kitchens, selecting trims that resist mold and mildew can save on maintenance time and costs later.
Thicker tiles need larger trim for secure fit.True
Thicker tiles require larger trims to cover the edge and provide support.
Wall tile trims must withstand foot traffic.False
Wall tile trims prioritize aesthetics, not durability against foot traffic.
How Does Tile Thickness Affect Trim Selection?
The thickness of your tile is a critical factor in choosing the right trim, ensuring both aesthetics and durability.
Tile thickness directly influences trim selection by determining the trim’s height and ensuring it adequately covers and supports the tile edges, preventing damage.

Understanding Tile Thickness and Trim Compatibility
When selecting tile trim, one of the most crucial factors to consider is the thickness of the tiles you are working with. Tile thickness varies significantly depending on the type, such as ceramic, porcelain, or natural stone, and each type has specific requirements for trim selection.
Tile trims are designed to cover the raw edges of tiles and protect them from chipping or cracking. The right trim height should match the tile thickness to ensure a snug fit. A mismatch here can lead to exposed edges or unstable tiles, compromising both the visual appeal and integrity of your tiling project.
| Tile Type | Average Thickness (mm) | Recommended Trim Height (mm) |
|---|---|---|
| Ceramic | 6-10 | 8-12 |
| Porcelain | 8-12 | 10-14 |
| Natural Stone | 10-20 | 12-22 |
Factors Influencing Trim Height Selection
- Tile Material: Different materials have different thicknesses. For instance, natural stone is generally thicker than ceramic tiles, requiring higher trims.
- Installation Location: The type of installation, whether it’s on a floor or wall, can affect the necessary trim height. Wall installations might require slightly lower trims due to weight considerations.
- Grout Lines: The width of grout lines between tiles can also impact how much trim height is needed to ensure a seamless transition.
- Aesthetic Preferences: Some projects might prefer more substantial trims for visual impact or minimal trims for a sleek look.
Avoiding Common Mistakes
One common mistake is selecting a trim that is too low for the tile thickness. This not only leaves edges vulnerable but also creates an uneven surface that can be hazardous, especially in high-traffic areas. Conversely, choosing a trim that is too high can be equally problematic as it may protrude excessively, disrupting the smooth transition between surfaces.
By understanding these nuances, you ensure that your tiling project not only looks good but also lasts longer and functions well. For further insights on selecting tile trims based on different tile types5, explore resources that delve deeper into material-specific recommendations and installation techniques.
Tile thickness affects trim height selection.True
Trim height must match tile thickness for proper edge protection.
Ceramic tiles require higher trims than natural stone.False
Natural stone is thicker, needing higher trims than ceramic tiles.
What Are the Best Practices for Matching Trim Colors with Tiles?
Choosing the right trim color for your tiles can make or break the overall aesthetic of your tiling project.
To match trim colors with tiles, consider the tile’s color, style, and texture. Opt for complementary or contrasting colors based on your design vision. Always test color samples in your space under different lighting conditions to ensure harmony.
Understanding Color Theory in Tile and Trim Matching
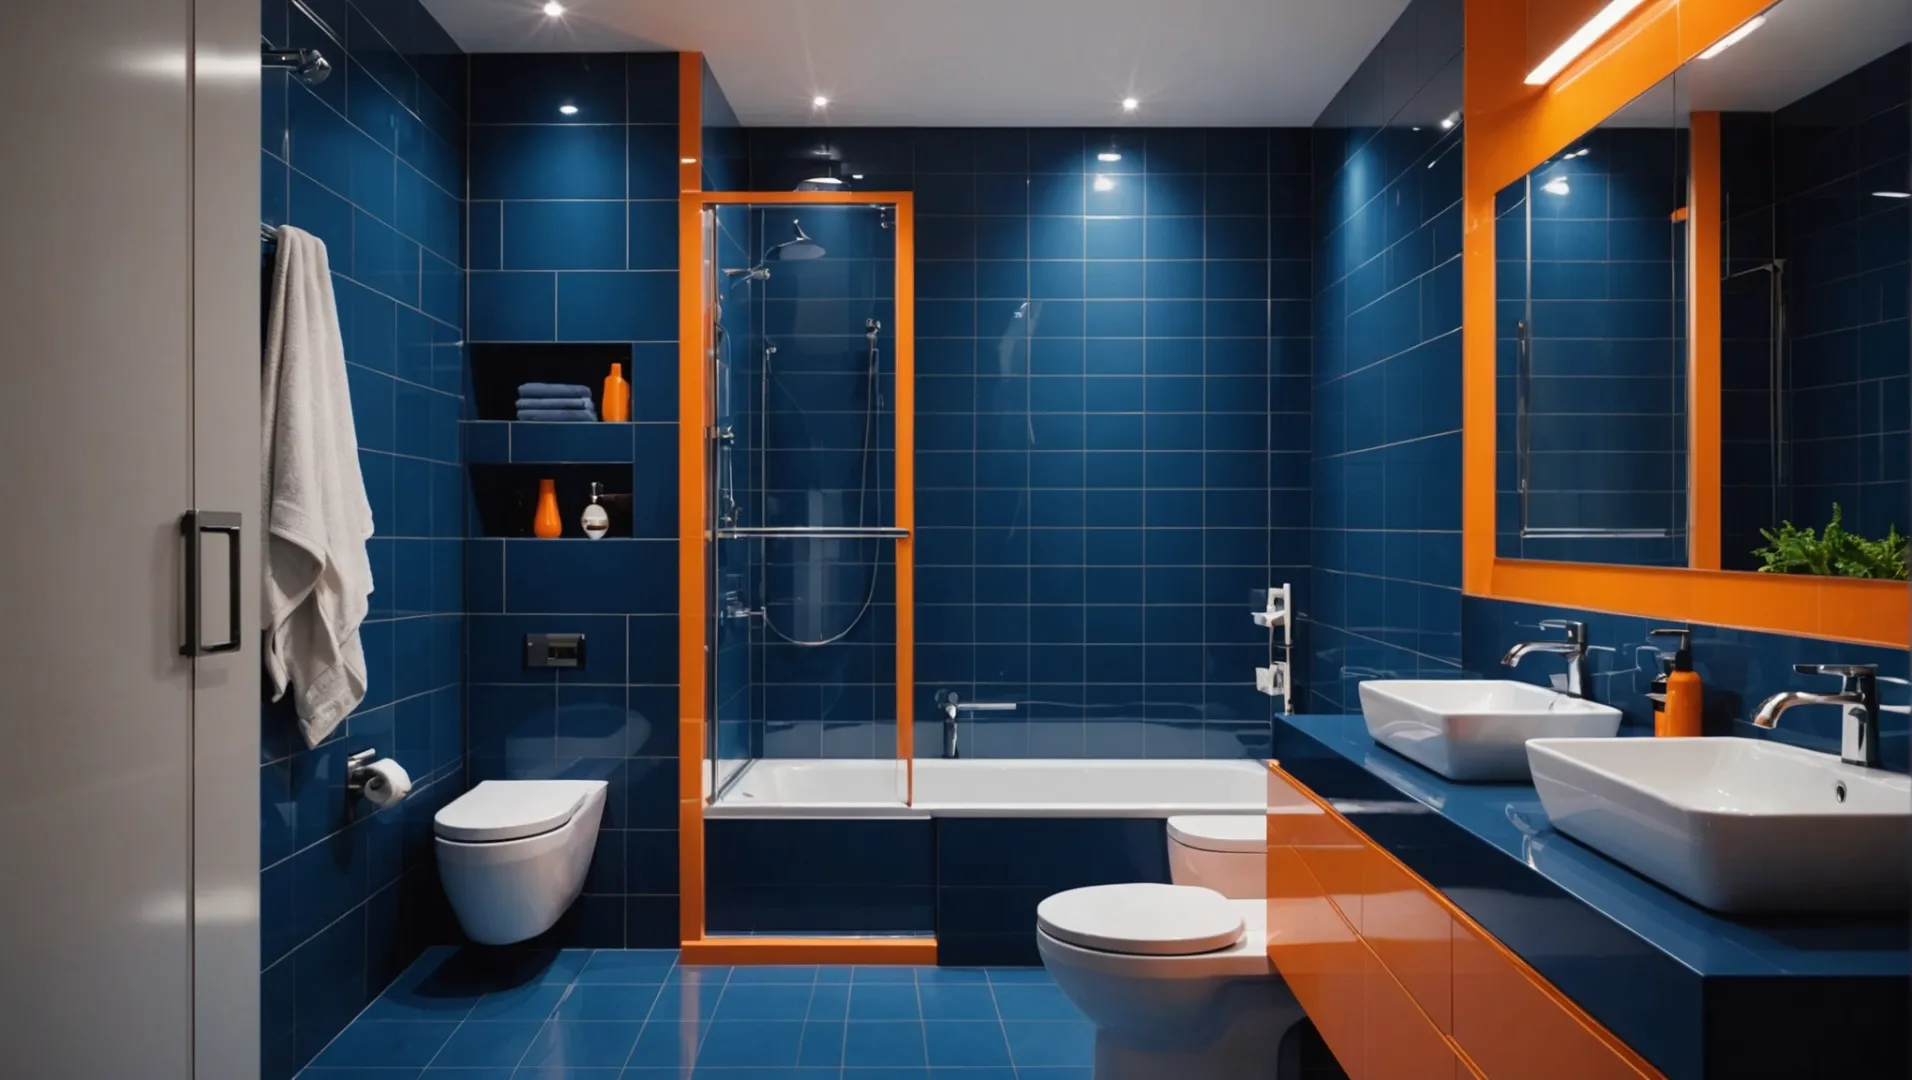
When choosing trim colors, understanding color theory6 can provide a foundation for making informed decisions. Complementary colors, which sit opposite each other on the color wheel, can create a vibrant look, while analogous colors, which are next to each other, offer a more harmonious feel.
Examples:
- Complementary: Pairing a deep blue tile with a bright orange trim can add boldness to modern spaces.
- Analogous: Combining soft green tiles with a yellow-green trim can evoke a calming atmosphere.
Considering Tile Texture and Finish
Tiles come in various textures and finishes, from matte to glossy. The trim’s finish should either match or intentionally contrast the tile’s texture for aesthetic appeal. For instance, a high-gloss trim may accentuate a matte tile, drawing attention to its understated elegance.
Practical Tips:
- Use a matte trim with glossy tiles for subtle contrast.
- Match textured trims with rustic-style tiles for a cohesive look.
The Impact of Lighting on Color Perception
Lighting conditions can dramatically alter how colors appear in a space. It’s crucial to test tile and trim combinations under different lighting scenarios—natural daylight, LED lighting, and incandescent lights—to see how they interact.
Table: Trim Color Selection Based on Tile Types
| Tile Type | Suggested Trim Colors |
|---|---|
| Ceramic | Neutral tones like beige or grey |
| Marble | Metallic finishes such as silver |
| Porcelain | Bold colors like black or navy |
| Mosaic | White or clear trims to highlight patterns |
Personal Style and Design Vision
Ultimately, the best practice is to align the trim color with your personal style and design goals. Whether you’re aiming for a minimalist look or an eclectic mix, your choice should reflect your unique taste while maintaining cohesion across the space.
Consider creating mood boards or using digital design tools to visualize how different combinations work together. This step can be invaluable in ensuring satisfaction with the final result.
Complementary colors create vibrant tile-trim looks.True
Complementary colors, opposite on the color wheel, offer bold contrast.
Glossy trims always match best with glossy tiles.False
Glossy trims can contrast matte tiles for a unique look.
How Can You Effectively Use Tile Trims at Corners?
Mastering tile trims at corners enhances your project’s aesthetics and protects tile edges.
To effectively use tile trims at corners, select trims that match the tile material and color. Cut trims at a 45-degree angle for a perfect fit, ensuring they align seamlessly. Secure them with adhesive, pressing firmly to prevent gaps.
Understanding Tile Trim Functions at Corners
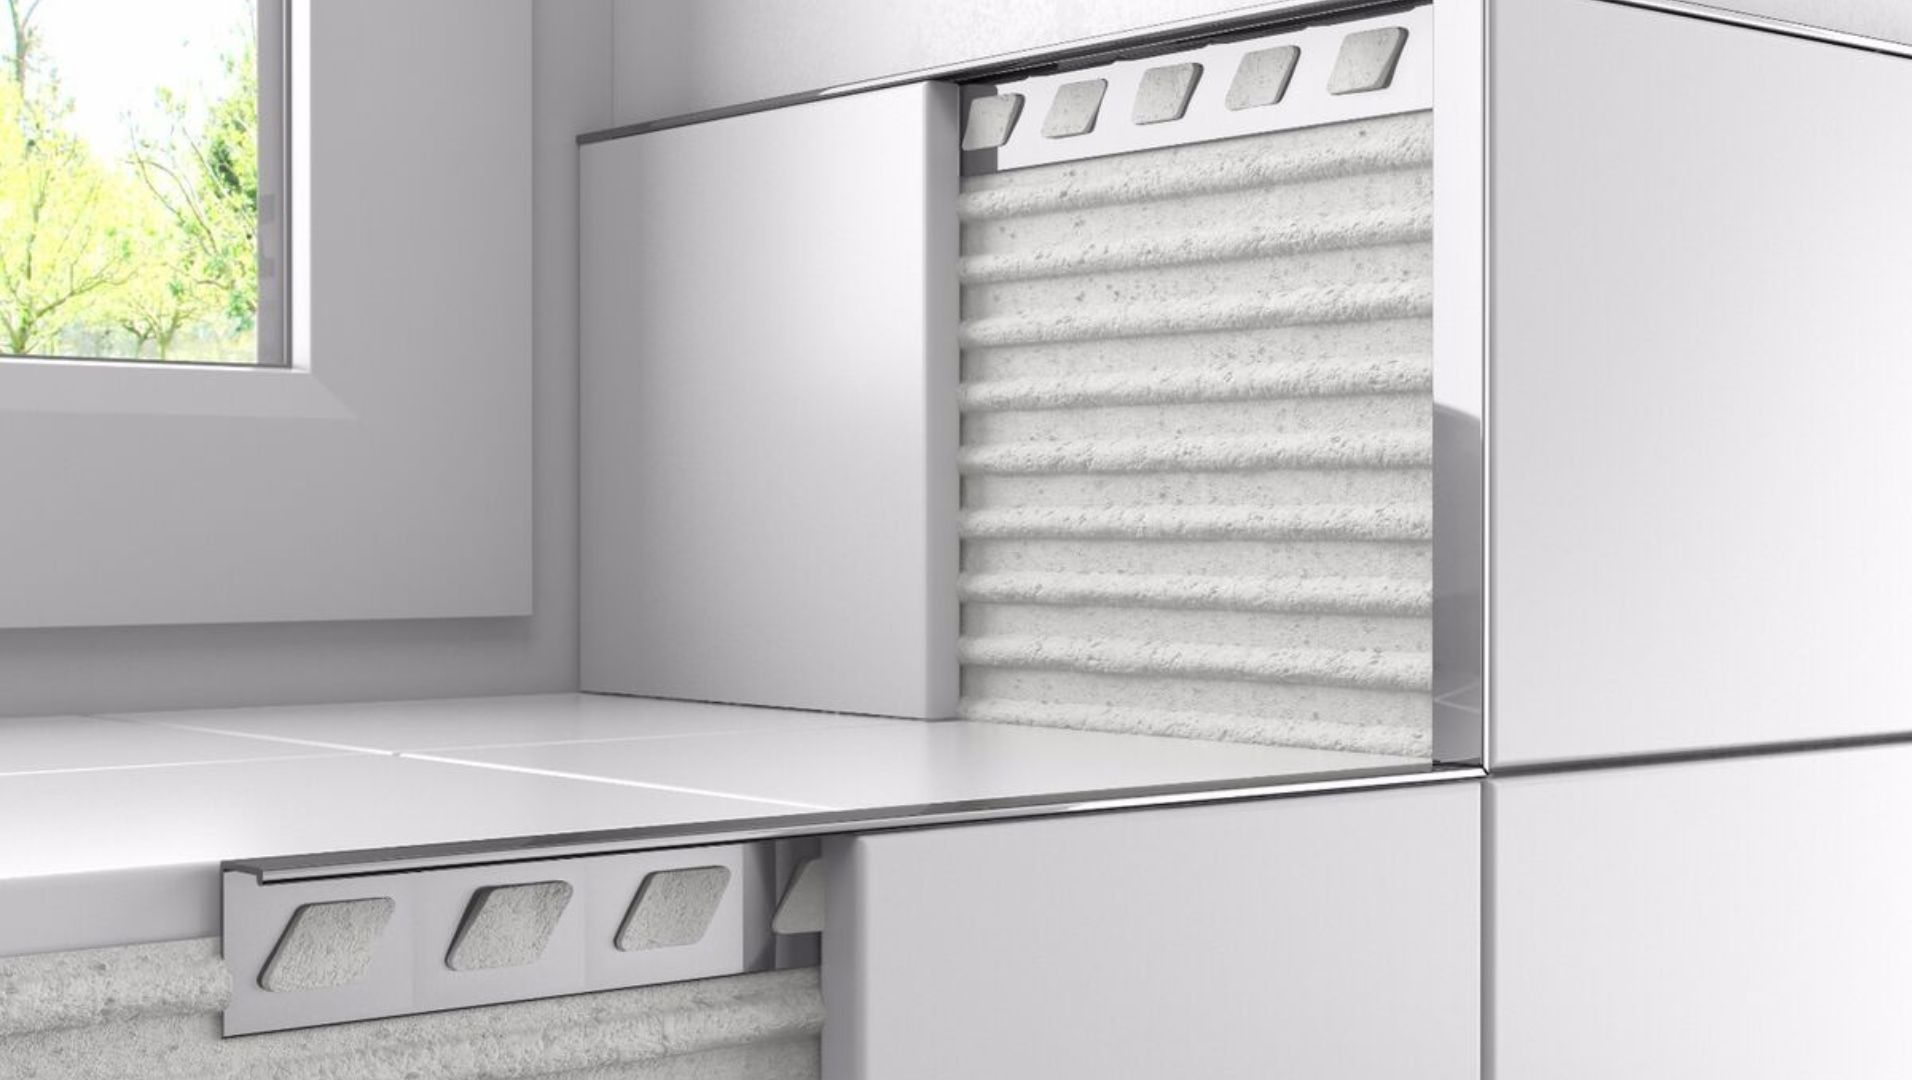
Tile trims serve dual purposes: they enhance the aesthetic appeal and provide protection against chipping. At corners, trims need to seamlessly join two perpendicular surfaces, demanding precision in both selection7 and installation.
Choosing the Right Trim for Corners
-
Material Compatibility: Ensure the trim material matches the tile material (e.g., ceramic, metal). This not only ensures uniformity but also maintains durability.
-
Color Coordination: Opt for a trim color that complements or contrasts effectively with your tiles. The right choice can transform an ordinary corner into a striking feature.
-
Profile Style: Select from a variety of profiles, such as square, round, or beveled, depending on your design preference.
Step-by-Step Guide to Installing Tile Trims at Corners
-
Measure and Cut:
- Use a miter saw to cut the trim at a 45-degree angle for a snug corner fit.
- Precision is key; any misalignment can lead to noticeable gaps.
-
Apply Adhesive:
- Apply tile adhesive evenly on the corner where the trim will be placed.
- Press the trim into place, ensuring it aligns perfectly with the adjacent tiles.
-
Secure and Finish:
- Check alignment and make adjustments as needed before the adhesive sets.
- Use spacers if necessary to maintain even gaps.
Troubleshooting Common Issues
- Gapping or Misalignment: Often results from improper measurement or cutting. Double-check measurements and use appropriate tools to achieve precision.
- Adhesive Overflow: Clean excess adhesive promptly with a damp cloth to maintain a clean finish.
Enhancing Corners with Creative Designs
Consider using decorative trims or integrating lighting elements within the corner trim to add a modern touch. Such innovations can elevate the overall design, creating focal points in your tiling project.
By implementing these practices, not only do you ensure that your corners are aesthetically pleasing but also that they remain robust against wear and tear over time.
Tile trims must be cut at a 45-degree angle.True
Cutting at a 45-degree angle ensures a snug fit at corners.
Using adhesive is optional for securing tile trims.False
Adhesive is essential to firmly secure tile trims in place.
Conclusion
In summary, selecting the right tile trim is a blend of art and science. With careful measurement and attention to detail, you can create a stunning finish that not only looks great but lasts.
-
Learn how thickness affects tile trim choice.: With smaller format tiles, take the tile thickness and select the corresponding size profile. Due to more warpage with larger format tiles, additional thin-set … ↩
-
Discover trims suitable for high-traffic floor areas.: Two types of tile trim are Schluter metal edging strips and bullnose tile pieces, which both provide protective edges while making different stylistic … ↩
-
Explore ways to match trim finishes with tiles.: La Riviera Blue Reef Tile and Bullnose Trim is a great choice to finish off a tile wall with matching La Riviera Blue Reef 2.5×8" Subway Tiles. Quarter Round … ↩
-
Find tools that ensure precise tile measurement.: 10 Inch Super Gauge Shape and Outline Tool, Contour Gauge Profile Tool with Lock, Measuring Tools Shape Duplicator Woodworking Tools ↩
-
Gain insights on material-specific trim recommendations and installation tips.: In this post I will be providing you with an assortment of tile edging options and some helpful installation strategies. ↩
-
Explore how color relationships impact interior design choices.: The color theory uses various principles such as hue, value, intensity, and temperature to harmonize colors. By combining different tints, … ↩
-
Explore expert tips for choosing trims that match your tiles perfectly.: An easy and affordable way to finish a corner is by using Schluter profiles. These profiles are strips of metal or PVC trim. The profiles provide a clean … ↩






