
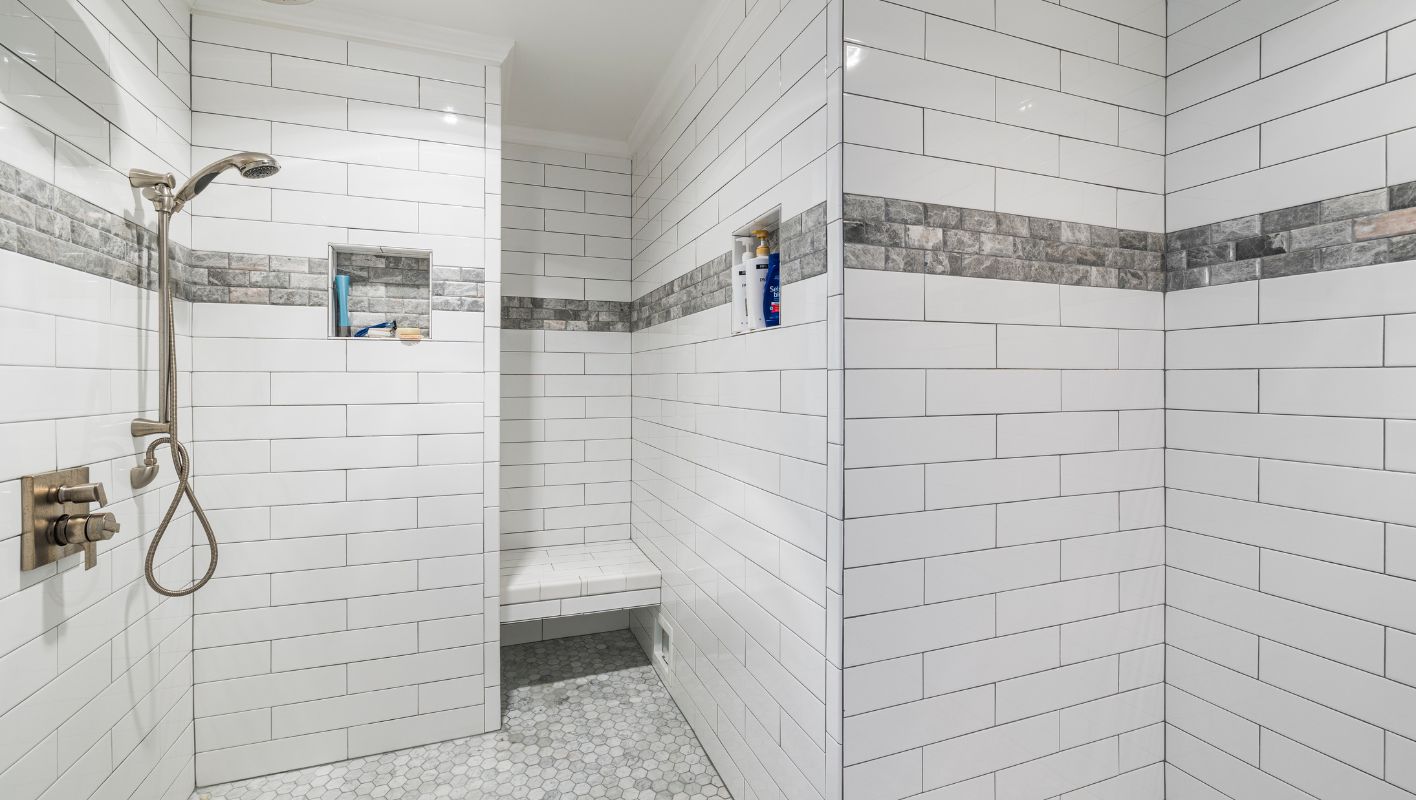
Ever felt the thrill of turning your bathroom into a work of art, tile by tile?
To lay bathroom tile like a pro, first prep the surface, choose the right tiles, and gather essential tools. Measure, cut, and set tiles with precision. Finish with careful grouting and sealing for durability and style.
I remember the first time I decided to tackle tiling my own bathroom. It felt like stepping into an uncharted territory, armed with a trowel and a dream. But as I dove into each step, from measuring to grouting, I realized it was more about patience and precision than anything else. Each tile I laid was a tiny victory, slowly transforming my bathroom into a sanctuary of style and function. So whether you’re facing a floor or wall project, remember: with the right guidance and a bit of perseverance, you can create something truly special.
Proper sealing is crucial for bathroom tile longevity.True
Sealing prevents water damage and extends the life of bathroom tiles.
Laying bathroom tile requires professional expertise.False
With proper guidance, DIY enthusiasts can lay bathroom tiles effectively.
What Tools and Materials Do You Need?
Starting a project without the right tools? It’s like trying to bake a cake without flour. I’ve been there, learning the hard way!
To get your project off on the right foot, you’ll need essential tools like a measuring tape, hammer, saw, drill, level, and protective gear. Materials such as wood, metal, and nails are also crucial. Tailor your toolkit based on project specifics and safety standards.
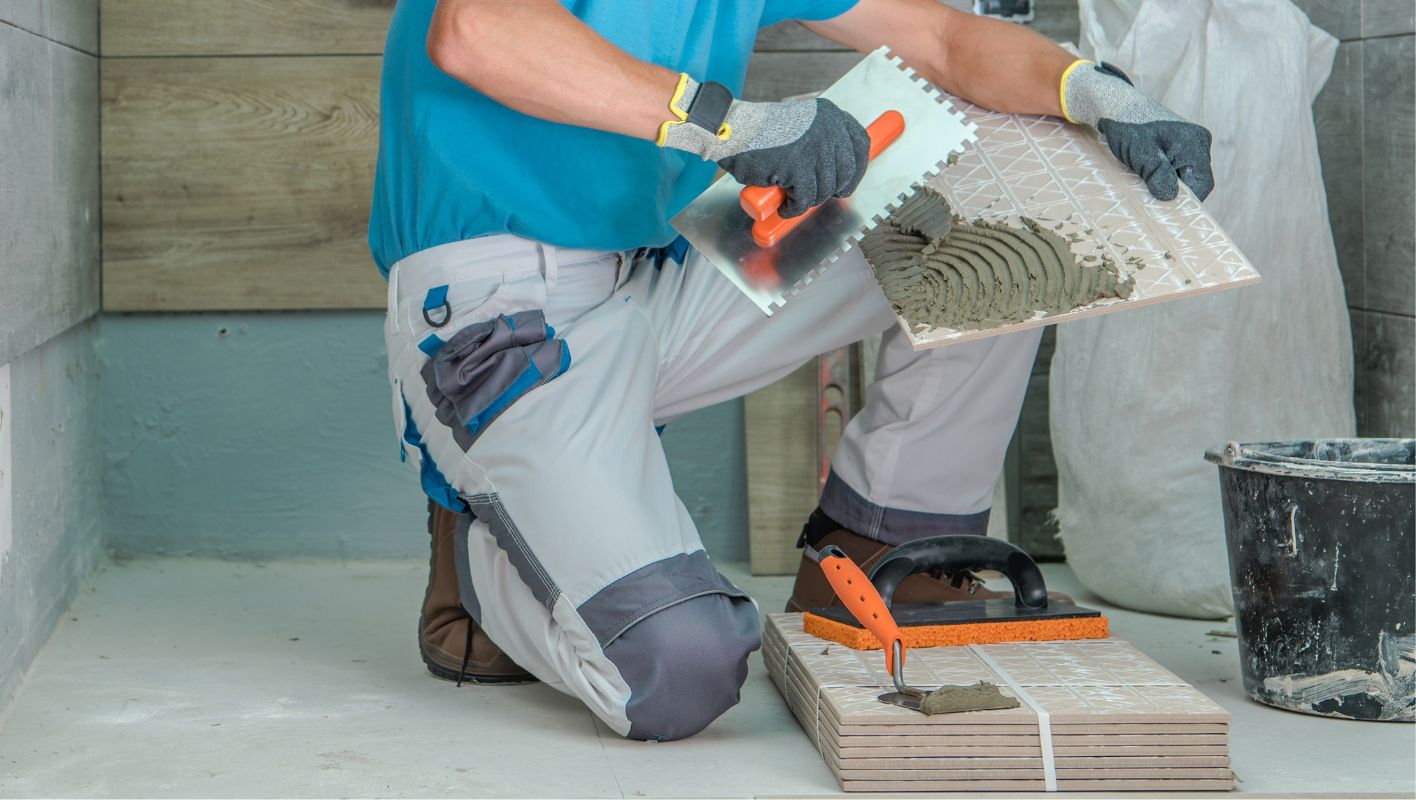
I remember my first real DIY project—a new bookshelf for my living room. Armed with only sheer enthusiasm and a few mismatched tools, I quickly realized the importance of having the right equipment. Let me walk you through some essentials that can make or break your project.
Essential Tools for Construction Projects
Whether you’re building a treehouse for the kids or tackling a more ambitious renovation, having the right tools can make all the difference. Here’s a quick rundown of what you might need:
| Tool | Purpose |
|---|---|
| Measuring Tape | Accurate measurement of materials |
| Hammer | Driving nails into wood or other materials |
| Power Drill | Drilling holes and driving screws |
| Saw | Cutting wood or other materials |
| Level | Ensuring structures are horizontally aligned |
I’ve learned that selecting the right tool is about understanding your project’s needs. For bigger tasks, power tools can save time and effort, but don’t underestimate the precision that hand tools offer.
Key Materials Needed
Depending on what you’re working on, materials can vary. When I tackled my backyard deck, wood was my go-to choice. Here’s what you might consider:
- Wood: Perfect for framing and structural work.
- Steel and Aluminum: Great for strong support beams.
- Concrete: A must for solid foundations.
- Composite Materials: Ideal for durability and eco-friendliness.
Whenever possible, I opt for eco-friendly materials1 to keep my projects sustainable.
Safety Equipment
Safety isn’t just a box to check—it’s essential. I’ve seen too many accidents that could’ve been prevented with the right gear. Here’s what I always keep on hand:
- Helmets
- Safety glasses
- Gloves
- Ear protection
Trust me, investing in adequate safety gear2 can save more than just time—it can save you from injuries.
Understanding Your Project Needs
Every project is unique. Before diving in, I always evaluate what’s needed to ensure I’m fully prepared. Consider these factors:
- Project size and complexity
- Precision levels required
- Compliance with safety standards
For commercial projects, stronger materials like steel might be necessary, whereas residential projects might benefit from lighter options like aluminum or wood composites. Keeping an eye on innovative materials3 helps me stay ahead of trends and enhance quality while being kind to the planet.
Having learned from experience, being well-equipped is not just about having the right tools and materials—it’s about understanding how they all come together to create something great. So, let’s grab those tools and get building!
Concrete provides foundational strength.True
Concrete is widely used for its strength in foundations.
A hammer is used for cutting wood.False
A hammer is primarily used for driving nails, not cutting.
How Can You Best Prepare Your Bathroom for Tiling?
Thinking of adding a touch of elegance to your bathroom with new tiles? Let me guide you through the essential preparation steps for a smooth transformation.
To prepare your bathroom for tiling, start by removing old fixtures and thoroughly cleaning the surfaces. Check that the substrate is even and secure, then waterproof and apply a quality primer to ensure durability.
Removing Old Fixtures
Start by carefully removing all existing fixtures like towel bars, showerheads, and mirrors. Use a flathead screwdriver or a pry bar to avoid damaging walls.
Fixture Removal Checklist
| Fixture Type | Tools Needed | Precautions |
|---|---|---|
| Towel Bars | Flathead Screwdriver | Avoid scratching the wall. |
| Mirrors | Pry Bar | Wear gloves to handle glass. |
| Showerheads | Adjustable Wrench | Turn off water supply first. |
Cleaning the Surface
After removing fixtures, thoroughly clean the walls to eliminate dust, grime, and old adhesive. Use a mixture of warm water and detergent for best results.
Tips for Effective Cleaning
- Use a sponge with mild detergent.
- Rinse with clean water and allow to dry.
Ensuring an Even Substrate
The surface must be smooth and even before tiling. Use a level to check for uneven areas. Patch holes or cracks with appropriate fillers4.
Waterproofing the Area
Waterproofing is crucial to prevent moisture damage. Apply a waterproof membrane on walls and floors, focusing on wet areas like showers.
- Step 1: Apply primer to clean surfaces.
- Step 2: Use a brush or roller to apply waterproof membrane.
- Step 3: Allow to cure as per manufacturer’s instructions.
Priming the Surface
A primer ensures better adhesion of tiles. Choose one compatible with your substrate material, like cement board5.
Final Checks
Before starting to tile, double-check:
- The surface is completely dry.
- All materials are ready (tiles, adhesive, tools).
- Safety gear is on hand (gloves, goggles).
By following these steps, you’ll create a solid foundation for your bathroom tiling project, enhancing both its durability and aesthetic appeal. Explore more tips6 for successful DIY home renovations!
Removing fixtures prevents wall damage.True
Carefully removing fixtures using appropriate tools minimizes the risk of wall damage.
Primer is optional for bathroom tiling.False
Priming ensures better tile adhesion, which is essential for durability.
How Can I Perfectly Tile My Walls?
Ever stared at a blank wall and imagined a masterpiece of tiles? Whether you’re a seasoned pro or diving into a DIY adventure, knowing the best practices can make all the difference.
To tile walls effectively, start by preparing the surface, choose the right tools, plan your layout carefully, use quality adhesive, and seal properly for durability and style.
Preparing the Surface
Let me tell you, when I first started tiling, I underestimated the power of prep work. I was so eager to see those beautiful tiles on my wall that I skipped a few steps. Big mistake. After battling with uneven tiles, I learned that a smooth and clean surface is absolutely essential. Imagine starting with dust or old adhesive; it’s like trying to paint on a dirty canvas. Now, I always begin by scrubbing my walls until they’re spotless and level out any uneven spots with a leveling compound. Trust me, it saves so much hassle down the road.
Choosing the Right Tools
When it comes to tools, think of them as your best friends in this journey. The first time I tiled a wall, I used whatever I had at hand, which wasn’t much. That was another learning curve. Now, I can’t do without my trusty tile cutter and level. If you’re like me and sometimes face those pesky hard-to-cut tiles, a tile saw will be your new best friend.
| Tool | Purpose |
|---|---|
| Tile Cutter | For cutting tiles to desired sizes |
| Trowel | For spreading adhesive evenly |
| Level | To ensure tiles are aligned |
Planning the Layout
Ah, the layout. This is where your inner artist shines! The thrill of planning out how each tile will fit together is unmatched. I remember spending an afternoon just laying tiles on my floor to visualize how they’d look on the wall. It felt like solving a giant puzzle, and seeing it all come together was deeply satisfying. Always start by marking your center point; it keeps everything aligned and looking sharp.
Using Quality Adhesive
Choosing the right adhesive isn’t just about what sticks; it’s about ensuring your hard work lasts. When I first tiled with ceramic, I went with mastic, but for stone tiles, thin-set mortar was the game-changer. It’s critical to follow the manufacturer’s instructions7 for mixing and applying to avoid any mishaps.
Applying Proper Sealing Techniques
Sealing is like the final protective shield for your masterpiece. One time, I skipped sealing in my bathroom project because I ran out of sealant and thought I’d get to it later. Let’s just say, never again! Now, I’m diligent about sealing grout lines once they’ve cured and reapplying every six months in moisture-prone areas like kitchens or bathrooms. A brush or spray bottle works wonders here.
For more detailed guides on materials or specific techniques, don’t hesitate to explore tiling resources8 online. Every project teaches something new, and these resources can help you avoid common pitfalls.
A smooth surface is crucial for wall tiling success.True
A smooth, clean surface ensures tiles adhere properly, preventing issues.
Tile saws are optional for all wall tiling projects.False
Tile saws are necessary for tougher cuts, not optional in complex projects.
What are the most common tiling mistakes and how can I avoid them?
There’s nothing quite like the satisfaction of a perfectly tiled floor or wall, but getting there can be tricky. Let me share some personal tips to help you steer clear of common tiling blunders.
To avoid common tiling mistakes, make sure your surface is well-prepared, choose the correct adhesive, and keep tile spacing consistent. Accurate measurements and using quality tools are essential for a smooth finish.
Preparing Your Surface for Tiling
Let me tell you, preparation is everything when it comes to tiling. I once rushed into a project without checking the surface properly, and oh boy, did I pay for it! The tiles ended up uneven and started cracking after a few months. Since then, I’ve learned to ensure the surface is clean, dry, and even. A leveling tool9 is my go-to for spotting any uneven areas. Trust me, taking the time to repair or smooth these spots before laying down tiles makes all the difference.
Choosing the Right Materials
Choosing the right materials is crucial. I remember this one time I used the wrong adhesive for my porcelain tiles in the bathroom, thinking any old glue would do. Big mistake! The tiles started popping off during a particularly humid summer. Now, I always make sure to select the appropriate materials for each project.
| Tile Type | Recommended Adhesive | Ideal Surfaces |
|---|---|---|
| Ceramic | Cement-based | Floors, walls |
| Porcelain | Epoxy | Outdoor, wet areas |
| Natural Stone | Polymer-modified | High-traffic zones |
Ensuring Precise Measurements
Ah, measurements! I learned the hard way that guessing just doesn’t cut it. Double-checking measurements before cutting tiles has saved me countless hours and headaches. I always use a tile cutter10 for crisp edges. Consistency is key—using spacers helps maintain uniform gaps between tiles.
Maintaining Consistent Tile Spacing
Nothing ruins the look of a tiled surface faster than uneven spacing. I’ve had my fair share of wonky lines until I started using spacers and a chalk line11 to keep everything straight and even. This little step ensures a professional finish and prevents grout issues later on.
Utilizing Quality Tools
When it comes to tools, investing in quality is non-negotiable for me. I learned early in my tiling adventures that cheap tools lead to uneven cuts and inefficient placement. A tile saw12 and reliable trowels have been game-changers in achieving precision and ease during installation.
Understanding Tile Layout Patterns
Planning your layout beforehand can save you from headaches down the road. I love experimenting with different patterns like herringbone or basket weave to add a unique touch to each project. Laying out dry tiles before committing with adhesive gives me a clear vision of the final look. Explore tile patterns13 that might suit your project best.
Remember, successful tiling boils down to attention to detail and preparation. Equip yourself with knowledge and the right tools to make your project stand out.
Using a leveling tool prevents tile cracking.True
Leveling tools help identify uneven surfaces, preventing tile instability.
Ceramic tiles require epoxy adhesive for best results.False
Cement-based adhesive is recommended for ceramic tiles, not epoxy.
Conclusion
Learn how to lay bathroom tiles effectively with essential preparation, proper tools, and techniques for a durable and stylish finish. Master the art of DIY tiling with expert tips.
-
Explore how using eco-friendly materials can enhance sustainability and reduce environmental impact in construction projects. ↩
-
Understand the essential role of safety gear in preventing workplace accidents and ensuring personal protection. ↩
-
Discover the latest trends in innovative building materials that can improve efficiency and sustainability. ↩
-
Discover which fillers are most effective in preparing walls for tiling, ensuring a smooth finish. ↩
-
Learn about primers specifically designed for cement board, ideal for bathroom applications. ↩
-
Gain insights into DIY renovation strategies that can enhance your tiling projects. ↩
-
This guide helps you choose the right adhesive based on tile material and wall type for lasting results. ↩
-
Explore detailed resources for mastering wall tiling techniques and achieving professional results. ↩
-
Leveling tools ensure your surface is even, preventing future tile instability and cracking. ↩
-
Using a tile cutter properly ensures clean edges and accurate fits during installation. ↩
-
A chalk line assists in maintaining straight lines, ensuring uniform tile spacing. ↩
-
A quality tile saw provides precision cuts, essential for professional-looking installations. ↩
-
Exploring tile patterns can inspire unique designs that enhance the aesthetic of your project. ↩






