
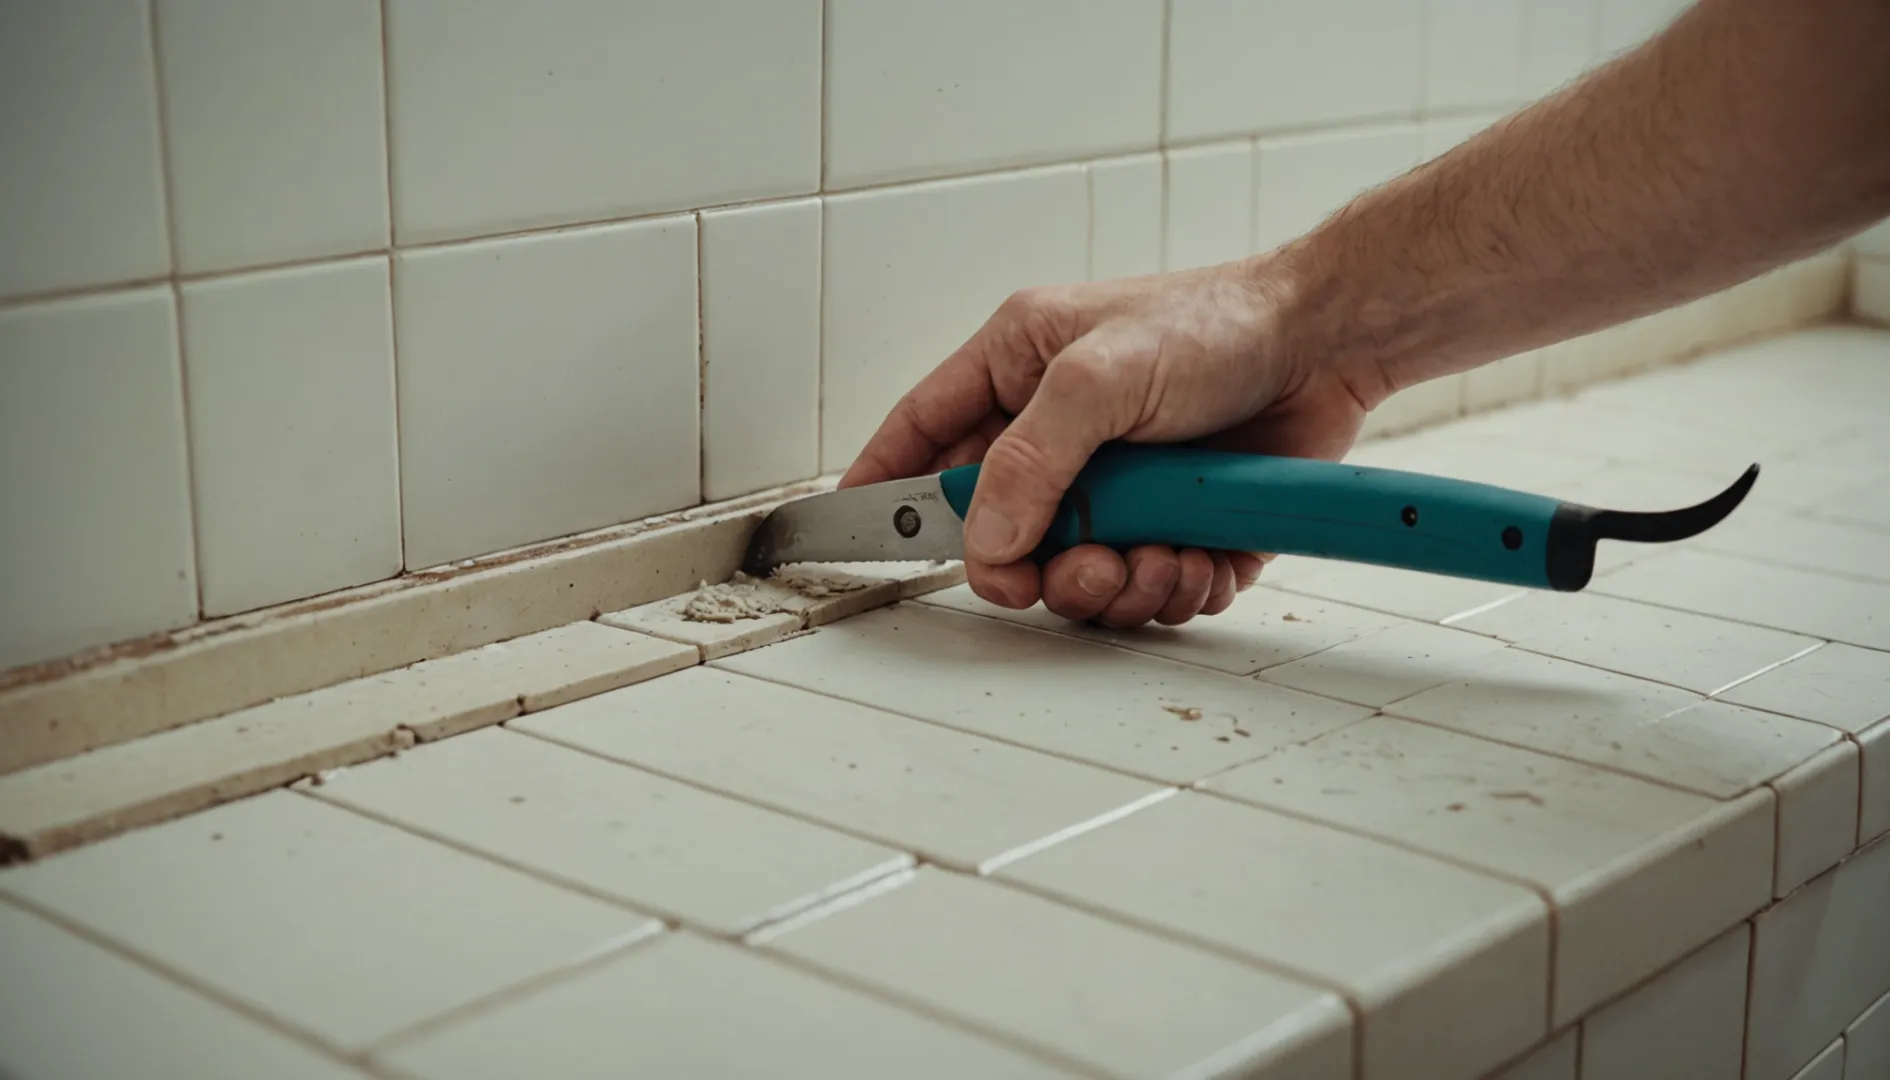
Tackling a tile trim replacement project? You’re in the right place!
To replace tile trim efficiently, start by carefully removing the old trim using a utility knife and putty knife, ensuring not to damage existing tiles. Clean the area thoroughly before applying new adhesive and setting the new trim in place for a professional finish.
While the basic steps are straightforward, there are important tips and tricks to consider that will save time and prevent common mishaps. Dive into our detailed guide to discover expert advice on replacing tile trim without hassle or stress.
Tile trim can be replaced without removing existing tiles.True
Careful removal of old trim and precise application of new trim make this feasible.
What Tools and Materials Do You Need for Replacing Tile Trim?
Embarking on a tile trim replacement journey? Arm yourself with the right tools first!
Essential tools for replacing tile trim include a utility knife, putty knife, adhesive, and tile trim pieces. Ensure you have these before starting to facilitate a smooth installation process.
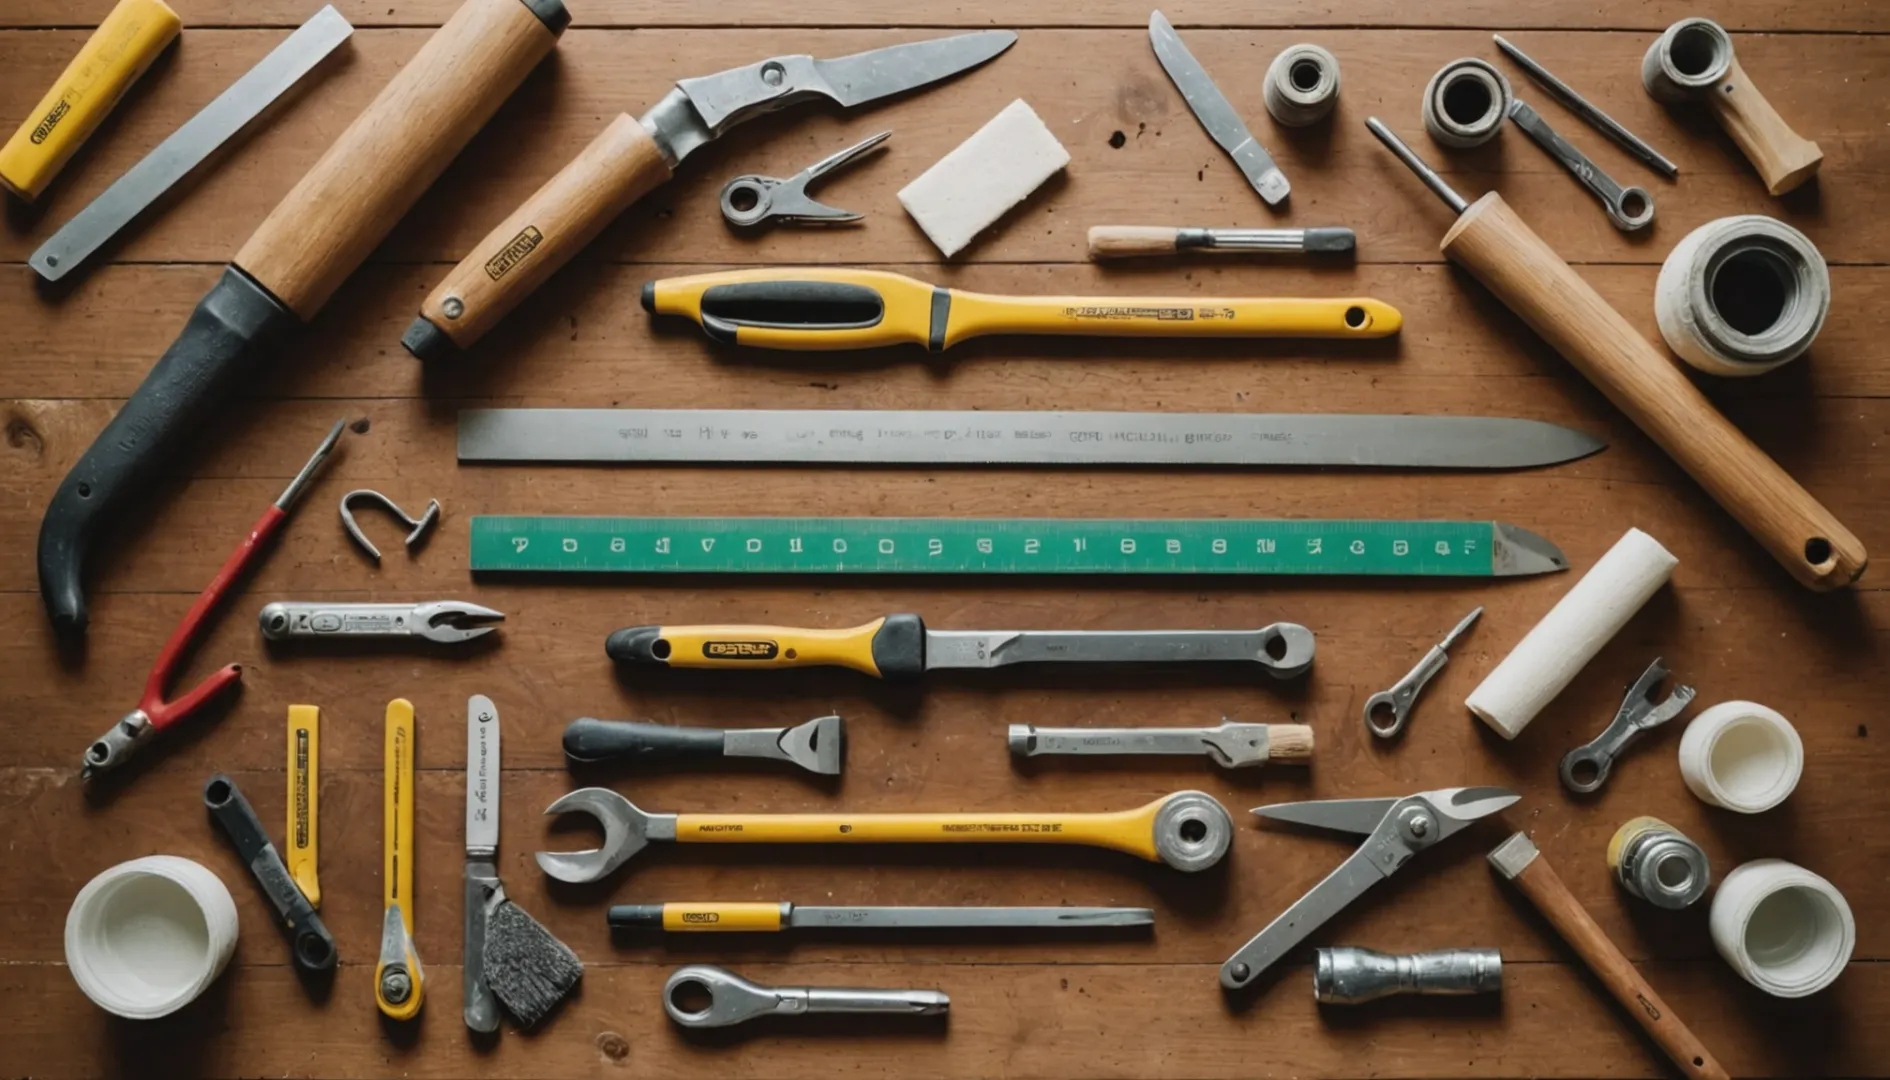
Essential Tools for Tile Trim Replacement
When replacing tile trim, having the right tools is crucial for achieving a clean and professional finish. Here’s a list of essential tools you’ll need:
- Utility Knife: Ideal for cutting through old caulk or adhesive.
- Putty Knife: Helps in prying off the old trim without damaging tiles.
- Adhesive Spreader: Ensures even application of adhesive.
- Tile Nippers: Useful for trimming tiles to fit the new trim perfectly.
- Level: Guarantees that the new trim is straight and evenly placed.
These tools will not only make the job easier but also help avoid common mistakes1 that can arise from inadequate equipment.
Must-Have Materials
Besides tools, you’ll need specific materials to complete your project:
| Material | Purpose |
|---|---|
| Tile Trim | The main component being replaced. |
| Adhesive | Secures the new trim in place. |
| Caulk | Seals edges to prevent water ingress. |
| Cleaning Cloth | Wipes away excess adhesive or caulk. |
Choosing the Right Adhesive
Selecting the correct adhesive is critical. Opt for one that suits your tile type2 and can withstand moisture if used in wet areas like bathrooms.
Protective Gear
While not directly involved in the replacement process, protective gear is vital:
- Gloves: Protects your hands from sharp tools and rough materials.
- Safety Goggles: Shields your eyes from debris during removal and installation.
By equipping yourself with these tools and materials, you ensure not only a seamless tile trim replacement but also a safe working environment. Keep these insights in mind to streamline your project and achieve lasting results.
A utility knife is essential for tile trim replacement.True
A utility knife is used to cut through old caulk or adhesive.
Safety goggles are unnecessary for tile trim replacement.False
Safety goggles protect your eyes from debris during removal and installation.
Can You Replace Tile Trim Without Removing Existing Tiles?
Replacing tile trim can seem daunting, especially without removing existing tiles. Let’s explore how it’s done!
Yes, you can replace tile trim without removing existing tiles by carefully cutting away the old trim and applying new trim with adhesive, ensuring the area is clean and free of debris.
Understanding Tile Trim Replacement
Replacing tile trim without removing the existing tiles is not only possible but also a common practice among DIY enthusiasts and professionals. The key is to proceed with caution to avoid damaging the tiles themselves.
Tools You Will Need
To replace tile trim effectively, gather the following tools:
- Utility knife
- Putty knife
- Adhesive remover
- New tile trim
- Adhesive or thin-set mortar
These tools will help you remove the old trim and attach the new one efficiently.
Step-by-Step Guide
- Remove Old Trim: Use a utility knife to score along the edge of the old trim. Carefully insert a putty knife beneath the trim to pry it away from the wall. Be gentle to avoid chipping the tiles.
- Clean the Area: Once the old trim is removed, clean any residual adhesive from the tile edges using an adhesive remover. This ensures a smooth surface for the new trim.
- Install New Trim: Apply a thin layer of adhesive where the new trim will go. Place the new trim in position, pressing firmly to secure it.
- Allow Adhesive to Set: Let the adhesive dry as per the manufacturer’s instructions before touching or painting over it.
Common Challenges and Solutions
- Adhesive Residue: Removing all adhesive remnants is crucial for a neat finish. Use a specialized adhesive remover for this task.
- Trim Alignment: Ensure that the new trim is aligned correctly with existing tiles for a seamless look. Using spacers can help maintain consistency.
When to Call a Professional
While many homeowners successfully replace tile trim themselves, complex situations such as oddly shaped corners or intricate patterns might require professional help. Professionals have experience with complex tile projects3.
Replacing tile trim without removing existing tiles is feasible with careful planning and execution. It’s an excellent way to refresh your space without undertaking a full renovation.
Tile trim can be replaced without removing tiles.True
Using careful techniques, old trim can be removed and new trim applied.
Professional help is always needed for tile trim replacement.False
DIYers can replace tile trim with the right tools and caution.
How to Ensure a Perfect Finish When Replacing Tile Trim?
Achieving a flawless finish in tile trim replacement is all about precision and technique.
To ensure a perfect finish when replacing tile trim, prepare meticulously by cleaning the surface, measuring accurately, and using quality adhesive. Prioritize alignment and use spacers for uniformity. Let the adhesive cure fully before grouting to prevent shifting.
Preparing the Workspace
Start by cleaning the area around the tiles thoroughly to remove dust, debris, or adhesive residue. This will help the new trim adhere better and ensure a clean finish.
- Tool Check: Ensure you have a utility knife, putty knife, spirit level, and adhesive applicator.
- Safety First: Wear gloves and safety goggles to protect yourself from sharp edges and dust.
Accurate Measurements
Precision is key in achieving a perfect finish. Measure the trim space accurately to avoid gaps or overlaps. Use a tape measure and mark the measurements carefully.
- Cutting Tips: Use a fine-tooth saw for cutting metal or plastic trim to avoid rough edges.
- Trial Fit: Before applying adhesive, position the trim to ensure it fits well.
Adhesive Application
The quality of adhesive plays a crucial role in the longevity and appearance of the tile trim. Choose an adhesive that suits your tile material.
- Even Spread: Apply the adhesive evenly using an applicator tool for consistent bonding.
- Alignment Tools: Use spacers to maintain uniform gaps and keep the trim aligned.
Setting and Curing
Once the trim is positioned, allow the adhesive to cure as per the manufacturer’s instructions. Avoid disturbing the trim during this time.
- Curing Time: Most adhesives require 24 hours to set completely.
- Check for Shifts: Periodically check for any movement and adjust as necessary.
Grouting and Finishing
After the adhesive has cured, apply grout to seal gaps between the trim and tiles. This not only adds to the aesthetics but also provides additional stability.
- Grout Selection: Choose a grout color that complements your tile design.
- Smooth Finish: Use a damp sponge to wipe away excess grout, ensuring a smooth finish.
By following these steps meticulously, you can achieve a professional-looking tile trim replacement that enhances your space’s overall appeal. For more insights, explore our complete guide4 on tile maintenance and styling tips.
Using spacers ensures uniform gaps in tile trim replacement.True
Spacers maintain consistent spacing, ensuring even alignment.
Adhesive cures instantly after application in tile trim replacement.False
Adhesives typically require 24 hours to cure fully.
What Are Common Mistakes to Avoid When Replacing Tile Trim?
Avoiding common pitfalls in tile trim replacement can save time and effort.
When replacing tile trim, common mistakes include not aligning the new trim properly, using inadequate adhesive, and failing to prep the area. Ensuring proper alignment and using the right adhesive are crucial for a seamless finish.
Misalignment of New Trim
One of the frequent mistakes homeowners make is misaligning the new tile trim. This not only impacts the visual aesthetics but can also compromise the integrity of the trim itself. To avoid this, use a spirit level and ensure even spacing5 during installation.
Insufficient Adhesive Application
Using too little adhesive or the wrong type can cause the trim to become loose over time. Opt for a high-quality adhesive specifically designed for tile applications. Apply an even layer and press firmly to guarantee a secure bond.
Inadequate Surface Preparation
Not preparing the surface adequately before installing new trim is a common oversight. Any residue or debris left behind from the old trim can prevent proper adhesion. Thoroughly clean the area with a suitable cleaner and allow it to dry completely before proceeding.
Incorrect Cutting Techniques
Accurate cutting is essential for a neat finish. Using dull tools or improper cutting techniques can lead to chipped or uneven edges. Invest in quality tools and practice precision cutting by measuring twice and cutting once.
Skipping Dry-Fitting Process
Always perform a dry-fit before finalizing your installation. This involves placing the trim without adhesive to ensure that all pieces fit together correctly. This step helps in identifying any necessary adjustments and prevents costly errors.
Table: Common Mistakes and Solutions
| Mistake | Solution |
|---|---|
| Misalignment | Use a spirit level |
| Insufficient Adhesive | Choose high-quality adhesive |
| Inadequate Preparation | Clean surface thoroughly |
| Incorrect Cutting | Use sharp tools, measure twice |
| Skipping Dry-Fitting | Always perform a dry-fit |
By recognizing and avoiding these common mistakes, you can achieve a professional-looking tile trim replacement with ease. Ensuring each step is carried out meticulously will lead to a seamless and durable finish.
Misalignment affects tile trim integrity.True
Misaligned trim can weaken its structural integrity.
Skipping dry-fit leads to costly errors.True
Dry-fitting helps identify adjustments, preventing errors.
Conclusion
With these steps and tips, replacing tile trim becomes an achievable task for any DIY enthusiast. Approach your project with confidence, knowing you can achieve a seamless and polished look. Ready to get started? Gather your tools and dive in!
-
To avoid frequent errors that can complicate the project.: Use a notched trowel like a saw, holding it flat to the wall- teeth to the thinset, saw away. See how effective that is. If you can dig out a … ↩
-
To learn about selecting the right adhesive for your tiles.: Thin-set mortar is the most common type of tile adhesive and works well on most types of tile, including ceramic, stone, and porcelain. ↩
-
Learn when expert intervention is necessary for tricky tile projects.: Our Handyman Experts Provide Professional Tile Installation & Repair. Done Right Promise. Call (844) 615-6297 to Request a Service! ↩
-
Discover comprehensive tips for maintaining your tiles’ appearance and durability.: A cotton mop, cloth, sponge, or non-metallic brush should be used to apply and agitate cleaner. Rinse the area with clean water and dry thoroughly. Routine … ↩
-
Discover techniques for precise alignment of tile trims.: Before cutting the trim, you’ll align the trim with the tile edge and measure and draw the cutting lines to follow. Tile tools such as a miter … ↩






