
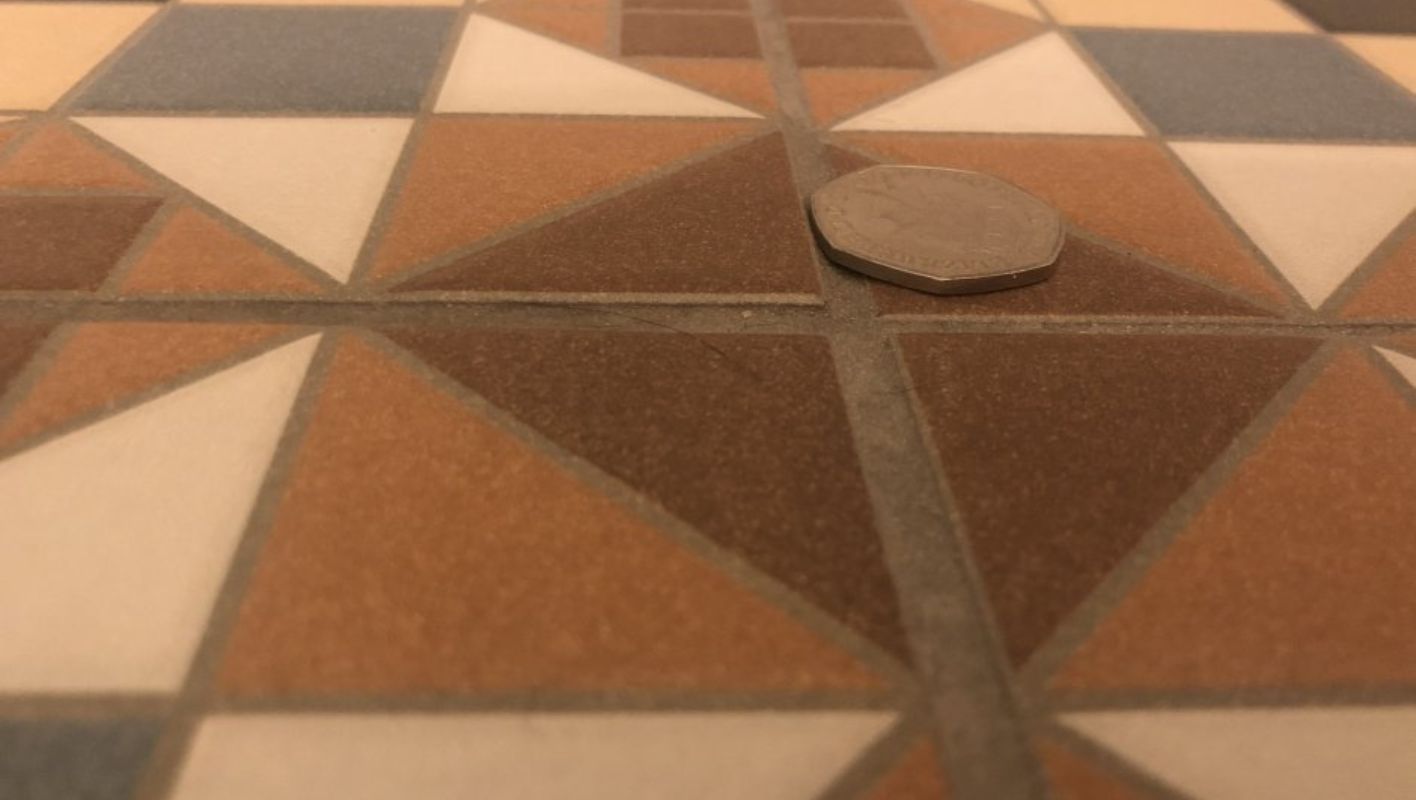
Ever spent hours perfecting a tile layout only to find some edges jutting out awkwardly? It’s frustrating, right?
Tile lippage is when there’s a noticeable height difference between adjacent tiles, often due to improper installation or substrate issues. It creates an uneven surface that not only mars the visual appeal but also poses safety risks. Knowing its causes and solutions is key to flawless tiling.
I remember the first time I encountered tile lippage. I was so proud of my newly tiled kitchen, but as I ran my hand over the floor, I could feel those pesky edges sticking up. It was like a small betrayal from the tiles I had chosen so carefully. But once I understood what caused it—often a mix of uneven subfloor or hasty installation—I realized there were ways to prevent it. From choosing the right grout to using leveling systems, mastering these techniques transformed my approach, ensuring my next project not only looked stunning but was smooth underfoot too.
Tile lippage is only a cosmetic issue.False
Tile lippage poses safety hazards, not just aesthetic concerns.
Proper substrate preparation prevents tile lippage.True
Ensuring a level substrate is key to avoiding height differences.
How Does Tile Lippage Impact Design and Safety?
Ever stepped onto a tiled floor and felt like you were walking on a miniature rollercoaster? That’s tile lippage for you, creating both an eyesore and a tripping hazard.
Tile lippage happens when tiles aren’t perfectly level, leading to an uneven surface that disrupts design harmony and creates safety risks like tripping. Ensuring a flat installation is key to minimizing lippage.
What is Tile Lippage?
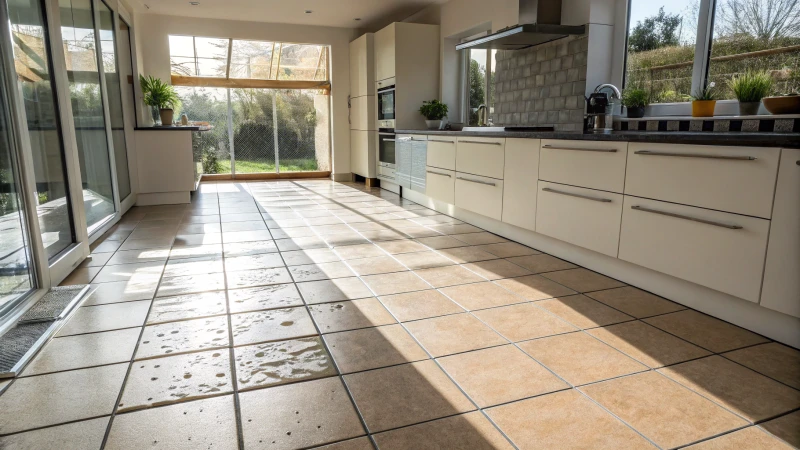
I remember the first time I walked into a room where the tiles seemed to play tricks on my eyes. Each step felt like a gentle reminder that not all tiles are created equal—sometimes, they just don’t lie flat. This vertical misalignment is what we call tile lippage. It’s not just about aesthetics; it’s about safety too, especially in areas with lots of foot traffic.
Tile lippage is the vertical displacement between adjacent tiles, leading to an uneven surface. While minor variations are expected in any tile installation, excessive lippage can become a notable issue, especially in high-traffic areas. Ensuring that tiles are laid flat and level is crucial for achieving a seamless appearance.
Design Implications of Tile Lippage
Imagine designing your dream space—perhaps a luxurious bathroom in your home or a grand commercial lobby. Now picture those beautiful mosaic patterns1 being thrown off by uneven tiles. That flawless flow you envisioned? Gone. I’ve seen projects where even a slight lippage turned the design vision upside down.
From a design perspective, tile lippage disrupts the uniformity and flow of tiled surfaces. For luxury residential2 or commercial projects, where aesthetics are paramount, even slight unevenness can detract from the intended design vision.
| Design Element | Effect of Lippage |
|---|---|
| Modern Minimalism | Disrupts clean lines |
| Classic Elegance | Affects symmetry |
| Mosaic Patterns | Skews intricate designs |
When you’re going for modern minimalism3, clean lines are everything, and any disruption can be glaringly obvious.
Safety Concerns Related to Tile Lippage
Safety is where my heart really skips a beat—or maybe that’s just my nerves every time I see someone trip over a lipped tile. In homes with children or elderly folks, the stakes are even higher. Slippery spots in kitchens or bathrooms combined with lippage? That’s like setting up a home obstacle course nobody signed up for.
Safety is another critical factor compromised by tile lippage. Uneven surfaces can pose tripping hazards, particularly in spaces frequented by children or the elderly. Moreover, in areas like bathrooms or kitchens, where slippery conditions4 may already exist, lippage exacerbates the risk of falls.
While anti-slip coatings can help mitigate some risks, addressing lippage at its root is vital.
Mitigating Tile Lippage During Installation
To say I’ve learned a thing or two about preventing lippage would be an understatement. It’s all about preparation and precision:
- Use of Leveling Systems: These nifty tools ensure each tile is flush with the next.
- Substrate Preparation: Starting with a flat surface makes all the difference.
- Skilled Labor: Trust me, having seasoned pros familiar with tiling techniques5 is worth every penny.
Several strategies can help prevent lippage during tile installation:
- Use of Leveling Systems: These tools ensure tiles are set evenly and at the same height.
- Substrate Preparation: Ensuring a flat surface before tile installation is crucial.
- Skilled Labor: Hiring experienced professionals familiar with tiling techniques reduces the risk of lippage.
By sticking to industry standards and understanding acceptable tolerances for lippage, we can create spaces that are as beautiful as they are safe.
Tile lippage disrupts modern minimalist design.True
Lippage creates uneven lines, which contradicts the clean lines of minimalism.
Tile lippage poses no safety risks in bathrooms.False
Uneven tiles increase tripping hazards, especially in slippery conditions.
What Causes Tile Lippage During Installation?
Ever found yourself staring at a tile job, wondering why some tiles just won’t align? You’re not alone!
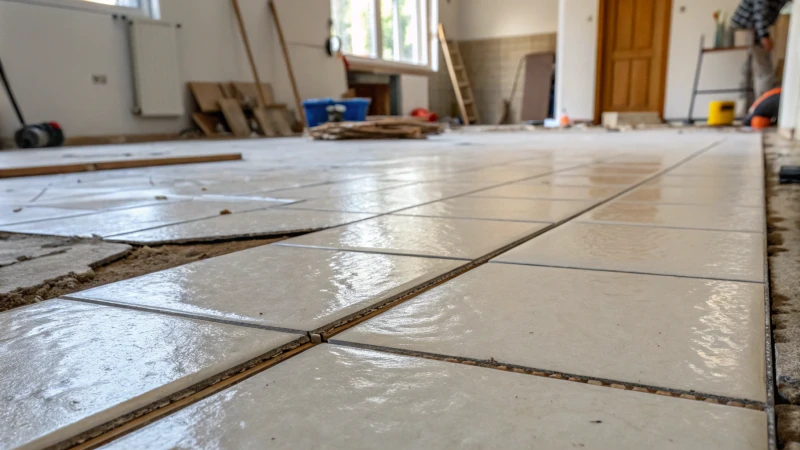
Tile lippage during installation often stems from uneven subfloors, incorrect adhesive application, or using tiles of differing thicknesses. A flat substrate and consistent tile quality are key to avoiding this issue.
Understanding the Root Causes
I remember my first DIY tile project—it was a nightmare! I quickly learned that an uneven subfloor is a major culprit for tile lippage. A slightly wobbly floor can cause tiles to jut out like misaligned teeth. It dawned on me that using a self-leveling compound before laying the tiles could have saved me a world of hassle.
Adhesive application is another tricky beast. My overzealousness in slathering on the adhesive led to some tiles standing taller than their neighbors. Finding that sweet spot—not too much, not too little—can make all the difference.
Tile Quality and Thickness
I’ve also learned the hard way that not all tiles are created equal. Opting for cheaper tiles might seem like a good idea initially, but varying thicknesses can cause lippage and disrupt the final look. Investing in high-quality tiles from a reliable supplier guarantees uniformity and saves you from future headaches.
Before embarking on another project, I make it a point to inspect each tile, ensuring they meet the thickness tolerances outlined in tile specifications6.
Tools and Techniques for Prevention
Embracing the right tools has been a game-changer for me. Utilizing a tile leveling system ensures everything stays put while the adhesive sets, reducing any chance of movement. And let’s not forget the notched trowel—it’s essential for spreading adhesive consistently.
I’ve also found that referencing best practices for tile installation7 offers great insights to avoid common pitfalls.
| Issue | Solution |
|---|---|
| Uneven Subfloor | Use self-leveling compound |
| Inconsistent Adhesive | Apply with notched trowel |
| Varying Tile Thickness | Source quality tiles |
By understanding these causes and their solutions, I’ve managed to improve my tile installations dramatically. Now, instead of an eyesore, my floors are seamless and stunning—a true testament to the power of preparation and quality materials.
Uneven subfloors cause tile lippage.True
Uneven subfloors lead to tiles sitting at different heights, causing lippage.
Using a notched trowel causes tile lippage.False
A notched trowel ensures even adhesive spread, preventing tile lippage.
How Can You Fix Existing Tile Lippage?
Ever tripped over a tile that seemed determined to ruin your day? I’ve been there, and tile lippage is the sneaky culprit. Let me share some personal tips to tackle this without tearing up your floors.
To fix existing tile lippage, I recommend using a leveling system or tweaking grout lines. Laying thin-set mortar beneath uneven tiles can also work wonders. These cost-effective methods save you from the hassle of tile removal.
Understanding Tile Lippage
Tile lippage refers to the uneven height differences between adjacent tiles, often due to improper installation or subfloor settling. Recognizing the extent of lippage is crucial before deciding on a solution.
| Degree of Lippage | Correction Options |
|---|---|
| Slight | Grout adjustments |
| Moderate | Leveling systems |
| Severe | Reinstallation |
I remember my first encounter with tile lippage – it was in my first home renovation project. Those uneven tiles were not just an eyesore; they were a trip hazard waiting to happen. Before diving into solutions, it’s important to assess how severe the lippage is.
Adjusting Grout Lines
For minor lippage, re-grouting can be effective. On one memorable weekend, I decided to tackle it head-on. Removing the old grout with a grout saw wasn’t as tedious as I thought, and applying new grout made those slight height differences almost invisible.
Using a Leveling System
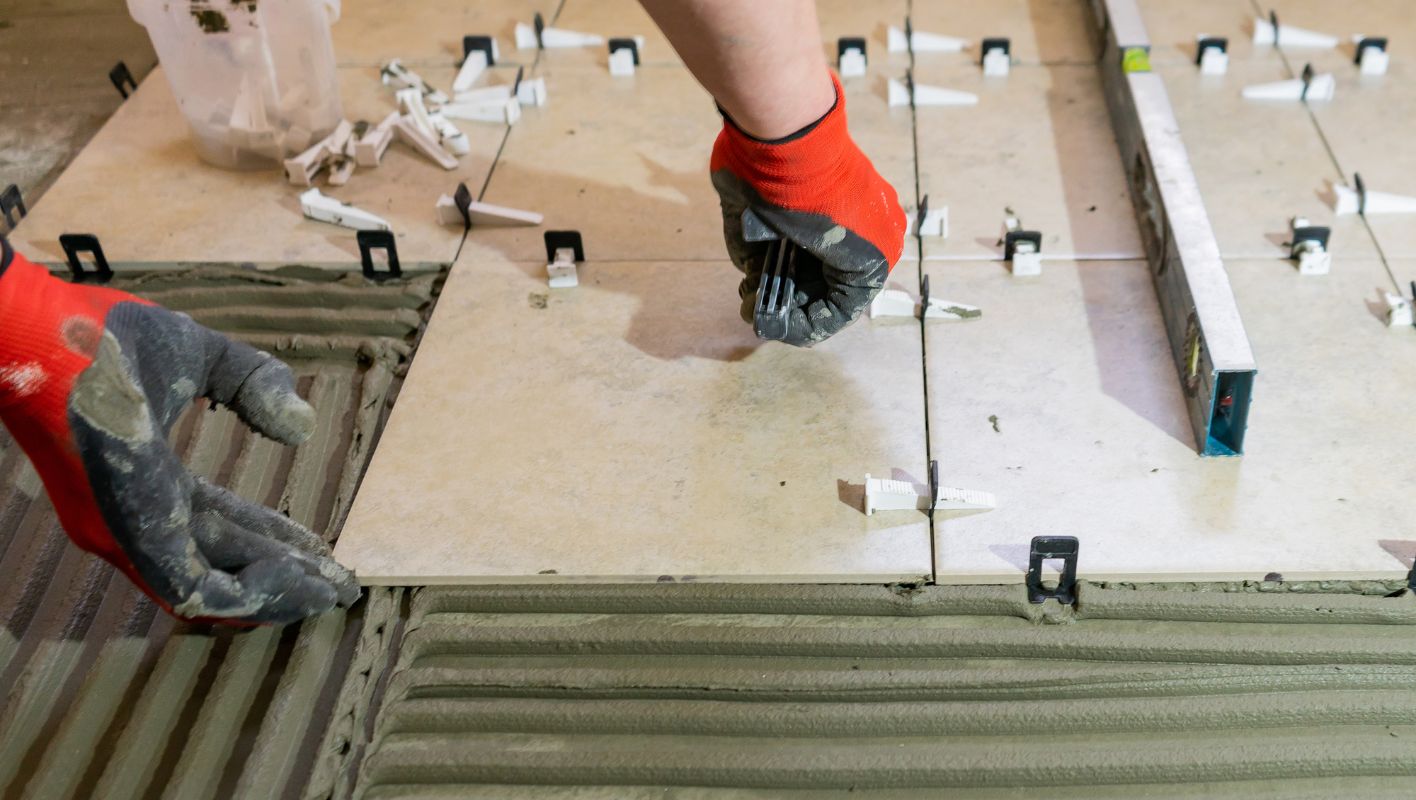
Tile leveling systems are invaluable for addressing moderate lippage. These systems consist of spacers and wedges that hold tiles in place while the adhesive sets. They are particularly useful for larger tiles, which are prone to warping.
- Step 1: Insert spacers beneath tile edges.
- Step 2: Tighten wedges to align tile surfaces.
- Step 3: Allow adhesive to cure before removal.
Explore leveling systems8 for various tile sizes and thicknesses.
Applying Thin-Set Mortar
When dealing with moderate lippage, adding thin-set mortar beneath problem tiles can level them effectively. I vividly recall lifting a problematic tile with a suction cup, adding more mortar underneath, and resetting it carefully – it was as satisfying as completing a puzzle.
- Tip: Use a notched trowel for even mortar application.
Check out thin-set mortar applications9 for detailed guidance.
Consider Professional Help
For severe lippage or if DIY methods seem daunting, consulting a professional tile installer is advisable. I’ve seen experts work wonders with advanced techniques like grinding or even replacing tiles. If this seems daunting, consulting a professional tile installer can be the best course of action.
Learn more about professional tile services10.
Tile lippage correction doesn’t always require drastic measures like tearing up your entire floor. By understanding the degree of the issue and exploring available options, you can restore your tiled surfaces to their intended beauty and functionality.
Grout adjustments can fix severe tile lippage.False
Grout adjustments are effective only for slight lippage, not severe cases.
Tile leveling systems help with moderate lippage.True
Leveling systems align tile surfaces, addressing moderate lippage effectively.
How Can You Prevent Tile Lippage?
Ever laid down a row of tiles only to trip over the uneven edges later? It’s not just frustrating—it’s a total vibe killer for any room.
To avoid tile lippage, start with a perfectly flat surface, pick uniform tiles, use the right spacers, and master your troweling technique. These steps will make sure your tiles lay seamlessly.
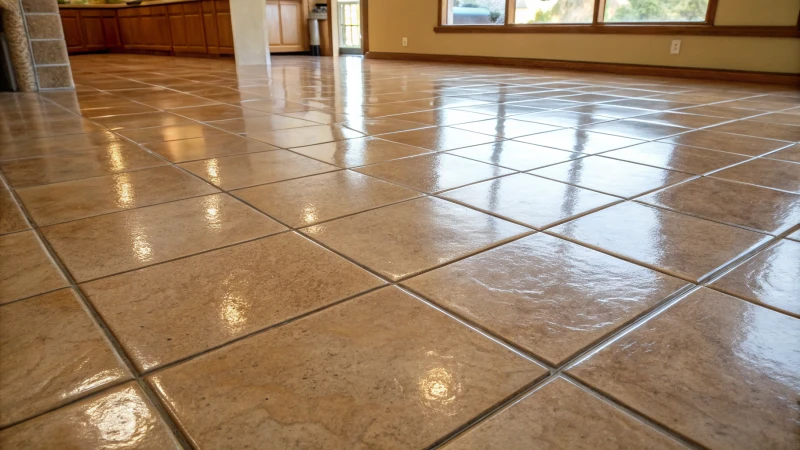
Understanding Tile Lippage
I remember the first time I experienced tile lippage. I thought I had everything under control until I stepped back and noticed those dreaded uneven edges. Tile lippage happens when tiles aren’t laid evenly, making one edge stand taller than its neighbor. It doesn’t just look off—it can be a tripping hazard, too. Learn more11 about spotting these issues before they ruin your perfect project.
Preparing the Substrate
The key to preventing lippage starts with a level substrate. Think of it as laying the foundation for a smooth ride; without it, you’re bound to hit some bumps. Before you begin, check that your surface is perfectly even by using a self-leveling compound. A long spirit level or laser level is my go-to for spotting imperfections. Trust me, this step is crucial—it sets the stage for everything else to fall into place. A properly prepared surface12 is like the unsung hero of a successful tile installation.
Selecting the Right Tools
When it comes to tiling, having the right tools makes all the difference. I learned this lesson the hard way. Using appropriate spacers helps maintain consistent grout lines and prevent lippage. Opt for cross-shaped spacers that fit snugly between tiles. Plus, choosing a notched trowel suitable for your tile size ensures an even spread of adhesive.
| Tool | Purpose |
|---|---|
| Spacers | Maintain even grout lines |
| Notched Trowel | Even adhesive spread |
| Spirit Level | Ensure substrate is level |
If you’re unsure where to start, check out this guide on tool selection13 to help you make informed choices.
Tile Selection and Layout
Not all tiles are created equal! Picking tiles with uniform thickness can drastically reduce the risk of lippage. It’s worth taking the time to inspect each box from the same batch for size consistency. Planning your layout ahead of time also helps you minimize cuts and adjust for any room irregularities. I’ve found that the extra effort in choosing and planning pays off tenfold in the final look. Get more insights on how to choose consistent tiles14.
Troweling Techniques
A few years back, I discovered the "back-buttering" technique while working on a tricky project with larger tiles. It’s where you apply adhesive to both the substrate and the back of the tile to ensure full coverage. This method not only reduced gaps but also made my work look more professional. For more details, take a look at effective troweling methods15.
Using a Tile Leveling System
Incorporating a tile leveling system was a game-changer for me. These systems use clips and wedges to hold tiles in place as the adhesive cures, ensuring all tiles stay at the same height. They’re invaluable in achieving that smooth, flawless finish everyone admires. Check out innovative leveling systems16 that could revolutionize your tiling results.
By integrating these best practices, you’ll significantly reduce the risk of tile lippage, paving the way for a professional finish that speaks volumes about your attention to detail.
Using spacers prevents tile lippage.True
Spacers ensure even grout lines, reducing the risk of lippage.
Uneven substrates do not affect tile lippage.False
An uneven substrate leads to uneven tile placement, causing lippage.
Conclusion
Tile lippage refers to uneven height differences between adjacent tiles, often caused by improper installation or substrate issues, leading to aesthetic and safety concerns in tiled surfaces.
-
Discover how intricate tile patterns influence interior design, emphasizing the importance of accurate installation. ↩
-
Explore how aesthetics play a vital role in luxury residential projects, highlighting the need for precision in tile installations. ↩
-
Explore how aesthetics play a vital role in luxury residential projects, highlighting the need for precision in tile installations. ↩
-
Find solutions for slippery bathroom floors to enhance safety, especially in environments prone to moisture. ↩
-
Learn about effective tiling techniques that help prevent lippage and ensure a smooth finish. ↩
-
Understand tile thickness standards to ensure consistent quality in your projects. ↩
-
Discover comprehensive techniques to enhance your tile installation skills. ↩
-
Discover various leveling systems suitable for different tile sizes and learn how they can prevent lippage effectively. ↩
-
Learn techniques for applying thin-set mortar correctly to address moderate tile lippage issues. ↩
-
Find professional services that offer comprehensive solutions for severe tile lippage problems. ↩
-
Understand the signs of tile lippage early to make necessary corrections before installation progresses. ↩
-
Discover detailed steps on how to prepare your substrate to avoid future complications like lippage. ↩
-
Choosing the right tools can dramatically improve your tiling outcomes; explore what’s necessary. ↩
-
Consistent tile thickness is key to avoiding lippage; learn what to look for during selection. ↩
-
Master the back-buttering method to achieve full adhesive coverage and prevent tile movement. ↩
-
Explore advanced leveling systems that streamline the installation process and enhance results. ↩






