

Remember the first time you decided to add some modern flair to your living space? LED strip lights with an aluminum profile can work wonders!
To install LED strip lights with an aluminum profile, start by gathering your materials, including LED strips, aluminum profiles, and necessary tools. Measure your installation area, cut the profile to fit, secure it in place, and attach the LED strips within the profile for a polished and professional finish.
I remember standing in my living room, tape measure in hand, feeling both excited and a little daunted. But here’s the thing—it’s all about taking it one step at a time. The process is pretty straightforward once you get started. In the next sections, I’ll share some insights that helped me—like why patience is key and how a little extra care can make all the difference in achieving that sleek, finished look. Whether you’re a seasoned DIYer or just dipping your toes into home improvement, these tips will help you avoid common pitfalls and enhance your installation’s durability and appearance.
Aluminum profiles enhance LED strip light durability.True
Aluminum profiles provide protection and heat dissipation, increasing durability.
LED strips cannot be cut to size for installation.False
LED strips are designed to be cut at specific points for custom lengths.
What Materials Do You Need for Installing LED Strip Lights?
Picture this: a cozy evening, your room aglow with the soft shimmer of LED strip lights. But first, you need the right tools!
To successfully install LED strip lights, you’ll need the LED strips, a suitable power supply, connectors, mounting accessories, and optionally, dimmers or controllers. These essentials ensure a smooth installation and vibrant results.
Essential Materials for LED Strip Light Installation
Ah, the thrill of transforming a space with the ambient glow of LED strip lights! I remember the first time I decided to take on this project. It was a mix of excitement and a hint of nervousness—would I have everything I needed? Let me guide you through what you’ll need so you’re well-prepared.
LED Strip Lights
This is where the magic begins. LED strip lights come in various lengths and colors. I recall standing in front of an aisle full of options, feeling like a kid in a candy store. Whether you want something subtle or a splash of color for your space, choose the right type1 that suits your needs.
Power Supply Unit (PSU)
Next up is the power supply unit. I learned the hard way that an underpowered PSU can lead to disappointing results. Imagine dim lights when you expected a vibrant display! Using an LED calculator2 helped me find the perfect match for my setup.
Connectors and Adapters
Connectors are lifesavers, especially if soldering isn’t your thing. They seamlessly join strips or connect them to the power source. I remember fiddling with a T-connector, feeling like I was solving a tiny puzzle.
| Connector Type | Use Case |
|---|---|
| Gapless | Joining strips |
| T-connector | Branching paths |
| DC connector | Power connection |
Mounting Accessories
You want your lights securely in place, right? Mounting clips or adhesive backing are your best friends here. My first try was an experiment—I used adhesive on a not-so-clean surface, and well, let’s just say I had to start over!
Optional: Dimmers and Controllers
Want to control the mood? Dimmers and controllers let you adjust brightness and colors. I love how smart controllers3 integrate with home automation—it’s like having a personal light show at my fingertips.
Additional Tips and Considerations
- Measure Twice: It’s true what they say; measure twice, cut once. It saves you from buying more than needed.
- Plan the Layout: Sketch it out first. I learned this after realizing I’d planned an impossible loop around my living room!
- Safety First: Always turn off the power. Trust me, no one wants a shocking surprise.
- Quality Matters: Investing in quality parts pays off. Look for reliable reviews and certifications.
With these essentials in hand and a bit of planning, you’ll set the perfect stage for your LED strip light project. Dive into various setups and let your creativity shine! Learn more about LED technologies4.
LED strips need a power supply matching their voltage.True
Using a PSU with correct voltage prevents dimming or damage.
Mounting clips are ideal for permanent LED installations.False
Adhesive backing is better for permanent setups, not clips.
How Can I Measure and Cut Aluminum Profiles Accurately?
Ever struggled with cutting aluminum profiles just right? I’ve been there too. Let me share some tried-and-true tips that helped me master this art.
To measure and cut aluminum profiles accurately, I recommend starting with a caliper for precise measurements. Clearly mark your lines with a scribe, then use a fine-tooth saw blade to achieve those clean, sharp edges you’re aiming for.
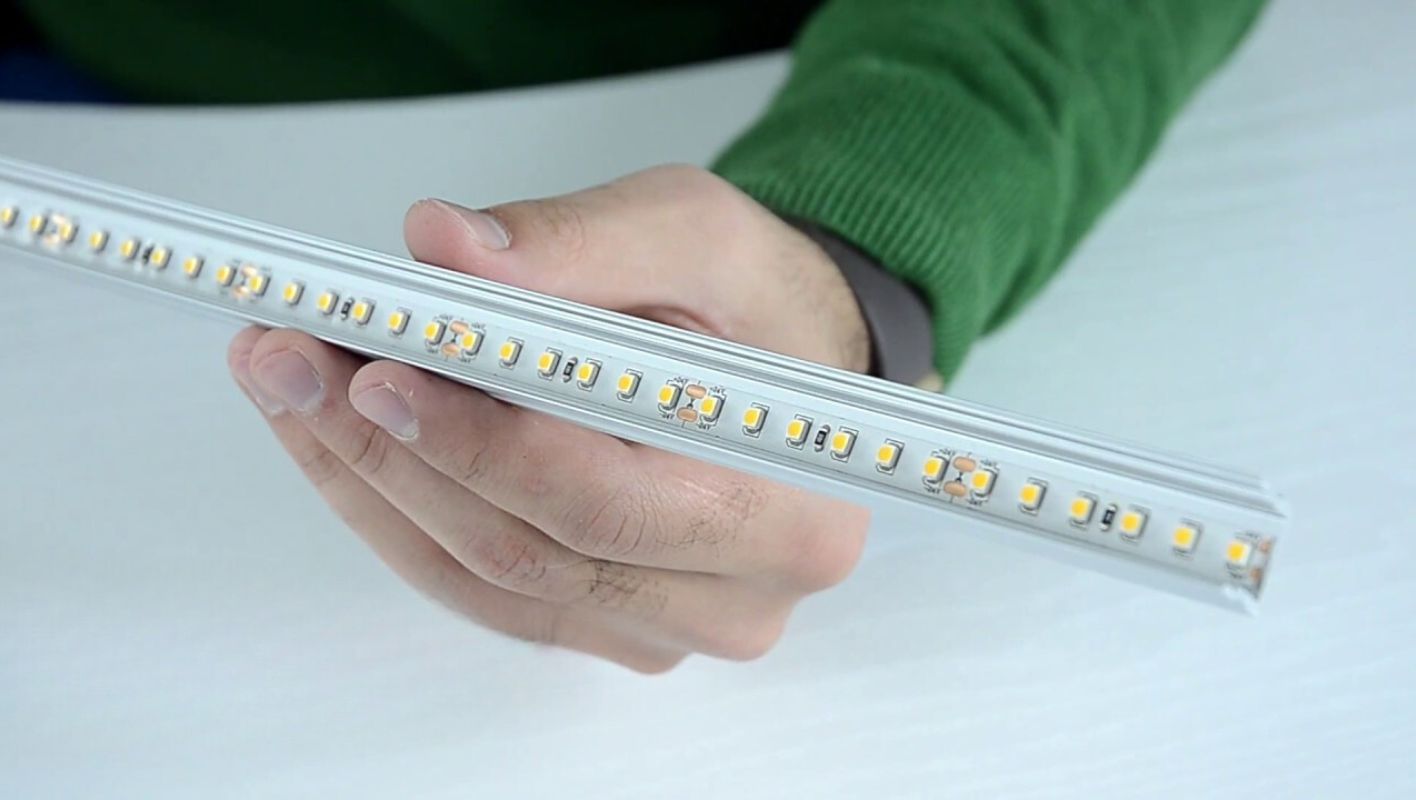
Understanding Aluminum Profiles
When I first started working with aluminum profiles, it was like piecing together a complex puzzle. Aluminum profiles are incredibly versatile, making them a staple in everything from window frames to heavy-duty machinery. However, the variety of alloys can be overwhelming. Each type has its own set of properties, which is why knowing what you’re working with is crucial. Think of it as the difference between working with soft butter versus frozen butter — the approach you take can significantly affect the outcome.
Choosing the Right Tools
Selecting the right tools felt like half the battle won when I began. Here’s what I’ve found essential:
- Calipers: These are my go-to for exact measurements. They give me peace of mind knowing my calculations are spot-on.
- Miter Saw: This is where precision meets power. Using a fine-tooth blade5 helps minimize those pesky burrs that ruin a smooth finish.
- Clamps: The unsung heroes. They keep everything steady while I work my magic.
Measurement Techniques
Precision is everything in this game, and I can’t emphasize enough the importance of:
- Double Checking: It’s saved me from costly mistakes more times than I can count.
- Using a Scribe: I’ve learned that scribes provide much more accurate markings6 than pencils ever could on aluminum surfaces.
Cutting Methods
Manual Cutting
For smaller projects or when dealing with thin profiles, I often reach for a hacksaw with a fine-tooth blade. The trick is to apply light pressure — it prevents bending and saves material.
Power Tools
A miter saw or circular saw fitted with an aluminum-specific blade offers precision for thicker profiles.
| Tool Type | Blade Type | Use Case |
|---|---|---|
| Hacksaw | Fine-tooth | Thin profiles |
| Miter Saw | Carbide-tipped | Thick profiles |
| Circular Saw | Aluminum-specific | Large projects |
Safety Precautions
Safety is my top priority:
- Protective Gear: Always wear safety goggles and gloves. I learned this lesson the hard way.
- Secure Workspace: Ensuring everything is clamped tightly and my workspace is clear of debris has become second nature to me.
By sticking to these techniques, I’ve managed to make each cut precisely executed7, achieving that professional finish we all strive for in our projects.
Calipers are essential for measuring aluminum profiles accurately.True
Calipers provide precise measurements, crucial for accurate cuts.
A pencil is better than a scribe for marking aluminum.False
Scribes offer more accurate markings on aluminum surfaces than pencils.
How Do You Successfully Mount Aluminum Profiles?
Mounting aluminum profiles might seem daunting, but with the right approach, it becomes a satisfying project that stands the test of time.
For the best results when mounting aluminum profiles, ensure precise alignment and secure fasteners, and prepare surfaces meticulously. Consider using brackets or clips and account for thermal expansion to guarantee a stable, enduring installation.
Understanding the Basics of Aluminum Profiles
When I first started working with aluminum profiles, I was amazed by their versatility. Whether you’re building furniture or constructing something more industrial, these components offer a fantastic balance of strength and lightness. Before diving into a project, I make sure to grasp the unique properties of the profiles I’m using to select the most suitable mounting method8.
Essential Tools and Materials
From my experience, having the right tools on hand can make all the difference. I remember the frustration of not having the correct size drill bit—it turned what should have been a straightforward task into an ordeal. Here’s what I recommend:
| Tool/Material | Purpose |
|---|---|
| Drill | Creating precise holes |
| Screws/Bolts | Securing profiles |
| Brackets/Clips | Support and stability |
| Spirit Level | Ensuring alignment |
Choosing the Right Fasteners
Fasteners can be the unsung heroes of a sturdy construction. Once, I used mismatched fasteners and ended up dealing with corrosion issues that were a nightmare to fix. Now, I always opt for stainless steel screws or bolts to avoid such problems. Compatibility is key to prevent galvanic corrosion.
Surface Preparation Techniques
I can’t stress enough how important it is to prepare your surfaces properly. A while back, I skipped this step in a rush and paid the price with weak joints. Cleanliness is crucial—make sure all surfaces are dust-free for optimal adhesive strength. If using adhesives, a primer can be your best friend.
Aligning and Securing Profiles
Alignment is one of those areas where a little extra effort pays off big time. Using a spirit level, I start at one end of the profile and work my way along, checking as I go to ensure everything is perfectly straight.
Accommodating Thermal Expansion
I learned about thermal expansion the hard way after seeing some structural warping in an outdoor project. It’s vital to incorporate expansion joints or flexible connectors to allow for movement without damaging your structure.
Utilizing Brackets and Clips
For projects needing that extra bit of support, brackets or clips are indispensable. I’ve found them especially useful in applications where precision alignment is crucial. Make sure your brackets can handle the load requirements to keep everything secure.
By embracing these best practices9, I not only improve my installation quality but also ensure my projects last longer, standing strong against environmental and mechanical stresses.
Aluminum profiles are heavier than steel.False
Aluminum profiles are lighter than steel, making them versatile for various applications.
Using a spirit level ensures profile alignment.True
A spirit level helps maintain straightness and proper alignment during installation.
What are the steps to troubleshoot common LED strip installation issues?
Ever find yourself tangled up in the intricacies of LED strip lights? Trust me, I’ve been there. Let’s unravel this together and get your lights shining perfectly!
To troubleshoot LED strip issues, start by checking the power connections to ensure they are secure. Make sure the power supply voltage matches the LED strip’s requirements. Look for any physical damage and test individual sections if needed.
Check Power Connections
I remember the first time I set up LED strips, and how a loose connection almost drove me mad! Turns out, improper connections are a top culprit. Double-check that all connectors are snugly attached to both the strip and the power source. A flickering or non-working strip often signals a loose end.
- Inspect Connectors: Grab a multimeter to confirm connectivity.
- Secure Connections: Ensure everything is tight and clean—no dust or debris.
Verify Voltage Compatibility
I’ll never forget my own little light show disaster—using the wrong voltage. LED strips vary, usually 12V or 24V. If your power supply doesn’t match, you might end up with a light that’s either too dim or completely out. Always double-check your power supply against the LED strip’s needs.
| LED Strip Voltage | Suitable Power Supply |
|---|---|
| 12V | 12V DC Adapter |
| 24V | 24V DC Adapter |
Inspect for Physical Damage
Once, I accidentally bent a strip during installation, and it stopped working entirely. Physical damage like bends or cuts can interrupt the flow of electricity. Carefully examine each section for any visible damage.
- Check for Bends: Look for sharp bends; they might have broken internal wiring.
- Inspect for Cuts: Ensure there’s no sign of cuts or other damage.
Test Individual Sections
Another tip from my own troubleshooting adventures: if part of your strip isn’t lighting, test it separately. Sometimes, a single faulty LED can stop an entire section from working.
- Use a Multimeter: It helps identify which parts are malfunctioning.
- Replace Faulty Sections: Simply cut out the bad part and swap in a new one.
Consider Environment Factors
Environment matters more than you’d think! Excessive heat or moisture can really mess with performance. Make sure your strips are in a suitable setting.
- Heat Management: Aluminum channels can help dissipate heat effectively10.
- Moisture Protection: If you’re using them outside, make sure they’re waterproof-rated.
Check for Signal Issues in Smart LED Strips
Smart strips bring their own challenges. If they’re not working right, make sure they’re within range of your Wi-Fi and nothing’s blocking the signal.
- Router Placement: Move your router to boost signal strength.
- Firmware Updates: Keep everything up-to-date with the latest firmware versions11.
Remember, patience and a bit of troubleshooting can turn any lighting nightmare into a dazzling success!
Improper power connections cause LED strip flickering.True
Loose connections can lead to flickering or complete failure.
12V LED strips can use a 24V power supply safely.False
Using the wrong voltage can damage the LED strips.
Conclusion
Learn how to install LED strip lights with aluminum profiles, including essential materials, cutting techniques, and troubleshooting tips for a professional finish in your home lighting project.
-
Explore different types of LED strips to find one that matches your project’s needs, such as waterproof or color-changing options. ↩
-
Find the correct power supply for your LED strips using this calculator to ensure optimal performance. ↩
-
Discover controllers that integrate with home automation systems for enhanced control over your lighting setup. ↩
-
Stay updated with advancements in LED lighting technology to inspire innovative applications in your projects. ↩
-
Discover which fine-tooth blades offer the cleanest cuts for aluminum projects, enhancing precision. ↩
-
Learn effective marking techniques to improve accuracy in cutting aluminum profiles. ↩
-
Explore advanced methods to achieve precision cuts in aluminum work, ensuring top-quality results. ↩
-
Gain insights into selecting the most effective mounting methods tailored to specific project needs, ensuring durability and stability. ↩
-
Explore comprehensive guidelines on mounting aluminum profiles to achieve optimal results in construction projects. ↩
-
Explore methods to manage heat dissipation for optimal LED strip performance and longevity. ↩
-
Find information on keeping your smart LED strips updated for improved functionality and connectivity. ↩






