
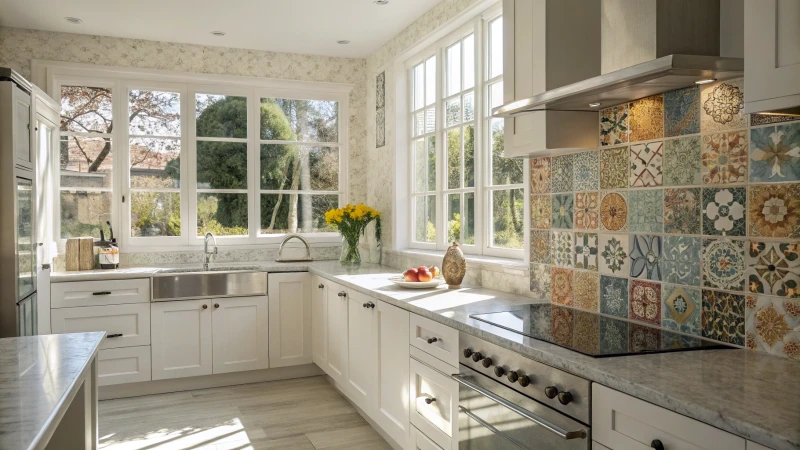
Ever stared at your kitchen window and wondered how to tile around it without losing your mind?
To tile around a kitchen window, start by measuring the area accurately, then choose tiles that complement your kitchen decor. Use tile spacers for even gaps and trim tiles carefully to fit around corners and edges. Secure tiles with adhesive, ensuring they are level, and finish with grout for a polished look.
I remember the first time I tackled tiling around a kitchen window. It was daunting, but also thrilling. The trick is to visualize the end result while embracing the process. Each tile placed is a step toward transforming your kitchen into a space that reflects your style and creativity.
Getting the basics right is crucial, but the real magic happens when you infuse your personality into the project. Whether it’s choosing a bold color or an intricate pattern, let your tiles tell your story. Dive into our guide for more insights, as I share tips that made my own tiling journey not just successful, but enjoyable too.
Tile spacers ensure even gaps around kitchen windows.True
Tile spacers are used to maintain consistent spacing between tiles for a uniform look.
Grout is applied before adhesive when tiling.False
Adhesive is applied first to secure tiles, then grout fills spaces after setting.
What Tools Do You Need for Tiling Around a Window?
Have you ever stood in front of a blank window frame, tiling tools in hand, and wondered what on earth you actually need to get started?
To tile around a window effectively, you’ll need a tile cutter, level, trowel, spacers, and essential safety gear. These tools ensure your tiles are perfectly cut and placed, giving your project a polished and professional finish.
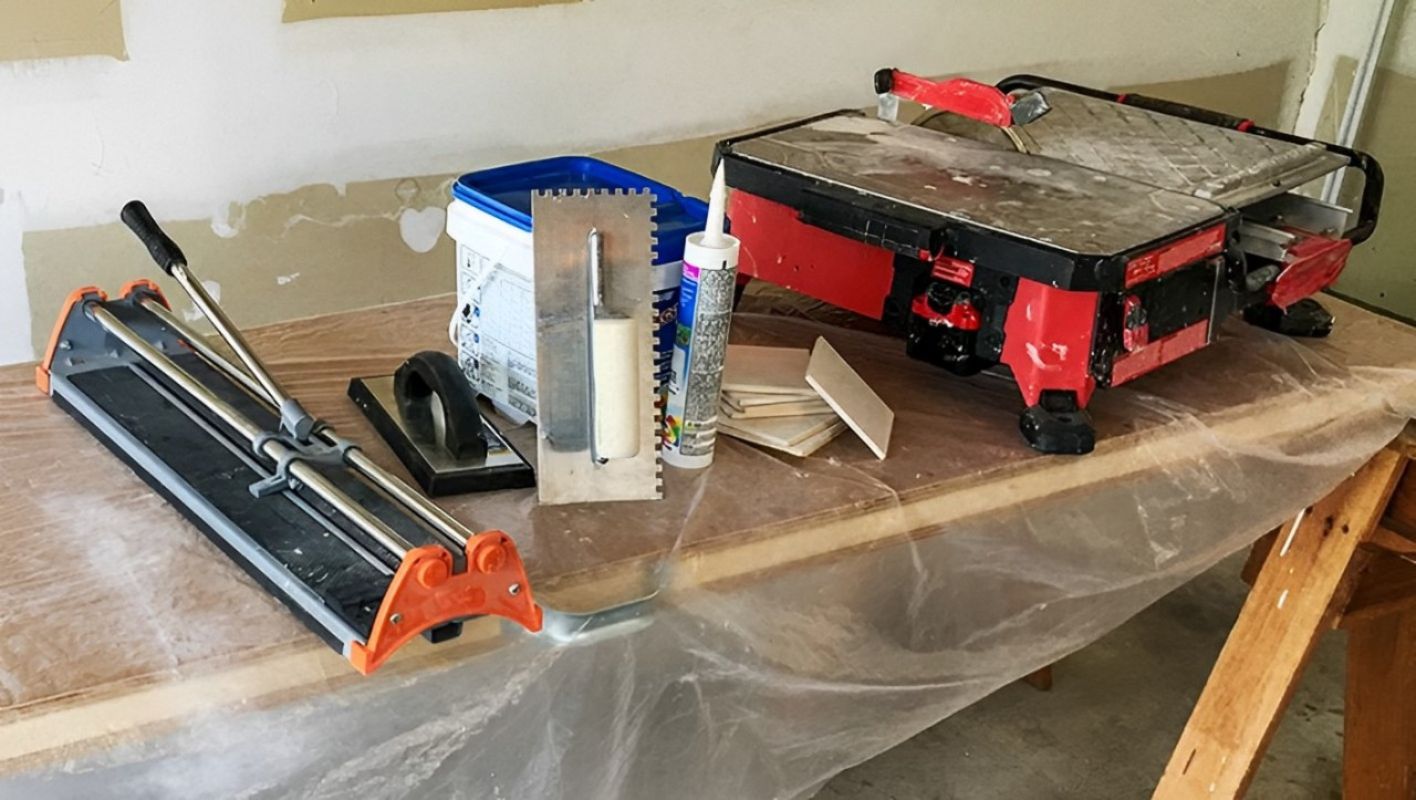
Essential Tools for Tiling Around Windows
I remember the first time I decided to tackle tiling around a window in my home. With excitement (and a bit of anxiety), I realized having the right tools would make all the difference between success and frustration. Here’s what you’ll need:
- Tile Cutter: A trusty tile cutter is your best friend when it comes to making those precise cuts. I once tried using a manual tile cutter for straight lines—works like a charm! But if you’re feeling adventurous with intricate designs, an electric cutter might be your go-to.
- Level: There’s nothing quite like stepping back from your work to see perfectly aligned tiles. A small spirit level or even a laser level can save you the agony of crooked lines.
- Trowel: Applying adhesive evenly is an art form in itself. A notched trowel can help you spread it just right, setting up the perfect stage for your tiles.
- Tile Spacers: These little guys keep your tiles evenly spaced, ensuring those grout lines are as uniform as possible.
- Safety Gear: I’ve had my fair share of dust in the eyes and sharp tile edges grazing my hands. Trust me, gloves, goggles, and a mask are non-negotiables.
Additional Helpful Equipment
From my experience, having these tools on hand makes the process smoother:
- Measuring Tape: You’d be surprised how much hassle you can avoid with accurate measurements.
- Wet Saw: If you’re working with glass or porcelain tiles, this is perfect to prevent any chipping disasters.
- Grout Float: This tool is key when it comes time to fill those gaps with grout after your tiles are set in place.
Tiling Techniques and Tips
Tiling around windows requires some specific tricks. Here’s what I’ve found helpful:
- Measure Twice, Cut Once: This age-old adage holds so much truth. Double-checking my measurements has saved me from many mistakes.
- Dry Fit First: Before committing with adhesive, I like to lay out the tiles to visualize the pattern. It allows for any last-minute tweaks.
- Use Corner Pieces: Pre-cut corner pieces can be a real game changer in terms of simplifying the process and boosting the overall look.
For those who want to delve deeper into the tiling process, I’ve found that online tutorials on DIY tiling techniques1 provide step-by-step guidance and insider tips that have been invaluable in my projects.
Below is a simple table summarizing these essential tools:
| Tool | Purpose |
|---|---|
| Tile Cutter | Precise cuts |
| Level | Alignment check |
| Trowel | Adhesive application |
| Tile Spacers | Uniform spacing |
| Safety Gear | Personal protection |
Having these tools ready will put you on the path to successfully tiling around windows, ensuring both functionality and aesthetic appeal in your project.
A tile cutter is essential for tiling around windows.True
A tile cutter is crucial for making precise cuts in tiles.
Safety gear is optional when tiling around windows.False
Safety gear is necessary to protect against dust and sharp edges.
How to Choose the Right Tiles for Your Kitchen Window?
Imagine stepping into your kitchen, sunlight streaming through the window, and your eyes are drawn to the perfect tiles framing that view.
Choosing the right tiles for your kitchen window involves considering moisture resistance, style compatibility, and ease of cleaning. Ceramic, porcelain, and glass tiles are popular choices due to their durability and design versatility.
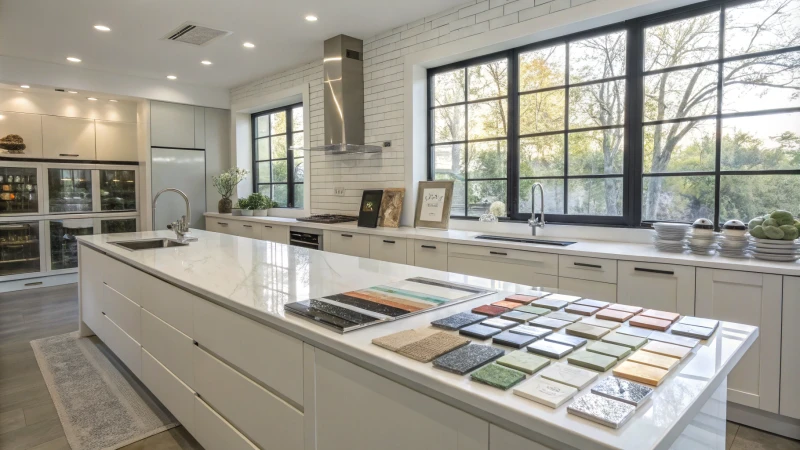
Assessing Material Options
When I was selecting kitchen window tiles2, I remember feeling overwhelmed by the choices. I wanted something that would last but also add a touch of elegance to my space. Eventually, I narrowed it down to ceramic, porcelain, and glass tiles. Each type has its unique charm and practical benefits.
| Material | Benefits | Considerations |
|---|---|---|
| Ceramic | Budget-friendly, easy to clean | Less durable than porcelain |
| Porcelain | Durable, moisture-resistant | Can be more expensive than ceramic |
| Glass | Reflective, adds visual depth | Prone to scratches if not handled carefully |
Matching Style and Design
The kitchen window often becomes a centerpiece in our homes. I recall how I played with different tile textures and colors to complement my cabinets and countertops. For my modern kitchen vibe, sleek glass tiles3 were perfect, but I imagine textured ceramics could beautifully suit a rustic look. It’s all about finding that balance between contrast and harmony.
Durability and Maintenance
Given that your kitchen window area might face steam and spills daily, like mine does, it’s crucial to choose tiles that stand up to the hustle and bustle. Porcelain and ceramic are strong contenders here, maintaining their look despite frequent cleaning.
Sustainable Choices
As someone who cares about sustainability, I was thrilled to find eco-certified tiles made from recycled materials. These not only align with my values but also offer exceptional quality. Brands focusing on sustainability help me design spaces that are both beautiful and kind to our planet.
So, as you explore these factors, remember to consider both style and practicality for your kitchen window. Whether you’re drawn to vibrant mosaics or prefer a serene neutral palette, there’s a perfect tile out there waiting for you. Tile manufacturers4 now offer an incredible range of solutions that cater to both modern aesthetics and everyday demands.
Ceramic tiles are more durable than porcelain.False
Porcelain tiles are generally more durable and moisture-resistant than ceramic.
Glass tiles add visual depth to kitchen windows.True
Glass tiles reflect light, enhancing the visual depth of the area.
What Are the Best Techniques for Cutting Tiles?
Remember the first time you tried cutting tiles and ended up with a jagged mess? I’ve been there too. Let’s explore the best tile-cutting techniques together.
The best techniques for cutting tiles involve using tools like tile cutters, wet saws, and nippers. Each tool caters to different needs, ensuring clean cuts and precision for both beginners and seasoned pros.

Understanding the Basics of Tile Cutting
When I first started on my tiling journey, I quickly realized that not all tiles are created equal. The difference between ceramic tiles5 and porcelain, or even marble, isn’t just in their looks but also in how they respond to cutting tools. I learned this the hard way when my ceramic tile cracked under the pressure of the wrong tool.
Key Tools for Tile Cutting
| Tool | Best For | Description |
|---|---|---|
| Tile Cutter | Straight cuts | Manual or electric; ideal for ceramic and porcelain |
| Wet Saw | Precision cuts | Uses water to cool the blade, reducing dust |
| Tile Nipper | Small cuts, shapes | Best for small areas and curves |
| Angle Grinder | Custom shapes or thicker tiles | Versatile; can be used with a diamond blade |
Selecting the Right Tool
- Tile Cutters: My go-to for straight cuts. They’re simple to use—just score and snap! Perfect for porcelain tiles6 with their ease and efficiency.
- Wet Saws: When I faced the challenge of thicker, more brittle tiles, wet saws were a lifesaver. They use water to keep things cool, preventing overheating and reducing dust.
- Tile Nippers: These are like magic wands for small sections or curves. Handy for chipping away at tiles, they’re essential for those intricate mosaic designs7.
Expert Tips for Perfect Cuts
- Measure Twice, Cut Once: A lesson learned after a few mishaps. Ensuring accurate measurements saves time and materials.
- Use Proper Safety Gear: I never start without my safety goggles and gloves—those shards can be sharp!
- Practice on Spare Tiles: Before diving into my main project, I always practice on spare pieces to build confidence and precision.
For those eager to master more advanced techniques or troubleshoot common issues during tile cutting, exploring tile cutting tutorials8 online has been invaluable. These resources deepen your understanding and refine your skills, preparing you for any tiling adventure.
Tile cutters are best for making curved cuts.False
Tile cutters are ideal for straight cuts, not curves.
Wet saws reduce dust by using water to cool the blade.True
Wet saws use water to minimize dust and prevent overheating.
How Can You Ensure a Durable Finish Around Your Kitchen Window?
Ever tried to spruce up your kitchen only to find it doesn’t last? Let’s dive into making your kitchen window both beautiful and durable.
To ensure a durable finish around your kitchen window, select moisture-resistant materials like ceramic tiles or waterproof paints, ensuring they are properly sealed and maintained regularly to combat humidity and wear.
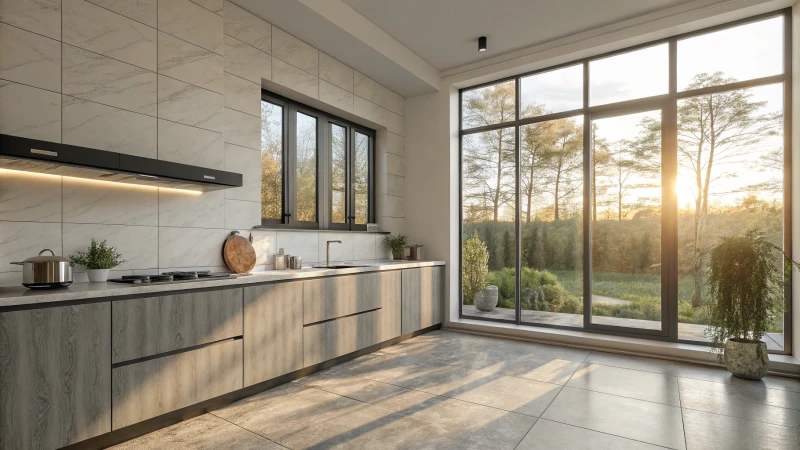
Selecting the Right Materials
I remember the first time I decided to redo the area around my kitchen window. I was overwhelmed by choices, but I knew one thing: moisture is my enemy. So, I opted for ceramic tiles9 because they’re not just a feast for the eyes—they’re water-resistant and easy to clean too. You might find that high-quality vinyl is a great alternative; it’s affordable and stands up well against moisture. If painting is more your style, consider waterproof paint for an easy and versatile application.
| Material | Benefits |
|---|---|
| Ceramic Tiles | Water-resistant, easy to clean |
| Vinyl | Affordable, moisture-resistant |
| Waterproof Paint | Easy application, versatile |
Each option offers unique advantages, so select based on your kitchen’s design and practical needs.
Sealing and Maintenance
When you’ve got your materials picked out, sealing them properly is key. I learned this the hard way after noticing some unwanted moisture seeping in. Use a high-quality grout sealer for those tiles to fend off moisture infiltration10 and staining. I make it a point to inspect my seals regularly—trust me, a little maintenance goes a long way.
Regular Cleaning Tips
- Stick to non-abrasive cleaners to keep those finishes looking fresh.
- A quick wipe-down every so often prevents grease and dirt from building up.
- Good ventilation is your friend; it helps keep humidity at bay.
Enhancing Aesthetics with Window Treatments
Now, let’s talk style! Window treatments do more than just look good. They’re an extra shield against moisture and sun damage. I went with vinyl blinds because they’re a breeze to clean and water-resistant. Maybe you’d prefer bamboo shades for their eco-friendly vibe or PVC shutters for their durability—especially in high humidity.
| Treatment Type | Features |
|---|---|
| Vinyl Blinds | Easy to clean, water-resistant |
| Bamboo Shades | Eco-friendly, natural look |
| PVC Shutters | Durable, great for high humidity |
Balancing function with style ensures your kitchen stays a place you love for years. These little steps make all the difference in crafting a space that’s both timeless and resilient.
Ceramic tiles are water-resistant and easy to clean.True
Ceramic tiles are known for their water-resistant properties and ease of cleaning.
PVC shutters are unsuitable for high humidity areas.False
PVC shutters are actually durable and well-suited for high humidity environments.
Conclusion
Learn how to tile around your kitchen window with essential tools, techniques, and material choices for a stylish and durable finish that enhances your kitchen’s aesthetic.
-
Explore comprehensive guides that break down the tiling process into easy-to-follow steps. ↩
-
Explore different materials available for kitchen window tiles to find one that suits your aesthetic and functional needs. ↩
-
Learn how glass tiles can enhance your kitchen’s visual appeal with their reflective properties and modern look. ↩
-
Discover manufacturers that offer eco-friendly tile options to incorporate sustainable design into your kitchen. ↩
-
Understanding the material differences helps in selecting appropriate cutting techniques. ↩
-
Learn precise cutting methods specific to porcelain tiles. ↩
-
Discover effective ways to use tile nippers for intricate mosaic designs. ↩
-
Enhance your tile cutting skills with comprehensive tutorials. ↩
-
Explore why ceramic tiles are ideal for kitchen environments, focusing on their durability and resistance to moisture. ↩
-
Learn about top grout sealers that protect against moisture and enhance tile longevity. ↩






