
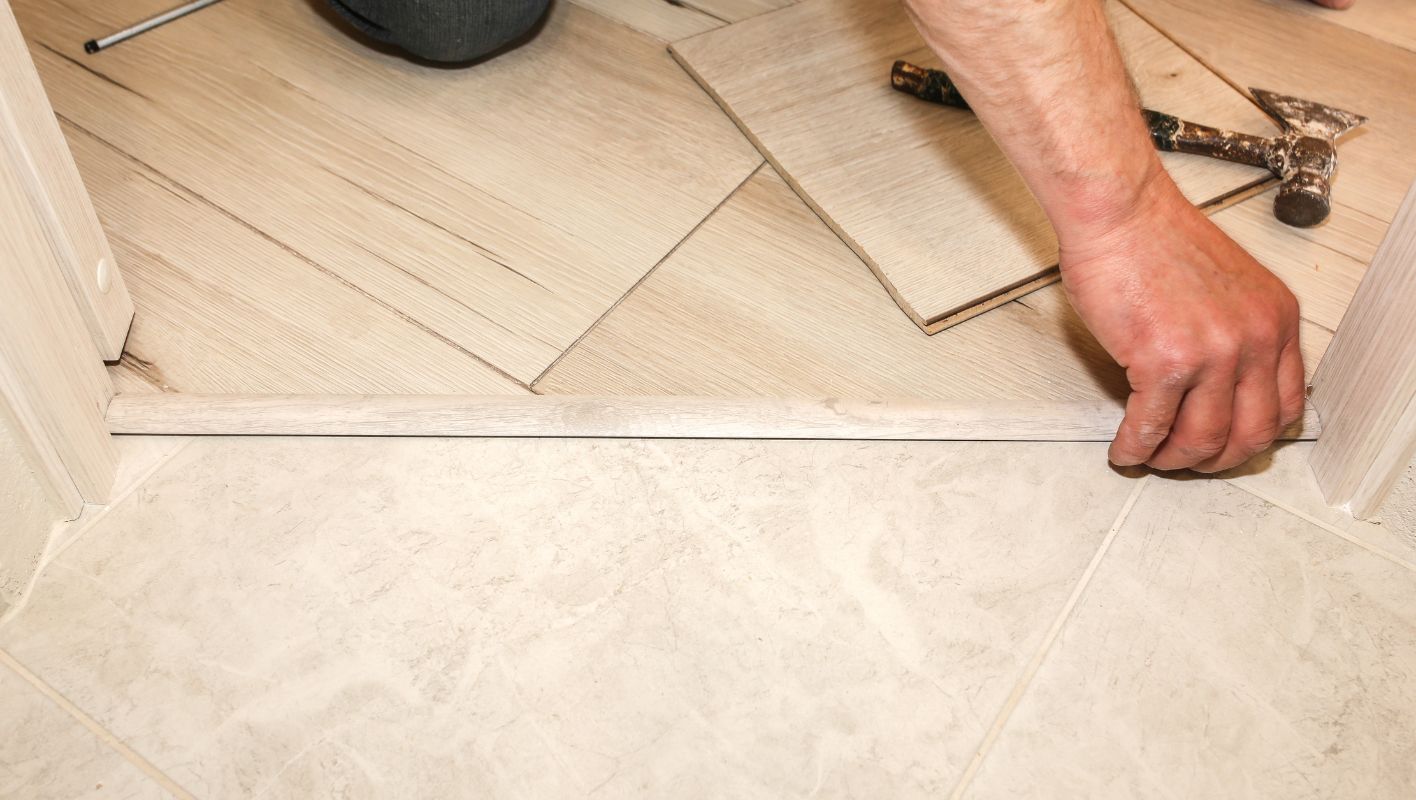
Transforming the gap between tile and wood flooring into a seamless masterpiece can truly elevate your living space.
To install a transition strip between tile and wood flooring, start by measuring the gap and cutting the strip to the perfect fit. Secure it with adhesive or screws, ensuring it aligns with both surfaces. This simple step not only boosts aesthetics but also prevents tripping hazards.
I remember the first time I tackled this project in my own home. I was nervous about getting the measurements just right and making sure everything lined up perfectly. But once I got started, I realized it was all about patience and precision.
For those of us who appreciate the little details, getting this transition right feels incredibly satisfying. As you dive into this process, take your time choosing materials that match your flooring styles and consider any unique challenges your room layout might present. This isn’t just about functionality; it’s about creating a flow that makes your space feel complete.
Transition strips prevent tripping hazards.True
Transition strips align floor levels, reducing the risk of trips.
Adhesive is the only method to secure transition strips.False
Transition strips can be secured with either adhesive or screws.
What Tools Do You Need for Installing Transition Strips?
Remember that time you decided to tackle a home project and found yourself elbow-deep in sawdust? Installing transition strips can feel just like that, but with the right tools, it’s a breeze!
To install transition strips effectively, I need a tape measure, saw, adhesive or screws, screwdriver, and a rubber mallet. These tools ensure accurate measurement, cutting, and secure installation across different flooring types.
Essential Measuring and Cutting Tools
A tape measure is my best friend when determining the precise length of transition strips. I’ve learned that accuracy in measurement ensures a perfect fit across varying floor heights. There was this one time I underestimated the power of a good tape measure and ended up with mismatched floors—definitely not a mistake I want to repeat! For cutting, using a saw (like a miter saw or handsaw) is crucial to get those strips to the perfect length.
| Tool | Purpose |
|---|---|
| Tape Measure | Accurate measurement of length |
| Saw | Cutting the strips to size |
Fastening Tools
When it comes to attaching the transition strips, either adhesive or screws can be used, depending on the flooring material. I remember using adhesive on vinyl floors—it was like fitting puzzle pieces perfectly without the hassle of screws. But for wood floors, using screws felt more secure. A screwdriver (manual or powered) is needed to secure those screws. And if you’re like me and prefer adhesive, make sure the surface is clean for better bonding.
- Adhesive: Perfect for seamless floors like vinyl.
- Screws: Ideal for wood and similar sturdy materials.
Finishing Tools
A rubber mallet helps press the strip firmly into place without damaging it. This little tool became my best ally when dealing with slight flooring irregularities—it ensured everything was snug and neat.
Specialized Tools for Various Floors
Different flooring types may require specific tools. For example, investing in a flooring installation kit1 can be a game-changer for laminate floors. It usually includes spacers and pull bars that are essential for getting that professional finish. When working with tiles, having a tile cutter has been beneficial more times than I can count.
- Laminate: Consider tools from a specialized kit.
- Tile: A tile cutter might be required.
Each tool plays a crucial role in ensuring your transition strip installation is done correctly, minimizing errors2 and maximizing durability. Understanding these tools allows you to tailor your approach to different flooring types, ensuring your project’s success.
A tape measure is essential for installing transition strips.True
A tape measure ensures accurate length measurement, crucial for a perfect fit.
A rubber mallet damages transition strips during installation.False
A rubber mallet presses strips firmly without causing damage, ensuring a snug fit.
How to Choose the Right Transition Strip for Your Flooring?
Ever found yourself staring at the gap between your beautiful new floors, wondering how to make them blend seamlessly?
To choose the right transition strip, think about the types and heights of your flooring, the look you want, and what function you need. Options like T-molding, reducers, and end caps cater to different height levels and finishing needs.
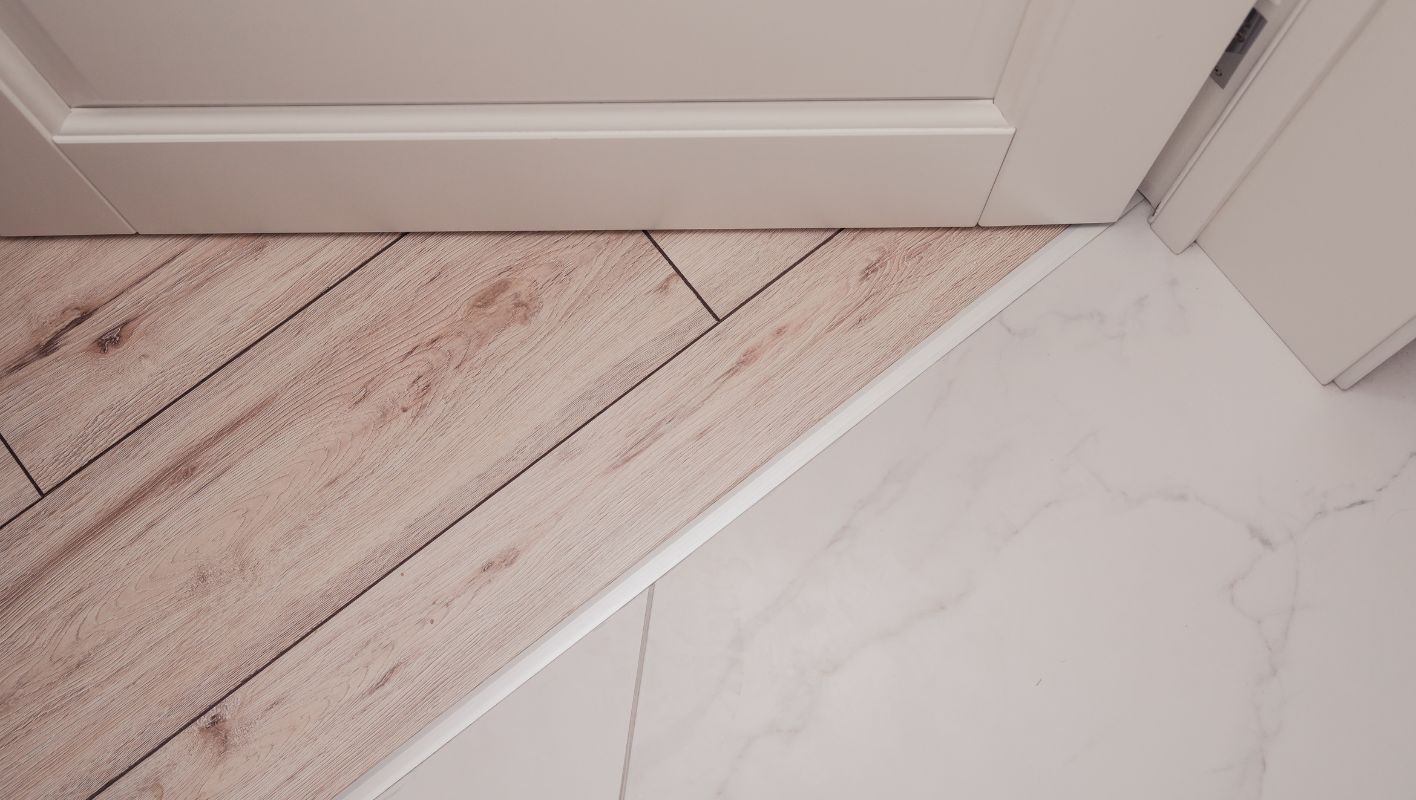
Understanding Flooring Types and Transition Needs
The first time I faced this flooring dilemma, I remember standing in a sea of transition strips, feeling like I was trying to solve a puzzle without all the pieces. You need to consider the specific flooring types3 you’re working with. For instance, pairing hardwood and tile might call for a different approach than matching laminate with carpet. Once you’ve nailed down the materials, the choices start to become clearer.
Evaluating Height Differences
Ah, the dreaded height difference! It’s a common challenge I’ve faced more times than I can count. When transitioning from a higher surface like tile to something lower like vinyl, reducers are your best bet. But if both floors are at the same level, T-molding works like a charm.
| Flooring Type 1 | Flooring Type 2 | Recommended Strip |
|---|---|---|
| Hardwood | Carpet | Reducer |
| Laminate | Tile | T-molding |
| Vinyl | Wood | End Cap |
Considering Aesthetic and Functionality
I’ve learned that aesthetics are just as important as function. Whether you’re drawn to metallic finishes for a modern flair or wood grains for a classic touch, make sure your choice matches your overall design. And don’t forget about durability—especially if you’re installing in high-traffic areas.
Exploring Material Options
The material of your transition strip is just as crucial. Transition strips come in various materials such as wood, metal, and vinyl:
- Wood: Blends beautifully with hardwood floors.
- Metal: Offers durability with a sleek look.
- Vinyl: Versatile and budget-friendly.
Installation and Maintenance Tips
If you’re anything like me, DIY projects are both exciting and daunting. Proper installation is vital for longevity. If you’re unsure, professional installation might be worth considering. Regular maintenance, such as cleaning and inspecting for wear, will extend the life of your strips. For more insights on installation techniques4, don’t hesitate to explore further.
Remember, the best transition strip not only meets practical needs but also complements your home’s aesthetic. Happy flooring!
Reducers are used for transitioning equal height floors.False
Reducers are used for transitioning between different heights, not equal heights.
Metal transition strips offer a sleek and durable option.True
Metal strips are known for their durability and modern aesthetic appeal.
What Are the Common Mistakes to Avoid During Installation?
Ever tried installing something at home only to find yourself in a tangled mess of mistakes? Let’s explore how to dodge those common slip-ups and make your next installation a breeze.
Avoiding common installation mistakes like skipping preparation, mismeasuring, ignoring instructions, or using wrong tools ensures safety, functionality, and a successful project outcome. Paying attention to these details can save you time and frustration.
Lack of Proper Preparation
I remember my first big DIY project—excitedly jumping into it without gathering all my tools or reading the instructions. I spent more time running back and forth than actually working! Proper preparation is truly the cornerstone of any installation. Trust me, having everything at hand and a clear understanding of the project’s requirements5 not only saves time but also prevents mishaps.
- Checklist for Preparation:
- Gather all required tools and materials
- Review manufacturer instructions
- Allocate sufficient time for each stage
Incorrect Measurements
Ah, the classic ‘measure once, cut twice’ saga—I’ve been there too! Precision in measurements is not just a suggestion; it’s essential. Even the slightest miscalculation can throw everything off. Double-checking is my golden rule, and using tools like a laser level can help you achieve that professional accuracy.
Ignoring Manufacturer’s Instructions
Ignoring the manual can be tempting—I mean, how hard can it be, right? But experience taught me otherwise when I ended up with an extra piece that was definitely not supposed to be ‘extra.’ Manufacturer’s instructions are there for a reason; they guide you towards the best results and keep your warranties intact.
-
Example Instructions:
Step Description 1 Read through all instructions thoroughly before beginning 2 Follow sequence as outlined
Using Incorrect Tools or Materials
Once, I thought I could substitute a tool I didn’t have with something ‘similar.’ Let’s just say it didn’t go as planned. Using the right tools and materials is crucial because they are designed for specific purposes. Always ensure compatibility with your installation environment6 to avoid costly mistakes.
Overlooking Safety Protocols
Safety is non-negotiable. I learned this the hard way after a minor mishap that could have been much worse. Now, I never start a project without my safety goggles and gloves. Make sure your workspace is hazard-free and follow all safety guidelines7 religiously.
- Essential Safety Gear:
- Safety goggles
- Gloves
- Dust masks
By steering clear of these common blunders, you’re on your way to not only achieving a visually appealing finish but also ensuring functionality and durability in your installations. Happy DIY-ing!
Skipping preparation leads to installation success.False
Proper preparation is essential for successful installation, not skipping it.
Ignoring safety protocols increases accident risk.True
Safety protocols reduce the likelihood of accidents during installation.
Can You Customize Transition Strips for Unique Flooring Needs?
Ever stumbled into the dilemma of pairing different flooring types smoothly? Custom transition strips might just be your secret weapon. Dive in to see how you can make them work for your unique space.
Yes, you can customize transition strips to meet unique flooring requirements. Whether you’re facing uneven floors or distinct material junctions, tailored strips provide seamless transitions, enhancing both functionality and aesthetics.
Understanding Transition Strips
I remember the first time I tackled a home renovation project. I was excited but also slightly overwhelmed, especially when it came to choosing the right transition strips. These essential components help bridge gaps between different flooring types or levels. You can find them in materials like aluminum8, wood, and vinyl, each bringing its own set of perks based on what your floor needs.
Customizing for Uneven Floors
One memorable project involved a vintage home with charming yet uneven floors. Custom transition strips were a lifesaver here. They can be crafted to handle height differences, ensuring a smooth transition from one room to the next. Whether molded or adjusted, these strips fit the exact dimensions you need.
| Floor Type 1 | Floor Type 2 | Recommended Strip Type |
|---|---|---|
| Hardwood | Tile | T-molding |
| Carpet | Laminate | Reducer strip |
| Vinyl | Concrete | Adjustable height transition |
Matching Aesthetic Preferences
I’ve always believed that beauty lies in the details. Customizing transition strips allows you to play with color, finish, and texture to seamlessly blend with your flooring design. This way, you keep the aesthetic flow intact throughout your space without sacrificing style.
Materials and Eco-Friendly Options
In my quest to create beautiful and sustainable spaces, I’ve found that many modern suppliers offer eco-friendly transition strips. These are crafted from sustainable materials or incorporate recycling processes, perfect for those who value environmental responsibility. It’s worth exploring suppliers focusing on eco-friendly9 manufacturing practices.
Ensuring Durability and Quality
Durability was a top priority during a recent high-traffic area project. When customizing, it’s crucial that the materials are robust and high quality, especially where wear and tear is significant. Choosing strong materials will extend the lifespan of your transition strips.
Understanding these facets of customization means you can effectively tailor your transition strips to meet any unique flooring needs, ensuring that practicality and beauty walk hand in hand in your interior spaces.
Custom transition strips can fit uneven floors.True
Custom strips are crafted to accommodate height differences, ensuring smooth transitions.
Eco-friendly transition strips are unavailable.False
Suppliers offer eco-friendly options made from sustainable materials or recycled processes.
Conclusion
Learn how to install transition strips between tile and wood flooring, ensuring a seamless look while preventing tripping hazards. Discover essential tools and tips for a successful DIY project.
-
Explore what’s typically included in a laminate flooring installation kit and understand why these tools are crucial for DIY projects. ↩
-
Learn how using the correct tools and methods with transition strips reduces mistakes, ensuring longevity and stability in floor installations. ↩
-
This link provides detailed insights into how different flooring materials interact, helping you choose the right transition strip. ↩
-
Explore this link for expert tips on installing transition strips to ensure lasting durability and professional appearance. ↩
-
Understanding why preparation is vital can guide you in organizing tools and planning tasks effectively. ↩
-
Selecting proper tools and materials prevents damage and enhances project quality. ↩
-
Adhering to safety measures protects you from potential hazards during installations. ↩
-
Discover the different types of aluminum transition strips available and their specific uses for various flooring transitions. ↩
-
Explore suppliers who provide eco-friendly transition strip options to make environmentally responsible choices for your flooring. ↩






