
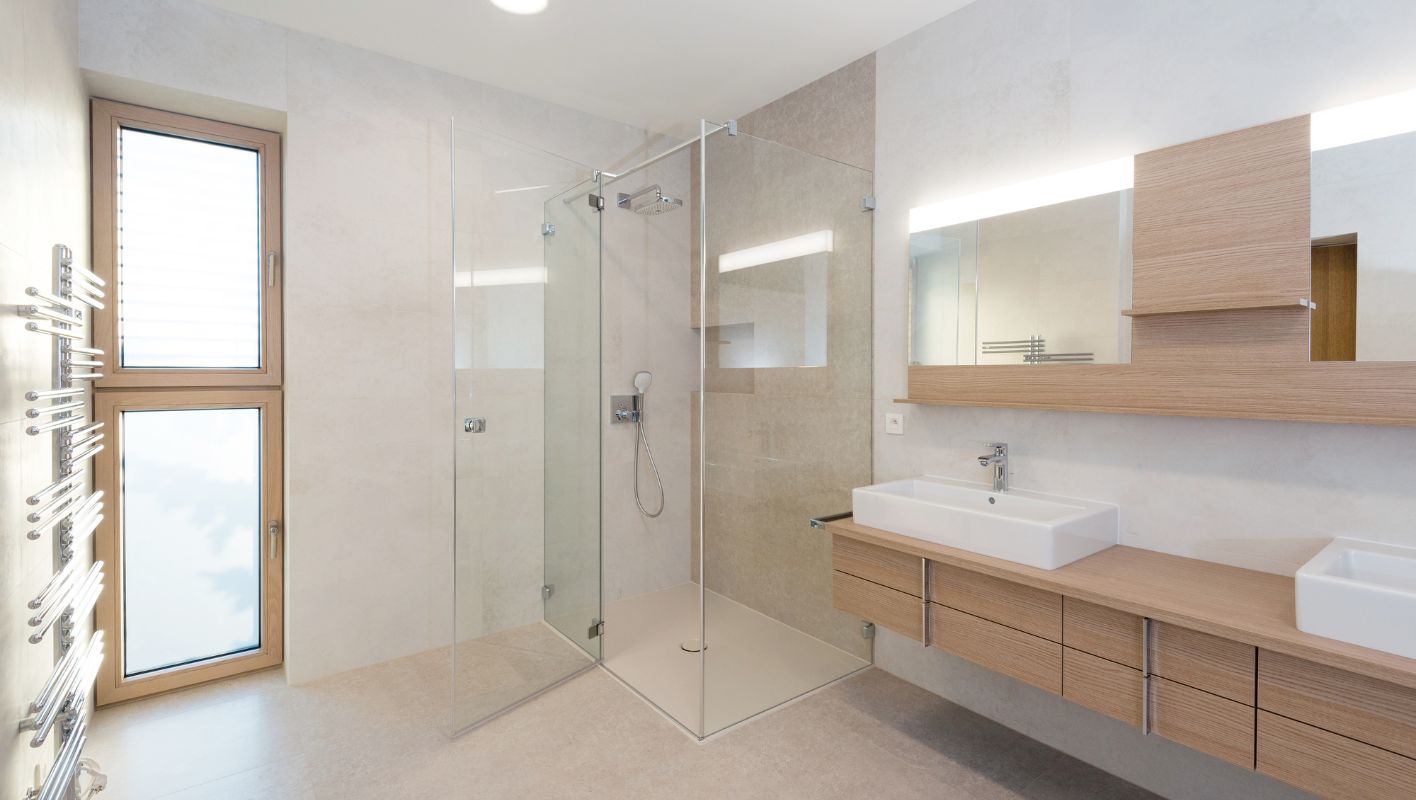
Ever thought about skipping the traditional shower pan for a sleek, custom tile look?
To tile a shower floor without a pan, I begin by prepping the subfloor with a waterproof membrane and ensure the slope is just right for drainage. I use top-notch tiles and grout, picking materials that thrive in wet conditions. This approach creates a seamless, personal finish.
I remember the first time I tackled tiling without a pan—my heart was racing with a mix of excitement and nerves. There’s just something thrilling about breaking away from tradition, isn’t there? By diving into each step, from prepping that crucial slope to picking the right materials, you can transform your shower into a masterpiece that’s both functional and uniquely yours. Let’s explore some expert tips and tricks to nail this project!
A waterproof membrane is essential for shower floors without a pan.True
It prevents water damage by providing a barrier between the tiles and subfloor.
Using any type of tile is suitable for shower floors.False
Only tiles rated for wet areas should be used to ensure durability.
How Do I Properly Prepare a Subfloor?
When I first tackled the subfloor in my old family home, I learned the hard way how crucial this prep step is for a seamless flooring job.
To prepare a subfloor, start by giving it a good clean. Then, fix any damages, check for dryness, and apply a leveler if needed. Finally, install an underlayment that suits your flooring type.
Step 1: Clean the Subfloor
I remember the first time I prepared a subfloor—it was a mix of excitement and dust everywhere! Start by clearing out all the debris, dust, and remnants of old adhesives. Grab a broom and vacuum to catch every speck of dust, and follow up with a damp mop to ensure it’s spotless.
Before any flooring installation1, ensure that your subfloor is free of debris, dust, and old adhesives. Use a broom and vacuum for dust, followed by a damp mop.
Step 2: Inspect and Repair
A friend once told me about her nightmare of installing new floors over a damaged subfloor. Trust me, you don’t want that. Carefully inspect for cracks, loose boards, or any weak spots. Fix these using the right materials—wood filler works wonders for small gaps, while replacing sections might be necessary for more severe damage.
Carefully inspect the subfloor for any damage. Look for cracks, loose boards, or weak spots. Repair these using appropriate materials. For wooden subfloors, replace damaged sections or use wood filler to fix small gaps.
Step 3: Ensure Dryness
Moisture was nearly my downfall on one project. Moisture can sneak in and wreak havoc. Use a moisture meter to make sure your subfloor is dry. For concrete subfloors, ensure they are fully cured before moving forward.
Moisture can ruin your flooring over time. Use a moisture meter to check the subfloor’s dryness. For concrete subfloors, ensure it’s completely cured before proceeding.
Step 4: Level the Surface
I once thought I could skip this step—big mistake! An uneven subfloor is just asking for trouble like warping or creaking. For concrete surfaces, a self-leveling compound is your best friend. If it’s wood, sand down any high spots. Keep checking the level as you go.
An uneven subfloor can lead to problems2 like warping. Use a self-leveling compound for concrete surfaces or sand high spots on wooden ones. Check the level frequently during this process.
| Type | Leveling Method |
|---|---|
| Concrete | Self-leveling compound |
| Wood | Sanding high spots |
Step 5: Install Underlayment
Choosing the right underlayment felt like choosing the right paint color—it’s that important! It not only supports your flooring but also offers moisture barriers and noise reduction. Roll it out smoothly without overlaps or gaps.
Select an underlayment that fits your flooring type and needs. It can offer moisture barriers and noise reduction. Roll out the underlayment smoothly, ensuring there are no overlaps or gaps.
Important Considerations
- Material Compatibility: It’s crucial to ensure your underlayment and flooring materials are compatible with each other.
- Thickness Requirements: Some floors demand specific thickness levels for optimal performance.
For more detailed insights, consider exploring industry standards3 that can guide your project effectively.
Cleaning is the first step in subfloor preparation.True
Cleaning removes debris and dust, essential for proper installation.
Moisture check is unnecessary for wooden subfloors.False
Moisture can damage wood, so checking is crucial before installation.
How Do You Ensure Proper Drainage When Tiling?
Have you ever stood in a beautifully tiled shower only to notice water pooling instead of disappearing down the drain?
Ensuring proper drainage when tiling involves creating a sloped surface, applying effective waterproofing, and positioning drains carefully. These strategies help water flow smoothly and prevent accumulation, reducing the risk of damage.
Understanding Drainage Essentials
I remember the first time I tackled a shower tiling project; I was determined to get it just right. The secret, I learned, is all about the slope4. A gentle incline of 1/4 inch per foot towards the drain ensures that water flows as it should. I spent more time on this than anything else, and it paid off. The water didn’t stand a chance at pooling on my carefully laid tiles.
Waterproofing Techniques
Waterproofing became my next obsession. I opted for a liquid membrane, which felt like painting an invisible shield over my work. It required patience, but the peace of mind knowing that the moisture wouldn’t seep through was worth every second. If you’re more into immediate results, a sheet membrane might be your go-to.
| Waterproofing Option | Advantages | Disadvantages |
|---|---|---|
| Liquid Membrane | Easy application | Requires curing time |
| Sheet Membrane | Immediate effectiveness | More labor-intensive |
Drain Placement and Types
Choosing the right drain was like picking the perfect tie for a suit; it had to match the style and function seamlessly. Linear drains look sleek and make water management easier. In more classic spaces, spot drains still shine. Place them strategically at the lowest point of your slope.
Evaluating Material Choices
Material choice is another piece of the puzzle. I once used a stunning but porous tile5 without sealing it properly—lesson learned! Opt for non-porous tiles like porcelain or glazed ceramics, especially where moisture is a constant guest.
Additional Considerations
Even after all this careful planning, maintenance is key. I check my grout regularly for signs of wear and tear. It’s not just about keeping things looking good; it’s about ensuring everything works like a charm year after year. Remember, prevention is better than dealing with mold or leaks later.
A 1/4 inch per foot slope is ideal for drainage.True
The slope ensures water flows naturally towards the drain.
Liquid membranes are more labor-intensive than sheet membranes.False
Liquid membranes are easier to apply but require curing time.
Which Materials Are Best for Waterproofing a Shower Floor?
Ever wondered what it takes to keep your shower floor from turning into a soggy mess?
To waterproof a shower floor effectively, consider using liquid waterproofing membranes, sheet membranes, or foam backer boards. These materials form strong moisture barriers, preventing leaks and damage.
Understanding Waterproofing Membranes
Let me take you back to the time when I tackled my own bathroom renovation. I was knee-deep in tile samples when I realized waterproofing was the unsung hero of the project. Liquid waterproofing membranes6 became my trusty sidekick. They’re as easy to apply as painting a wall, and I loved how they formed a seamless barrier, perfect for my irregularly shaped shower floor.
Sheet membranes were another option I considered. Think of them like a shield – pre-fabricated, strong, and reliable. They do need some careful installation, but once they’re in place, they’re like a fortress against water penetration.
| Type | Application | Benefits |
|---|---|---|
| Liquid Membrane | Rolled/Brushed on | Seamless, ideal for irregular surfaces |
| Sheet Membrane | Laid over surface | Strong resistance, consistent thickness |
Foam Backer Boards as an Alternative
Then there are foam backer boards7. Picture this: lightweight yet robust, providing both insulation and water resistance. When I first heard about them, I was intrigued by their flexibility and ease of cutting to fit any space. They became the sturdy base for my tiles, thanks to their rigidity and waterproof nature.
Key Considerations When Choosing Materials
- Durability: Choosing the right materials was like piecing together a puzzle. Durability was non-negotiable—I needed something that could handle daily wear and tear without breaking a sweat.
- Ease of Installation: Installation ease mattered too; I wasn’t about to dive into a DIY disaster.
- Cost: Balancing my budget with quality was a bit like walking a tightrope, but the peace of mind knowing my shower wouldn’t leak was worth it.
Explore the best practices8 to ensure these materials are installed correctly, keeping your shower safe and dry for years to come.
Liquid membranes are ideal for irregular shower floors.True
Liquid membranes form a seamless barrier, fitting irregular surfaces well.
Foam backer boards cannot be cut to fit any space.False
Foam boards are flexible and can be cut to fit various spaces.
What Tools and Techniques Should Be Used for Tiling Without a Pan?
Ever found yourself staring at a bathroom floor, wondering how to tile it without a shower pan? It might seem tricky, but I’ve been there, and trust me, it’s doable with the right approach.
To tile without a pan, start with waterproofing membranes, thinset mortar, tile spacers, and a notched trowel. Key techniques include prepping the substrate and planning your tile layout for both durability and visual appeal.
Essential Tools for Tiling Without a Pan
Picture this: you’re ready to dive into tiling a bathroom floor without a traditional pan. It’s both thrilling and nerve-wracking, right? I remember the first time I tackled such a project. The key was having the right tools9 at hand:
- Waterproofing Membranes: These are lifesavers! They keep water from seeping into places it shouldn’t, protecting your hard work.
- Thinset Mortar: Think of this as the glue that holds your beautiful tiles in place.
- Tile Spacers: These nifty little things ensure your tiles don’t end up too close or too far apart, maintaining a uniform look.
- Notched Trowel: This tool spreads the mortar evenly—crucial for a stable base.
Techniques to Master
- Substrate Preparation: You wouldn’t build a house on sand, right? Same goes for tiling. A clean, level base is your foundation. I once skipped this step and regretted it—it compromised the entire look.
- Waterproofing: A step you can’t afford to miss. Applying a waterproofing membrane10 is like putting on a raincoat; it protects your tiles from moisture damage.
- Tile Layout: Starting from the center is not just an aesthetic choice; it minimizes awkward cuts at the edges. Using a laser level ensures precision.
- Mortar Application: Use your notched trowel to apply thinset mortar. This was one of those "aha" moments for me—ensuring an even spread made all the difference in keeping tiles in place.
- Tile Placement: Set your tiles with spacers for uniform gaps. I learned early on that adjusting before the mortar sets is crucial; otherwise, you’re left with imperfections.
- Grouting and Sealing: After laying the tiles, grout them using a rubber float and seal once dry. This step enhances durability and makes cleaning a breeze.
Understanding Alternatives
If you’re like me, always curious about new methods, exploring alternative methods11 can be enlightening. Whether it’s incorporating modern materials or sustainable practices, these insights might just give you an edge in your project.
| Tool | Purpose |
|---|---|
| Waterproofing Membrane | Prevents moisture penetration |
| Thinset Mortar | Adheres tiles to the substrate |
| Tile Spacers | Ensures even spacing between tiles |
| Notched Trowel | Distributes mortar evenly across surfaces |
Every tool plays a part in crafting a professional finish, even if you’re skipping the traditional pan setup. With these insights, you’re not just building a floor—you’re mastering an art.
Waterproofing membranes are optional for tiling without a pan.False
Waterproofing membranes are essential to prevent moisture damage.
Tile spacers ensure even spacing between tiles.True
Tile spacers help maintain consistent gaps for uniformity.
Conclusion
Learn how to tile a shower floor without a pan by preparing the subfloor, ensuring proper drainage, and using waterproofing techniques for a durable and stylish finish.
-
Explore various best practices to ensure successful flooring installation and prevent common issues. ↩
-
Understand why it’s essential to level your subfloor to avoid future flooring issues. ↩
-
Discover established guidelines that ensure a quality flooring foundation. ↩
-
Explore methods for sloping substrates, ensuring effective drainage in tiled surfaces. ↩
-
Learn about tile materials that resist water absorption, ideal for bathrooms and wet areas. ↩
-
Understand how liquid membranes form seamless barriers, perfect for irregular shower floor shapes. ↩
-
Learn about foam boards’ benefits in providing insulation and moisture resistance. ↩
-
Explore effective techniques to ensure a watertight installation. ↩
-
Explore this link to discover comprehensive toolkits designed for efficient and professional tiling projects without a traditional shower pan. ↩
-
Find top-rated waterproofing membranes to ensure your tile installation remains leak-free and durable over time. ↩
-
Learn about innovative tiling techniques that bypass traditional pans, offering modern solutions for bathroom renovations. ↩






