
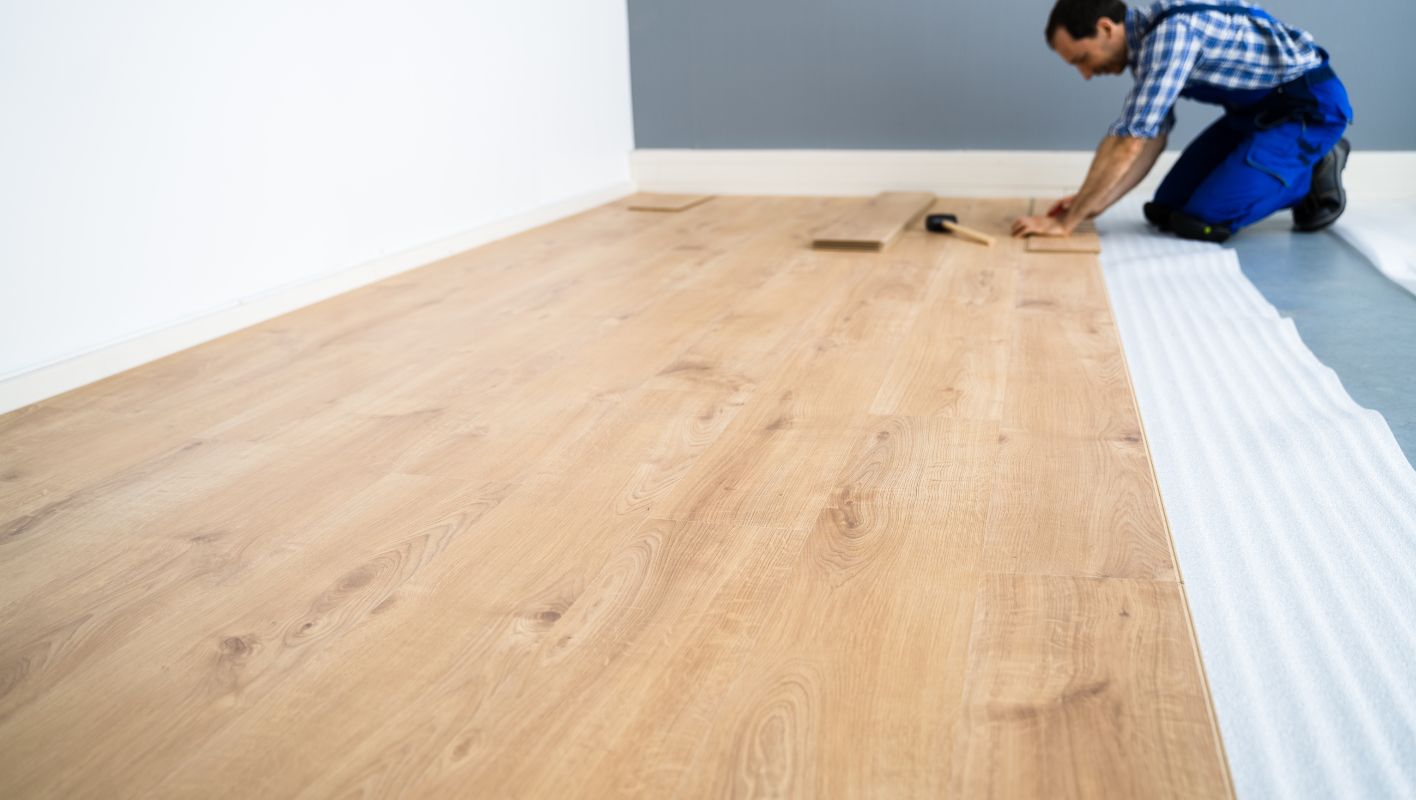
Thinking of updating your floors but dreading tile removal? You’re not alone—I’ve been there.
Vinyl planks, laminate flooring, carpet tiles, and engineered wood are fantastic choices for laying over ceramic tiles. These options not only save you the hassle of removal but are also budget-friendly and easy to install, providing diverse style options.
Let’s dive into these options. Vinyl planks are a favorite of mine due to their waterproof nature and durability—perfect for busy households like mine. Laminate gives that classic wood look without the high cost, while carpet tiles offer comfort and warmth. Engineered wood combines elegance with practicality, great for living spaces. Each choice has its own charm, so consider your space’s needs and your personal style. I’ll walk you through the pros and cons of each to help make your decision a breeze.
Vinyl planks can be installed over ceramic tiles.True
Vinyl planks are suitable for installation over ceramic tiles due to their flexibility.
Engineered wood is not suitable for ceramic tiles.False
Engineered wood can be installed over ceramic tiles, offering a refined look.
Why Should You Consider Installing New Flooring Over Ceramic Tiles?
Thinking about sprucing up your floors but dreading the chaos of ripping out ceramic tiles? Let me share why laying new flooring over them might be your hassle-free answer.
Laying new flooring over ceramic tiles saves you on labor costs, speeds up installation, and keeps dust and debris at bay. Plus, it lets you update your home’s look without the headache of tile removal.
Reduced Labor Costs
I remember the first time I faced the daunting task of redoing a room. The thought of tearing out old ceramic tiles was enough to make me want to postpone the whole project. Luckily, I found out that you can lay new flooring over existing tiles1. This revelation was a game-changer, cutting down on both time and labor costs. No need for heavy-duty demolition means I could put that saved money towards nicer flooring materials or other home upgrades.
Faster Installation Process
Another benefit I discovered was how much quicker the installation could be. Installing flooring over ceramic tiles significantly speeds up the process. Without the need for tile removal, projects can move forward with minimal disruption. It was particularly useful when I was working on tight schedules, as the quicker the job got done, the sooner I could enjoy my refreshed space.
Minimal Dust and Debris
Dust and debris have always been my nemesis during renovations. Tile removal can generate a considerable amount of dust and debris, which can be a nuisance and a health concern. So, avoiding the full-blown mess of tile removal was a huge relief. It kept my home cleaner and healthier throughout the process. I could breathe easy knowing that I wasn’t stirring up allergens or tracking dust everywhere.
Aesthetic Upgrade Opportunities
This approach also opened up a whole world of aesthetic possibilities. Overlaying new flooring provides a chance to update the style and appearance of a room. From sleek luxury vinyl planks to the timeless charm of engineered wood, I could switch up my home’s vibe without dealing with the hassle of tile removal. It felt like a style upgrade without the stress.
| Flooring Type | Benefits Over Ceramic Tiles |
|---|---|
| Luxury Vinyl Planks | Waterproof, easy maintenance |
| Engineered Wood | Adds warmth, available in various finishes |
| Laminate | Cost-effective, durable |
Enhanced Insulation and Comfort
Beyond looks, adding a new layer of flooring made my home feel cozier too. Installing new flooring over ceramic tiles can improve insulation and comfort underfoot. Options like cork or carpet tiles brought in extra insulation and soundproofing, making each room not just beautiful but also more comfortable—like wrapping up my home in a comforting hug.
If you’re considering an upgrade, explore the range of flooring options2 suitable for overlaying on ceramic tiles to find the best fit for your project requirements.
Overlaying flooring reduces labor costs.True
Installing over existing tiles avoids demolition, saving labor expenses.
Installing over tiles increases dust production.False
Overlaying new flooring minimizes dust compared to tile removal.
How Do You Prepare Ceramic Tiles for New Flooring Installation?
Ever tried laying down new flooring and ended up with a wonky, uneven mess? Let me tell you how I learned to prepare ceramic tiles the right way, transforming my floor into a masterpiece.
To prepare ceramic tiles for a new flooring installation, start by cleaning and inspecting the tiles, plan your layout, cut tiles as needed, and ensure the subfloor is clean and level. These steps are crucial for achieving a durable and aesthetically pleasing floor.
Cleaning and Inspecting Your Tiles
I remember the first time I attempted to lay ceramic tiles. I was so eager to see the end result that I skipped the cleaning process—big mistake! Now, I always start by meticulously cleaning each tile with mild detergent and water to remove any dust or grime. Trust me, it’s worth it. After they’re sparkling clean, I inspect each one for any cracks or chips. This step is non-negotiable because even a tiny defect can spell trouble down the road. Tile inspection3 ensures you’re starting with quality materials.
Planning the Tile Layout
Planning the layout is like assembling a giant puzzle. I always measure my floor space first, then arrange the tiles to see how they fit together. It’s like a mini rehearsal before the big event. Using spacers is key to maintaining those perfectly even gaps between tiles. This step not only helps me visualize the final look but also minimizes waste—a win-win!
Cutting Tiles for Perfect Fit
Cutting tiles used to terrify me—imagine tiny shards flying everywhere! But with a good tile cutter or wet saw, I’ve found it’s actually kind of satisfying. Safety gear like goggles and gloves are my best friends here, protecting me from any rogue fragments. Cutting tools4 are game-changers in making precise cuts.
Preparing the Subfloor
I can’t stress enough how important a clean, level subfloor is. The first time I skipped this step, my tiles ended up looking like rolling hills! Now, I make sure to clear away any debris or nails and sometimes even apply a primer or underlayment for extra stability. This preparation prevents future shifting or cracking, making all the difference in the long run.
| Step | Tools Needed |
|---|---|
| Cleaning & Inspecting | Mild detergent, water |
| Planning Layout | Measuring tape, spacers |
| Cutting Tiles | Tile cutter, wet saw |
| Preparing Subfloor | Primer, underlayment |
These steps transformed my tiling disaster into a smooth installation process that I’m proud of. Dive into more floor preparation tips5 to ensure your project turns out just as great.
Inspect tiles for cracks before installation.True
Inspecting tiles for cracks prevents future complications in flooring.
Subfloor preparation is optional for tile installation.False
Preparing the subfloor is essential to prevent tile shifting or cracking.
What Are the Best Flooring Options for Bathrooms?
Ever stepped into a bathroom and wondered why the floor feels just right? Picking the perfect bathroom flooring is more than just aesthetics—it’s about durability and safety too.
Porcelain or ceramic tiles, vinyl, and natural stone are top bathroom flooring choices. They’re water-resistant, durable, and easy to maintain, making them perfect for moisture-rich environments.
I remember the first time I had to choose bathroom flooring for a renovation project. It seemed like a daunting task, but understanding the strengths of each option made it simpler.
Porcelain and Ceramic Tiles
Porcelain and ceramic tiles quickly became favorites in my book. Their water resistance and durability are unbeatable, which is vital in a high-moisture area like a bathroom. Plus, they come in so many styles that you can really let your creativity flow. I once helped a friend choose porcelain tiles for their bathroom redo, and the transformation was stunning. Porcelain is denser6 and less porous, offering top-notch water resistance.
| Tile Type | Water Resistance | Maintenance | Durability |
|---|---|---|---|
| Porcelain | High | Low | High |
| Ceramic | Moderate | Low | Moderate |
Vinyl Flooring
Vinyl is like that trusty friend who’s always there when you need them. It’s affordable, easy to install, and offers excellent waterproof7 capabilities. Whether you’re after the look of wood or stone, modern vinyl has got your back. I helped install vinyl planks in a rental property once, and not only did they look fantastic, but they also stood up to tenant wear-and-tear remarkably well.
Natural Stone
If luxury is what you’re after, natural stone like marble or limestone could be the way to go. These materials bring elegance to any bathroom but do require sealing for enhanced waterproofing8. Once, during a high-end home project, I saw how textured natural stone not only added a rich aesthetic but also improved safety by reducing slip risks.
Considerations for Safety and Sustainability
Safety is always at the forefront of my mind when selecting bathroom flooring. Slip-resistant surfaces are crucial to prevent accidents. Additionally, with sustainability becoming more important in our industry, I always consider eco-friendly options that offer recyclability or are made from sustainable materials.
Ultimately, the best flooring for your bathroom will depend on your specific needs and preferences. Whether it’s about handling moisture with grace or complementing your style, there’s a perfect match out there for everyone. Evaluate your options considering moisture resistance, durability, maintenance requirements, and aesthetic appeal to make an informed choice.
Porcelain tiles are denser than ceramic tiles.True
Porcelain is denser and less porous, offering better water resistance.
Natural stone requires no sealing for waterproofing.False
Natural stone needs sealing to enhance its waterproof capabilities.
Can You Install Heated Flooring Systems Over Ceramic Tiles?
Ever thought about adding a touch of warmth to your tiled floors without tearing them up?
Yes, you can definitely install heated flooring systems over ceramic tiles. The process requires ensuring the tiles are clean and level, using suitable underlayments, and selecting the right heating system for compatibility.
Understanding Heated Flooring Systems
When I first considered upgrading my home with heated floors, I imagined the sheer luxury of stepping onto warm tiles on a chilly morning. Heated flooring systems, often known as radiant floor heating, are designed to spread warmth evenly across the floor, creating a cozy atmosphere in any room. These systems can be electric or hydronic, but from my experience, electric systems9 are particularly handy for retrofitting over existing floors.
Preparing Ceramic Tiles for Installation
The first time I installed a heated floor, I was a bit daunted by the prep work required. It’s essential to start with a clean slate—literally. Make sure your ceramic tiles are clean and free from dust or debris. I remember having to level a few uneven spots with a self-leveling compound. A thin insulation layer is also something I recommend; it makes a significant difference in energy efficiency.
| Step | Description |
|---|---|
| 1 | Clean and level the tiles |
| 2 | Apply insulation layer |
| 3 | Lay heating elements |
| 4 | Cover with thin-set mortar |
Choosing the Right Heating System
Choosing the right heating system felt like picking the perfect tool from a toolbox—it needed to fit just right. For ceramic tiles, electric radiant systems usually offer the best compatibility and ease of installation. I’ve found it’s crucial to check the system’s specifications10 to make sure everything aligns with your space, tile type, and heat needs.
Benefits of Retrofitting Heated Floors
The idea of ripping out all my tiles was not appealing, which is why retrofitting heated floors seemed like a brilliant solution. Not only did I avoid the mess and cost of tile removal, but I also gained wonderfully even heat distribution that added an extra layer of comfort to my home. It’s wise to consult professionals though—they can ensure that everything is installed correctly and performs optimally.
For more insights into different types of radiant floor heating11 systems and their compatibility with various flooring materials, keep exploring. It’s fascinating how many options there are to tailor your home’s warmth to your exact preference.
Heated floors can be installed over ceramic tiles.True
Heated floors can be installed over tiles by ensuring the surface is clean and level.
Hydronic systems are best for tile retrofits.False
Electric systems are generally easier to install over existing tiles than hydronic systems.
Conclusion
Explore flooring options like vinyl, laminate, and engineered wood that can be installed over ceramic tiles, saving time and costs while enhancing aesthetics without the hassle of removal.
-
Learn how installing flooring over existing tiles can save time and reduce costs. ↩
-
Find out which flooring types are most compatible with being installed over ceramic tiles. ↩
-
Learn why inspecting tiles before installation prevents future damage and ensures quality. ↩
-
Find tools that make cutting ceramic tiles easier and more accurate. ↩
-
Discover essential floor preparation tips to enhance tile adhesion and durability. ↩
-
Learn about the density and water-resistant properties of porcelain compared to ceramic tiles. ↩
-
Discover how modern vinyl flooring is designed to be waterproof and suitable for bathrooms. ↩
-
Explore techniques to effectively seal natural stone and enhance its waterproofing capabilities. ↩
-
Explore how electric radiant floor systems work and why they are suitable for retrofitting over existing tiles. ↩
-
Learn about different specifications to consider when selecting a radiant heating system for your space. ↩
-
Discover various types of radiant floor heating systems and their compatibility with different flooring options. ↩






