
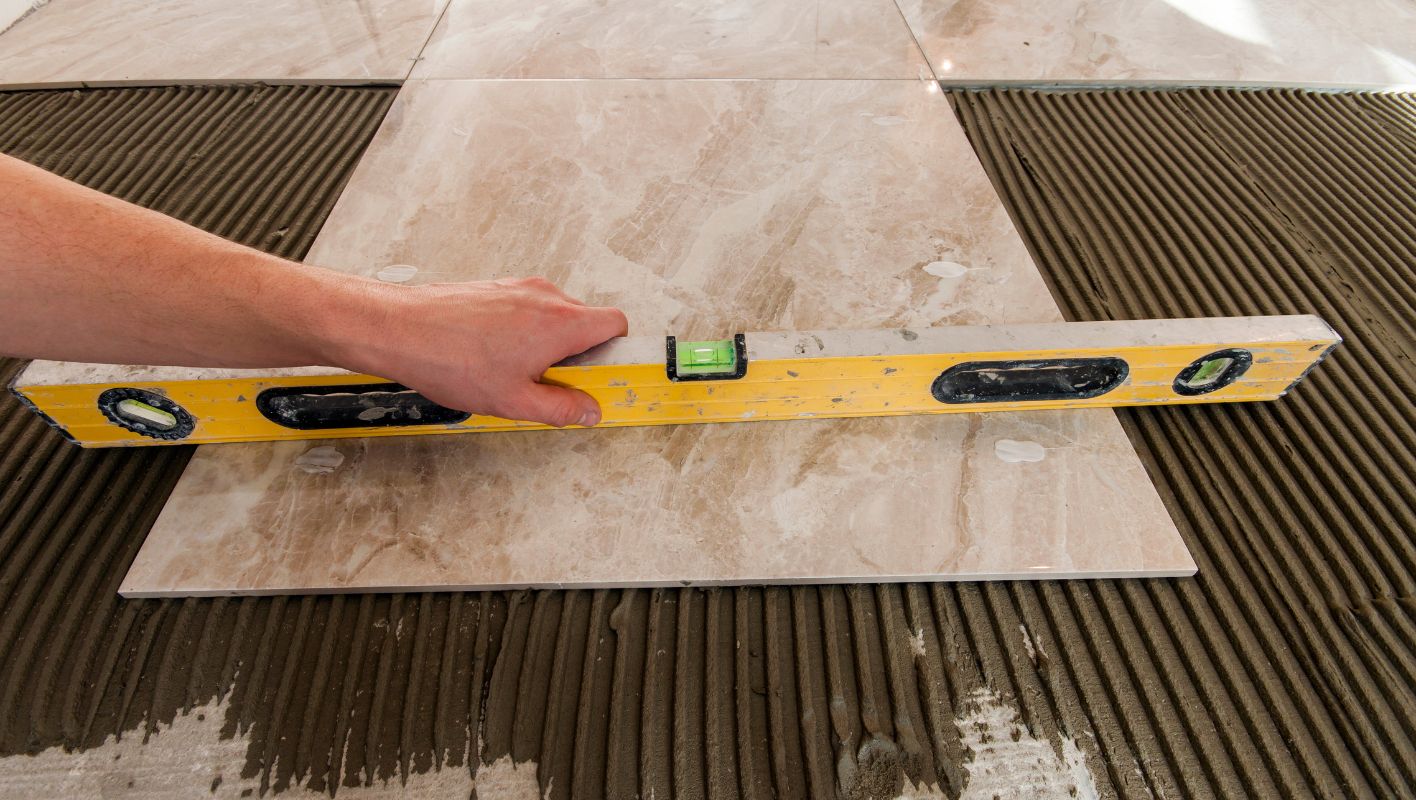
Transforming your floor with tiles can elevate any space, but it all starts with a perfectly level base.
To level a floor for tile installation, start by cleaning the surface thoroughly, then use a self-leveling compound to fill in low spots. Ensure the compound is spread evenly and allow it to cure completely before tiling.
I remember the first time I tackled leveling a floor in my own home. It was a mixture of excitement and sheer terror, knowing that the beautiful tiles I had chosen depended on this crucial step. The initial cleaning felt like preparing a blank canvas. Then, spreading that self-leveling compound was like icing a giant cake, hoping for that smooth, flawless finish.
Sure, I was nervous, but the satisfaction of walking on that even surface once the tiles were laid was worth every moment. Here’s a deeper dive into how you can achieve that professional-quality finish too.
Self-leveling compound is used to level floors for tiling.True
Self-leveling compounds fill low spots, creating an even base for tiles.
Cleaning the floor surface is unnecessary before leveling.False
A clean surface ensures better adhesion and effectiveness of leveling compounds.
What Tools Do You Need to Level a Floor?
Ever tried leveling a floor and ended up more confused than a kid in a candy store? I’ve been there too!
To level a floor, you’ll need trusty tools like a spirit level, floor leveling compound, a trowel, and a sander. Don’t forget extras like laser levels, mixing buckets, and measuring tapes for that perfect finish.
Essential Tools for Floor Leveling
I remember the first time I decided to take on the challenge of leveling my living room floor. Armed with determination and a spirit level, I quickly learned that having the right tools makes all the difference. Here’s what I’ve found to be essential:
- Spirit Level: This little gadget is my go-to for checking that everything’s on the level. It’s available in all sorts of lengths, and if you’re into tech, digital versions can give you pinpoint precision.
- Floor Leveling Compound: Imagine finding an oasis in a desert—that’s what this mix feels like when you’re dealing with dips or uneven patches.
- Trowel: Spreading the leveling compound evenly is crucial, and a flat trowel1 can be your best friend here.
- Sander: I love the satisfaction of smoothing out any rough spots after the compound has set. It’s like polishing your hard work to perfection.
- Laser Level: For those big projects, this tool helps draw a continuous level line, making expansive spaces less daunting.
Additional Equipment for Precision and Efficiency
Once, while mixing my leveling compound in a bucket, I learned the hard way that having a drill mixer2 is non-negotiable for consistency. It saves time and reduces those pesky air bubbles.
- Mixing Buckets and Drill Mixer: Absolutely necessary for getting the compound just right.
- Measuring Tape: You’ll need this to measure distances accurately, which is vital when handling large surfaces.
- Protective Gear: Don’t overlook safety—glasses and gloves are essential to protect against dust and chemicals.
Tool Tips for Different Flooring Types
Different floors have their quirks. If you’re dealing with concrete floors, you might need industrial grinders to prep the surface. I once thought I could skip this step—big mistake!
- Concrete Floors: Often require heavier-duty equipment.
- Wooden Floors: Handle with care; avoid heavy sanding to prevent damage.
- Tile Floors: Use appropriate adhesives and grouts post-leveling for secure placement.
Understanding each tool’s role not only ensures a level floor but also enhances the efficiency and quality of your project. Whether it’s for concrete surfaces3 or wooden bases, these tools make even daunting tasks manageable and professional-looking.
| Tool | Function |
|---|---|
| Spirit Level | Ensures flatness |
| Leveling Compound | Fills dips |
| Trowel | Spreads compound |
| Sander | Smooths surface |
| Laser Level | Projects continuous lines |
A spirit level is essential for floor leveling.True
A spirit level ensures the floor is even across all areas.
Wooden floors require heavy sanding before leveling.False
Wooden floors need delicate handling to avoid damage.
What Are the Different Methods for Floor Leveling?
Uneven floors can be a real headache, but choosing the right leveling method makes all the difference. Let’s dive into the options to get your floors smooth and steady.
Yes, various methods exist for floor leveling, such as self-leveling compounds, underlayment, and grinding. Each is tailored to specific needs and flooring types, ensuring your surfaces are stable and level.
Self-Leveling Compounds
I remember the first time I dealt with an uneven floor4 in my home office. It was an old house, full of character but also full of quirks, including a floor that seemed to slope towards the center. That’s when I discovered self-leveling compounds. These mixes are like magic. They flow over your surface, smoothing out those minor imperfections like a charm. They were perfect for my concrete subfloor, providing a seamless base for new vinyl tiles.
Underlayment Solutions
Back when I was redoing my living room, I wanted something that would offer a bit more insulation. That’s where underlayment materials came in handy. I went with cork underlayments not just for their cushioning but also for their eco-friendly nature—something that resonated with my values of sustainability. Placing these beneath my wood floors not only leveled things out but also added a cozy warmth to the room.
| Material | Best For | Pros |
|---|---|---|
| Cork | Sound insulation | Eco-friendly, sound dampening |
Grinding and Sanding
Grinding brings me back to the time I helped my neighbor renovate their garage. The concrete floor was a mess—uneven and rough. We rented a grinding machine, and let me tell you, watching those high spots disappear was oddly satisfying. For wooden floors, like in my cousin’s old farmhouse, sanding became our best friend. It took precision and time, but the results were worth it.
Both methods require precision and professional expertise5 for best results.
Shimming Techniques
Shimming is another method I’ve used, especially with older wooden floors. It’s a simple fix where you insert small shims—think of them as little wedges—under the low spots to even things out. I remember tackling this in my friend’s cabin; it was such a fun DIY project that made a noticeable difference.
Shims come in various materials like plastic or wood, offering flexibility depending on the project’s demands.
Innovative Technologies
Recently, I’ve been fascinated by laser-guided leveling systems. Imagine using technology that offers such precision and speed! It’s perfect for large-scale projects, though it does require specialized knowledge6. Exploring these innovations reminds me how exciting it is to see where construction technology is heading. The efficiency and accuracy they bring can truly transform how we approach big projects.
Self-leveling compounds are only for concrete surfaces.False
They can be used on subfloors for tile, vinyl, or carpet installations.
Laser-guided leveling systems require specialized knowledge.True
These advanced technologies need specific expertise to operate effectively.
How Do You Prepare the Floor Before Leveling?
Preparing a floor for leveling isn’t just a step in the process—it’s the foundation for everything that follows. I’ve learned this the hard way during my home renovation adventures.
To prepare a floor for leveling, start by cleaning it thoroughly to remove all dust and debris. Inspect for cracks or uneven areas and repair them with an appropriate filler. Finally, apply a primer to ensure the leveling compound adheres properly.
Assessing the Floor Condition
Before diving into the leveling process, I take a moment to really assess the floor’s condition. I’ve had my fair share of surprises, like discovering hidden moisture or unexpected cracks just when I thought I was ready to go. Addressing these underlying problems7 early saves a ton of hassle down the road.
Cleaning the Surface Thoroughly
I used to underestimate the power of a clean floor until I realized how much dirt and debris can mess with adhesion. Now, sweeping and vacuuming have become my rituals, especially focusing on those sneaky corners and edges. Sometimes, I even pull out a mild detergent solution to tackle stubborn grime—anything to get that perfect clean slate.
Repairing Cracks and Uneven Spots
When I first started, I thought minor cracks were no big deal until they came back to haunt me. Now, I’m all about using the right filler for the job, letting it dry completely, and knowing when it’s time to call in the pros for bigger issues.
| Problem Type | Recommended Action |
|---|---|
| Minor Cracks | Use epoxy-based filler |
| Major Cracks | Consult a professional |
| Uneven Surfaces | Sand down high spots |
Priming the Floor
Applying a primer was something I overlooked initially, but not anymore. It’s like giving your floor a solid handshake before laying down the leveling compound. I always choose one that’s compatible with my materials and follow the drying instructions to a tee.
Protecting Adjacent Areas
I’ve learned that protecting walls and fixtures with painter’s tape or plastic sheets is key. It’s saved me from many an accidental spill and makes the cleanup so much easier.
Understanding how to prepare your floor properly can significantly impact the outcome of your project. For more insights on flooring techniques, explore preparation best practices8.
Priming the floor enhances leveling compound adhesion.True
Priming creates a better bond between the floor and the leveling material.
Ignoring minor cracks won't affect floor leveling.False
Minor cracks can worsen if not filled, affecting the leveling process.
What Are Common Mistakes to Avoid When Leveling a Floor?
I remember the first time I tried leveling a floor—it was a rollercoaster of emotions! Avoiding common pitfalls can save you loads of hassle and heartache.
Common mistakes in floor leveling often stem from inadequate preparation, using the wrong materials, and overlooking moisture issues. Proper planning and choosing the right materials are essential for a smooth and lasting floor.
Inadequate Surface Preparation
I learned the hard way that skipping thorough cleaning before applying leveling compound can lead to disaster. Picture this: I’m halfway through my project, only to find the compound peeling away because I hadn’t properly cleaned the floor. Now, I make sure to meticulously clear away debris and dust—sometimes with a damp mop or even a specialized solution—to ensure a perfect start.
Before applying any leveling compound, ensure the floor is clean and free from debris. Dust and dirt can prevent the compound from adhering properly. Failing to address existing cracks or damage9 can lead to an uneven surface later.
A simple vacuum may not suffice; consider using a damp mop or a specialized cleaning solution for deeper cleaning.
Choosing the Wrong Materials
Once, I used the wrong type of leveling compound, thinking any would do the job. Boy, was I wrong! The poor adhesion resulted in cracks and an uneven floor. Now, I always double-check which material suits my needs best. For large areas, self-leveling concrete is my go-to, while for smaller spaces or underlayments, acrylic-based compounds work like a charm.
Selecting the wrong leveling compound for your specific floor type can result in poor adhesion or cracking. For instance:
| Material Type | Best Use Case |
|---|---|
| Self-Leveling Concrete | Large areas, heavy-duty flooring |
| Acrylic-Based Compound | Small areas, underlayments |
Be sure to follow the manufacturer’s instructions regarding mixing ratios and setting times.
Ignoring Moisture Levels
Imagine finishing your floor only to discover it warping because you ignored moisture levels. I’ve been there. Now, measuring the subfloor’s moisture content is as vital to me as my morning coffee. And if there’s even a hint of moisture trouble, I don’t hesitate to install a vapor barrier, especially in damp areas like basements.
Moisture can wreak havoc on floor leveling projects. Measure the subfloor’s moisture content before starting. Using a moisture barrier is essential if you’re working with materials like wood or laminate that can warp or swell.
Consider installing a vapor barrier10 especially in basements or areas prone to dampness.
Skipping Priming Steps
I once thought I could skip priming to save time. Big mistake! The compound started peeling after a few months. Since then, I’ve never underestimated the power of a good primer designed for my specific substrate and compound.
Priming the floor ensures better adhesion of the leveling compound. Skipping this step can lead to peeling or an uneven finish. Use a high-quality primer designed for your specific substrate and compound.
Incorrect Application Techniques
In my early DIY days, I applied the compound too thickly, eager to finish quickly. This led to uneven layers and more work. Now, patience is my mantra. I follow product guidelines religiously and let each layer dry completely before adding another.
Applying the compound too thickly or thinly is a common mistake. Follow the guidelines for your chosen product regarding thickness per layer:
- Using a notched trowel helps in spreading evenly.
- Remember patience is key; allow each layer to dry completely before adding another to avoid uneven settling11.
Skipping priming steps leads to uneven floor finishes.True
Priming ensures better adhesion, preventing uneven finishes.
Self-leveling concrete is best for small areas.False
Self-leveling concrete is ideal for large surfaces, not small areas.
Conclusion
Learn how to level a floor for tile installation using self-leveling compounds, essential tools, and proper preparation techniques to ensure a smooth and durable surface.
-
Discover the best flat trowels for an even floor finish, ensuring no bumps or imperfections. ↩
-
Find top-rated drill mixers that ensure smooth and consistent leveling compound mixtures. ↩
-
Learn how to properly prepare concrete surfaces before applying leveling compound. ↩
-
Learn how self-leveling compounds can create smooth surfaces for various flooring types. ↩
-
Understand the role of grinding machines in leveling concrete floors effectively. ↩
-
Explore cutting-edge technologies that improve floor leveling precision. ↩
-
This link provides detailed guidance on addressing uneven floors, which is crucial before applying any leveling compound. ↩
-
Explore best practices in floor preparation to ensure optimal results when leveling your floor. ↩
-
Learn effective methods for repairing floor cracks to ensure a smooth leveling process. ↩
-
Understand how vapor barriers can protect floors from moisture damage. ↩
-
Explore techniques to avoid common settling issues when leveling floors. ↩






