
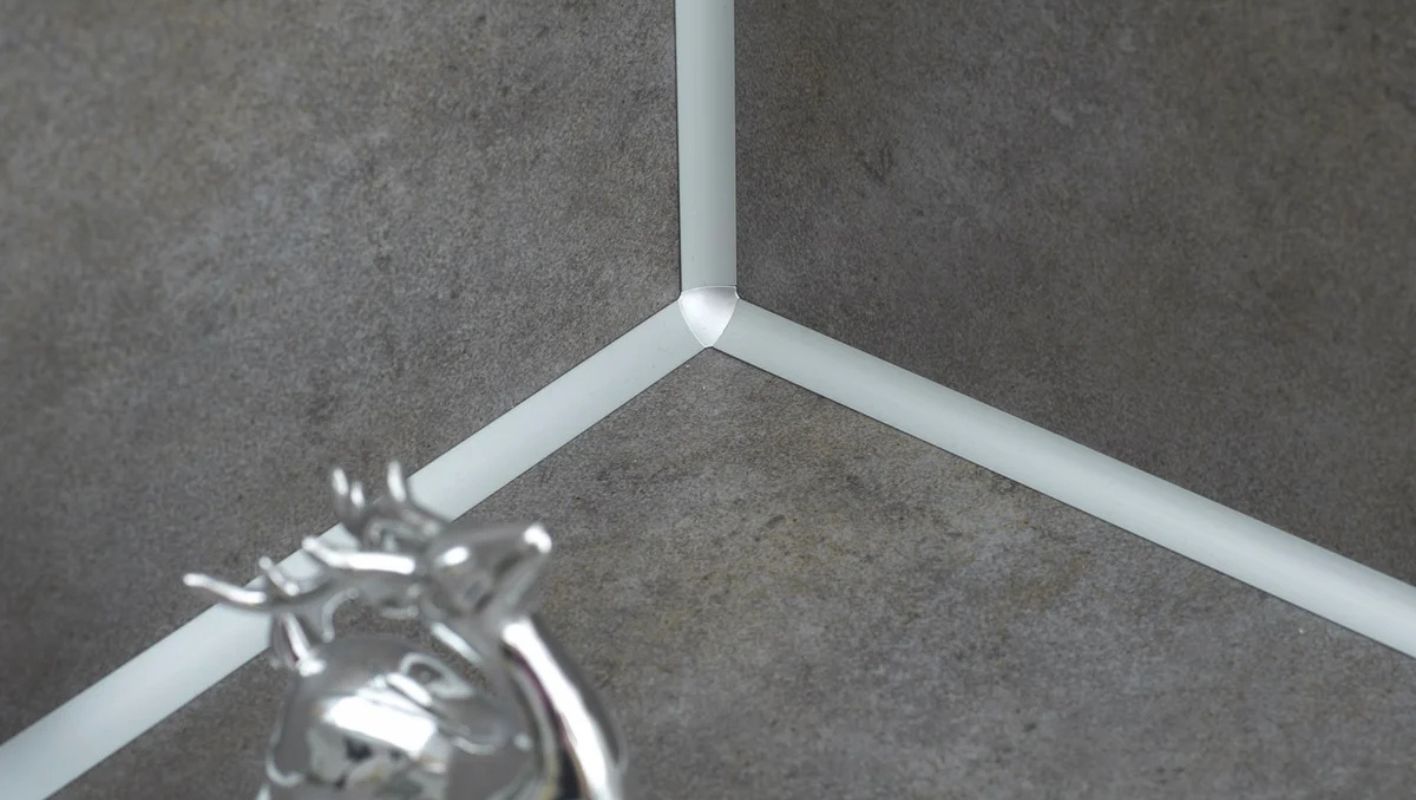
Ever stared at those inside corners during a tiling project and felt a wave of uncertainty? Don’t worry, you’re not alone!
To tile inside corners effectively, make sure the surfaces are clean and even. Measure and cut tiles to fit snugly into the corner, applying adhesive evenly. Use spacers for uniform gaps, and decide between grout or caulk based on your tiles’ material and location.
I remember my first tiling project at home. The straight lines seemed like a breeze, but those corners—they were a different beast! It’s all about precision and patience. After laying out the basics, let’s dive into what sets apart a DIY job from a professional one. From picking the perfect tools to knowing when to opt for grout over caulk, there’s a lot to consider. I’ll share some hurdles I faced and how I overcame them, hopefully saving you a few headaches along the way.
Using spacers ensures uniform gaps between tiles.True
Spacers help maintain consistent spacing, crucial for even grout lines.
Grout is always better than caulk for inside corners.False
Caulk is often preferred over grout in inside corners due to flexibility.
What Are the Best Tools for Tiling Inside Corners?
Tiling those pesky inside corners can feel like a puzzle, but with the right tools, it’s a breeze. Let me share some insights from my own tiling adventures.
The best tools for tiling inside corners include a corner trowel, tile spacers, and a tile cutter. A corner trowel helps apply adhesive evenly, while spacers ensure uniform gaps. A precision tile cutter is vital for accurate corner cuts.
Essential Tools for Inside Corner Tiling
I’ll never forget the first time I tackled an inside corner. It was a test of patience, and the results were… let’s just say less than perfect. But over the years, I’ve learned that with the right tools, anyone can achieve professional results, even in those tricky spots.
-
Corner Trowel: Think of this as your secret weapon. It fits snugly into corners, making it easy to spread adhesive evenly. This tool ensures your tiles won’t budge once they’re set.
-
Tile Spacers: These little guys might seem insignificant, but they’re the unsung heroes of tiling. They ensure your tiles are evenly spaced, which is crucial for preventing cracks and achieving that polished look.
-
Precision Tile Cutter: An absolute must-have. I remember when I first upgraded to a high-quality tile cutter—it was a game changer. You need precise cuts to fit tiles into those tight corners seamlessly.
Advanced Tools and Gadgets
If you’re ready to take your tiling to the next level, consider these advanced tools:
-
Laser Level: This is a lifesaver for achieving perfect alignment. It projects straight lines onto your surfaces, acting as your guide.
-
Tile Nippers: Perfect for those minor tweaks on tiles that don’t quite fit. I’ve used them countless times to nip away small sections without ruining an entire tile.
-
Wet Saw: For cutting through tough materials like porcelain or ceramic, this tool is invaluable. It’s especially handy for custom cuts in corners or around fixtures.
Techniques for Precision Tiling
While having the right tools is important, technique is equally crucial:
-
Measuring Twice: My motto has always been “measure twice, cut once.” It saves time and reduces mistakes.
-
Dry Laying Tiles: Before committing with adhesive, lay out your tiles dry. This step has saved me from countless headaches by ensuring fit and alignment before everything is set in stone (or tile).
-
Adhesive Application: Use a notched trowel to apply adhesive in straight lines. This creates a strong bond between the tile and surface.
Example Table of Tools
| Tool | Purpose |
|---|---|
| Corner Trowel | Spread adhesive evenly in corners |
| Tile Spacers | Ensure uniform gaps between tiles |
| Precision Tile Cutter | Make accurate cuts |
| Laser Level | Align tiles perfectly |
| Tile Nippers | Adjust small sections |
| Wet Saw | Cut through tough materials |
By equipping yourself with these tools and techniques, you can turn your tiling project into a masterpiece. Trust me, investing in quality tools makes all the difference in the final outcome. Remember, patience and precision1 are your best friends when mastering inside corner tiling.
Corner trowels are essential for inside corner tiling.True
Corner trowels fit perfectly into corners, spreading adhesive evenly.
Tile spacers are unnecessary for inside corner tiling.False
Tile spacers ensure even spacing, preventing cracks and misalignment.
Should You Use Grout or Caulk in Inside Corners?
You know, figuring out whether to go with grout or caulk for those tricky inside corners can be like solving a puzzle. I’ve been there, scratching my head, hoping to get it right.
In tiled areas, using caulk in inside corners is usually the go-to choice due to its flexibility. It allows surfaces to shift without cracking, unlike grout, which is more prone to breaking under pressure.
Understanding the Differences Between Grout and Caulk
Let me break it down for you. Grout and caulk each have their own roles to play when it comes to tiling projects. Picture grout as the strong, silent type—cement-based, filling the spaces between tiles, and once it’s set, it’s rock solid. But then there’s caulk, more like your flexible friend, always adapting and sealing those joints where different materials come together.
| Feature | Grout | Caulk |
|---|---|---|
| Composition | Cement-based | Silicone or acrylic-based |
| Flexibility | Rigid | Flexible |
| Best for | Spaces between tiles | Seams in corners |
Why Choose Caulk for Inside Corners?
So, here’s the deal with inside corners—they’re like the meeting point of two worlds at a 90-degree angle, where one wall says "hello" to another. Using grout here? Well, it can crack over time because buildings move; they shift and settle. That’s where caulk2 comes in. It’s like a peacekeeper, flexible enough to handle movement without breaking.
Common Applications and Considerations
When it comes to choosing between grout and caulk, consider the environment you’re working with. In wet zones, like showers, it’s all about mold-resistant caulk3 to keep things fresh and free from mildew. But for those spots where you want everything to look uniform, grout might be your aesthetic ally.
- Bathrooms: Silicone caulk is your best bet in corners to keep water at bay.
- Kitchens: For spots where countertops and backsplashes meet, caulk is the way to go.
- Floors: Those expansion joints on tiled floors? They need caulk’s flexibility.
Expert Tips for Installation
- Surface Preparation: Make sure everything is squeaky clean and dry before you start.
- Proper Application: A caulking gun is your best friend here—smooth it out with a wet finger or tool.
- Maintenance: Keep an eye on those caulk lines, especially where moisture loves to hang out.
By getting a good grip on these differences and knowing when to use each material, you can ensure that your tiling job stands strong over time and looks just how you envisioned. And if you’re keen to dive deeper into tile installation techniques4, there’s plenty more to explore in mastering those tiling skills.
Caulk is better for inside corners than grout.True
Caulk's flexibility prevents cracking in corners due to movement.
Grout is flexible and ideal for seams in corners.False
Grout is rigid and can crack; caulk is flexible for corner seams.
How Do You Tile Around Fixtures and Fittings?
Ever tried tiling around those tricky fixtures and fittings? It can be a real game-changer for any room, but it sure requires a bit of finesse.
To tile around fixtures and fittings, start by measuring precisely, cut tiles with the right tools, and use spacers to keep grout lines even. Planning ahead is key to avoid awkward cuts and achieve a polished look.
Understanding the Basics
I remember the first time I tackled tiling around fixtures—nervous but excited! Before diving in, I gathered my trusty tile cutter, a good old trowel, those little lifesaver spacers, and a level to keep everything straight. Choosing tiles that not only looked amazing but fit the space perfectly was my first priority. Trust me, planning is absolutely essential if you’re aiming for that professional result5.
Step-by-Step Tiling Process
-
Preparation: First things first, I made sure the area was spotless and laid out my plan with a pencil. Picking the right tile adhesive6 was another crucial step.
Tool Purpose Tile Cutter Cutting tiles to size Level Ensuring tiles are even Tile Spacers Maintaining even grout lines -
Measuring and Cutting:
- I learned that measuring twice before cutting saves a lot of headaches.
- Using either a manual or electric cutter gave me the precision I needed.
- Doing test fits became my best friend, especially around tricky spots like sinks or plug sockets.
-
Applying Tiles:
- Starting from the bottom up was my go-to strategy.
- Those spacers? Couldn’t do without them for keeping everything evenly spaced.
- Applying pressure evenly ensured each tile stuck perfectly.
Tips for Difficult Areas
- Around Curves and Edges: I discovered that mosaic tiles bend like a dream around corners.
- Using Templates: Creating cardboard templates was a lifesaver for avoiding unnecessary cuts on those precious tiles.
- Sealing: A top-notch sealant around edges is your best defense against moisture ingress.
Experimenting with different tile patterns7 brought a whole new level of artistry to my projects. Plus, steering clear of common mistakes saved me from future regrets.
Tools and Materials Selection
Choosing the right tools made all the difference in my tiling adventures. Getting advice from experts or reliable resources on picking the perfect tile adhesive8 and grout was invaluable. I always opt for materials that are durable yet align with my design vision.
Tile spacers ensure even grout lines.True
Tile spacers are used to maintain consistent gaps between tiles.
Start tiling from the top down.False
Tiles should be applied from the bottom up for stability.
Do You Need Trim for Inside Corners?
I’ve always found the smallest details make the biggest difference in home design. Take inside corners, for example—they can transform a room’s look and feel with just a little trim. But do you really need it?
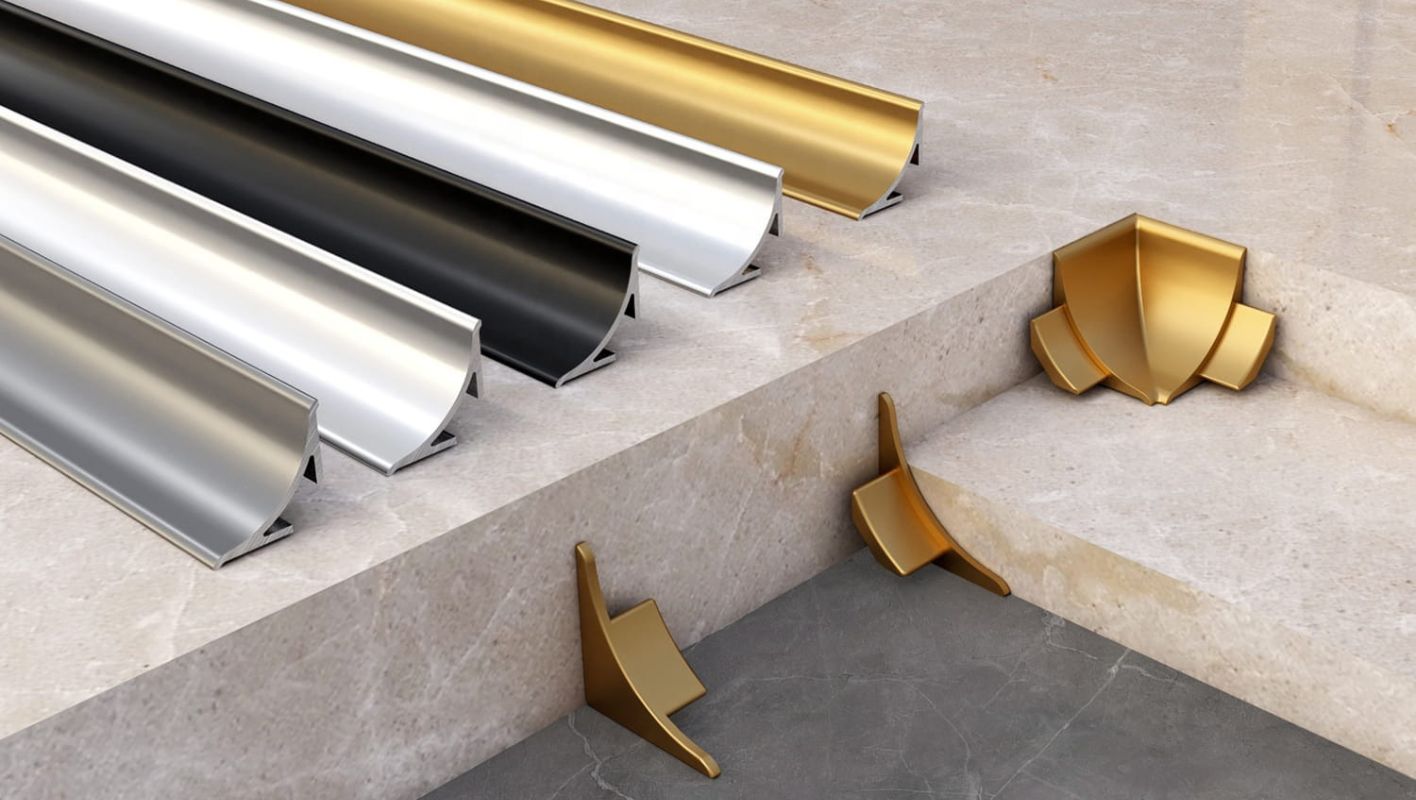
Adding trim to inside corners isn’t mandatory, but it can enhance a room’s aesthetics and durability. It covers imperfections, giving a polished look, and protects corners from damage. Consider the room’s style and function before deciding.
The Purpose of Trim in Inside Corners
I remember the first time I tackled a home renovation project. Standing in the middle of my living room with paint swatches in hand, I quickly realized the devil was in the details—like those pesky inside corners. Adding trim seemed like a small change, but it made a world of difference. Not only did it cover up those unsightly joints, but it also added a touch of elegance that made the entire space feel more polished.
From a practical perspective, trim acts like armor for your walls, especially in high-traffic areas. I once had to repaint my hallway corners because of all the dings they took from everyday life—think vacuum cleaners and clumsy elbows. Installing trim would’ve saved me both time and frustration.
| Benefit | Description |
|---|---|
| Aesthetic Appeal | Enhances visual continuity and hides imperfections |
| Structural Benefit | Protects corners from damage and reduces wear |
Material Choices for Inside Corner Trim
Choosing the right material for your inside corner trim is like picking the perfect outfit for an event; it needs to match the occasion and withstand whatever comes its way. When I was redoing my bathroom, I learned that wood trim, while classic, wasn’t the best choice for a moisture-rich environment. Instead, I opted for PVC—durable and easy to clean.
Whether you prefer wood’s timeless charm or modern materials’ resilience, each option offers its own blend of style and practicality. Make sure to consider your choices9 and how they align with your space’s overall vibe.
Installation Techniques for Inside Corner Trim
If you’re anything like me, DIY projects are both thrilling and slightly terrifying. The key to successfully installing trim is mastering techniques like mitering and coping. Mitering was my go-to when I wanted precise angles that fit snugly together, while coping offered more flexibility when my old house’s walls weren’t exactly straight.
Delve into these installation techniques10 to see which fits your skill level and tool availability.
Assessing the Room’s Style and Purpose
When deciding whether to add trim, it’s essential to think about the room’s style and purpose. During my last redesign, I realized too much trim could clutter my minimalist living room, whereas in my cozy, traditional study, it added character and charm.
Reflect on whether your room needs extra durability or if you’re simply after a visual upgrade. This reflection will guide you in making the right choice for your unique space.
Trim enhances inside corners' aesthetic appeal.True
Trim covers imperfections and adds elegance to room corners.
Wood is the only material for inside corner trim.False
PVC and composite materials are also used for durability and moisture resistance.
Conclusion
Learn effective techniques for tiling inside corners, including essential tools, adhesive application, and the choice between grout and caulk for a professional finish.
-
Learn why patience and precision are crucial for successful tiling endeavors. ↩
-
This link explains why caulk’s flexibility makes it ideal for corners where movement occurs. ↩
-
Learn about mold-resistant caulk options that are perfect for use in shower areas. ↩
-
Explore various techniques that can improve your tile installation skills significantly. ↩
-
Discover techniques and tips from professionals to elevate your tiling projects with expert insights. ↩
-
Learn about top-rated tile adhesives that provide strong bonds in wet areas like bathrooms. ↩
-
Explore various tile patterns that add style and sophistication to your kitchen. ↩
-
Find out which grout types offer durability and moisture resistance for bathroom projects. ↩
-
Learn about material options for interior trim that balance aesthetics with durability. ↩
-
Explore installation techniques like mitering and coping for a seamless corner finish. ↩






