
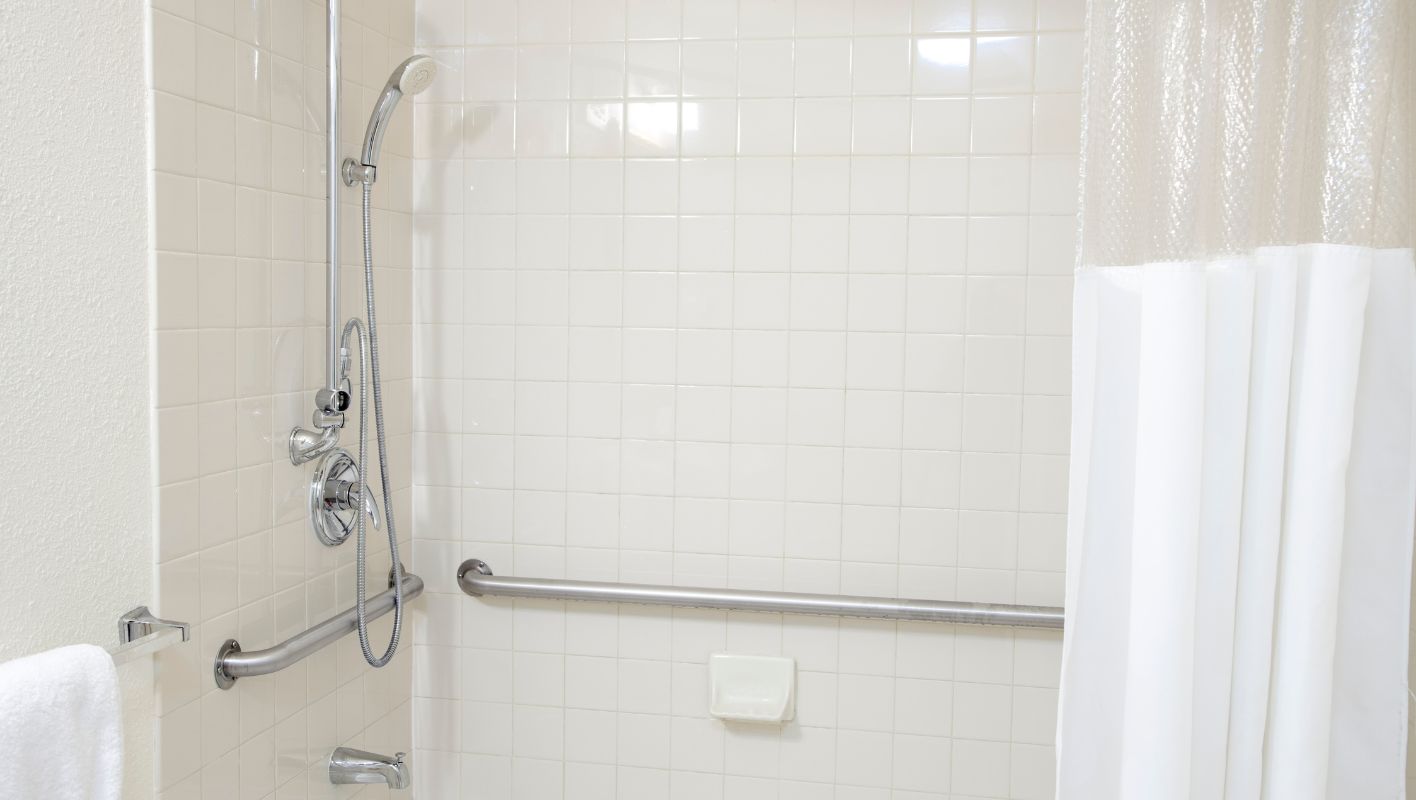
Ever found yourself gripping the slippery shower wall, hoping not to slip? Let’s make that a worry of the past.
To install grab bars in a tile shower, start by choosing the perfect spot for maximum accessibility. Use a stud finder to locate wall studs for secure mounting. Carefully drill through the tile with a masonry bit, insert the right anchors, and firmly screw the grab bars in place.
I remember when I first tackled this project for my aging parents; the peace of mind it brought was priceless. While this quick guide gives you a solid start, diving into each step is crucial to ensure everything is just right. From picking the right tools to understanding different mounting techniques, I’ll walk you through the details, ensuring your grab bars are as sturdy as they are reassuring.
Masonry bits are essential for drilling through tile.True
Masonry bits are designed to penetrate hard surfaces like tile effectively.
Grab bars can be installed without locating wall studs.False
Wall studs provide necessary support; skipping them risks bar failure.
What Tools and Materials Do You Need for Installing Grab Bars?
Thinking about installing grab bars in your bathroom? Let me guide you through the tools and materials you’ll need to make this safety upgrade a breeze.
To install grab bars, you’ll need a drill with matching drill bits, a screwdriver, a level, a tape measure, a pencil, and wall anchors if not mounting on studs. Opt for stainless steel grab bars for durability.
Essential Tools for Installing Grab Bars
I remember when I first decided to install grab bars in my bathroom. It was right after my mom had a little slip, which gave us all quite a scare. I knew I needed to make our home safer, but I wasn’t sure where to start. Here’s what I learned along the way that might help you too.
-
Drill and Drill Bits: The drill quickly became my best friend. I used it to create precise holes in the wall. The size of the drill bit was crucial, as it needed to match the screws that came with my grab bar set.
-
Screwdriver: Both flathead and Phillips screwdrivers were handy during the installation. Depending on the model of your grab bar, you might need one or both.
-
Level: This tool saved me from installing the bars at odd angles. Trust me, nothing’s worse than finishing a job only to realize it’s crooked.
-
Tape Measure and Pencil: Accurate measurements were key. I used a pencil to mark exactly where I wanted the drill spots. This was a lifesaver for precision.
-
Wall Anchors: Since I couldn’t always find a stud where I needed one, heavy-duty wall anchors provided the necessary support.
Choosing the Right Materials
Picking the right materials was another big step. I was overwhelmed with choices, but here’s what stood out:
| Material | Benefits |
|---|---|
| Stainless Steel | Resistant to rust and corrosion; ideal for wet environments like bathrooms. |
| Plastic | Cost-effective and available in various designs, but less durable. |
I ended up going with stainless steel for its durability and resistance to rust, which seemed perfect for our bathroom’s humid environment.
For further insights on material selection1, consult industry standards to ensure you’re choosing the best options for your project.
Additional Considerations
-
Placement and Height: I did some research on recommended placement heights for grab bars to ensure they would be both comfortable and safe for my mom to use. According to ADA guidelines, 33 to 36 inches above the floor is ideal.
-
Installation Environment: Our bathroom has tiled walls, so I made sure to use a specialized drill bit2 to avoid any cracking.
When planning your installation, think beyond just tools and materials. Consider installation methods3 that might better suit your bathroom setup. This holistic approach can lead to a more effective solution that truly meets your needs.
A drill is essential for installing grab bars.True
Drills create necessary holes for securing grab bars to walls.
Plastic grab bars are more durable than stainless steel ones.False
Plastic is less durable compared to rust-resistant stainless steel.
How to Choose the Right Location for Grab Bars in a Shower?
Finding the perfect spot for grab bars in your shower can be a game-changer, especially if you’re looking to boost safety for yourself or a loved one.
The best places for grab bars in a shower are by the entrance, along the side wall, and on the back wall. These spots provide crucial support and stability when entering, exiting, or standing in the shower.
Understanding the Importance of Placement
When I first realized how vital grab bars are, it was during a visit to my grandparents’ home. Watching them navigate their bathroom with such care made me realize how a small addition could make such a big difference. Grab bars aren’t just metal rods; they’re peace of mind and security.
Recommended Locations for Grab Bars
| Location | Purpose |
|---|---|
| Entrance Area | Assists in entering/exiting the shower safely |
| Side Wall | Provides support while standing or moving within the shower |
| Back Wall | Offers stability when reaching for controls or washing |
Entrance Area
Imagine trying to step into a slippery shower without anything to hold onto—it’s nerve-wracking! Installing a vertical grab bar at the entrance can be like offering a helping hand every time you step in or out, ensuring balance and confidence.
Side Wall
For the side wall, think of it as your trusty sidekick. A horizontal bar here, ideally 33-36 inches from the floor, gives you that reliable support when you’re moving around or just standing still. Depending on your shower’s size, you might choose a longer bar for extra assurance based on shower dimensions4.
Back Wall
The back wall is all about support when you’re reaching for those hard-to-get shower controls or lathering up. A diagonal or vertical bar here can prevent overreaching and keep things safe.
Compliance with Safety Standards
I learned about ADA guidelines5 when I was researching for a family member’s bathroom remodel. Ensuring that installations meet these standards is crucial—they dictate everything from height and length to weight capacity, making sure safety isn’t just an afterthought.
Factors Influencing Placement
Several factors can influence where grab bars should be placed, including:
- User Height: Position bars to accommodate the primary users’ height.
- Shower Layout: Adjust placement based on fixtures and available space.
- Health Needs: Consider any specific mobility issues when deciding on locations.
I always recommend chatting with a professional installer. They can ensure that grab bars are securely anchored and provide insights into the best methods based on your wall materials. Their expertise can be invaluable in getting it just right by reinforcing installation methods6.
Grab bars should be installed at 33-36 inches high.True
This height range is recommended for optimal support and accessibility.
A vertical grab bar is best for the side wall in showers.False
Horizontal grab bars are preferred on side walls for better support.
How can you mount grab bars on tile?
Ever tried fixing a grab bar onto those stubborn tiles? It’s quite the puzzle! Let me guide you through the different methods that ensure both safety and stability, making your bathroom a safer haven.
To securely mount grab bars on tile, consider adhesive mounting, drilling with tile-specific bits, or using toggle bolts. Each method requires specific tools and techniques to ensure the grab bar is safely and securely installed.
Adhesive Mounting
Adhesive mounting is like the magic trick of the DIY world—it’s quick, easy, and doesn’t leave a mark! I remember the first time I tried this; I was amazed at how well it worked without drilling holes in my beautiful tiles. This method involves using industrial-strength adhesive7 designed to bond metal to tile surfaces.
Pros:
- Super easy to apply—seriously, even my teenage niece could do it!
- No need for fancy drills or special tools
- Keeps those precious tiles safe from harm
Cons:
- Not as rock-solid as drilling
- Don’t lean too hard—limited weight capacity
Drilling with Tile-Specific Bits
When I needed a permanent solution, I knew drilling was the way to go. It sounds daunting, right? But with the right tools, it’s a breeze. Picture this: your bathroom stays intact, and you get a solid grip with every use. Use a diamond-tipped drill bit for best results.
Steps:
- Mark the spot with masking tape—keeps the drill steady.
- Go slow with the drill to avoid overheating (and nerves!).
- Insert anchors and fasten the grab bar securely.
Toggle Bolts
For those tricky hollow walls behind tiles, toggle bolts are your best friends. I once had to install a bar in a tiled wall that felt like it might as well have been made of tissue paper. The toggle bolts held firm, providing the support needed.
Steps:
- Drill a hole through the tile and wall.
- Insert the toggle bolt through the grab bar flange.
- Tighten the bolt as it expands behind the wall.
Pros:
- Handles heavy loads like a champ
- Perfect for hollow wall situations
Cons:
- You’ll need bigger holes—yikes!
- A bit more complex—be patient and meticulous
Comparison Table
| Method | Tools Required | Stability | Ease of Installation |
|---|---|---|---|
| Adhesive | Adhesive | Moderate | Easy |
| Drilling | Drill, Diamond Bit, Anchors | High | Moderate |
| Toggle Bolts | Drill, Toggle Bolts | Very High | Complex |
Choosing the right method is all about knowing your own skills and what your space needs. Always remember: safety first when installing grab bars! For more detailed guidance on each method, check out these installation guides8.
Adhesive mounting requires no drilling tools.True
Adhesive mounting uses industrial-strength adhesive, avoiding drilling.
Toggle bolts are the simplest method for mounting grab bars.False
Toggle bolts require drilling and a more complex installation process.
How Can You Ensure Safety and Durability When Installing Grab Bars?
Ever found yourself holding onto a slippery bathroom wall, wishing for a little extra support? Installing grab bars can be a lifesaver, literally.
To ensure safety and durability when installing grab bars, choose top-notch materials, follow the manufacturer’s instructions carefully, and secure them directly into wall studs. Proper placement and regular check-ups keep them reliable over time.
Choosing the Right Materials
When I first started installing grab bars for my aging parents, I quickly learned that the choice of materials could make all the difference. Opt for stainless steel or reinforced plastic. These materials are tough, resisting corrosion9 and wear, while providing a firm grip.
Proper Installation Techniques
I remember my initial attempt at installation was a bit nerve-wracking. I soon realized that following the manufacturer’s guidelines was essential. Make sure to secure the grab bars into wall studs—not just the drywall—to ensure they can support weight. A stud finder became my best friend, helping me locate the right spots, and using the correct screws meant no surprises later on.
| Recommended Tools | Purpose |
|---|---|
| Stud Finder | Locate wall studs |
| Drill | Create pilot holes |
| Level | Ensure alignment |
Optimal Placement
Strategic placement is key. Imagine you’re guiding someone who needs that extra support—position the bars near toilets and showers where they’re most needed. I always keep ADA guidelines in mind for height and distance to maximize accessibility.
Regular Maintenance
I’ve learned that regular maintenance is crucial. Every few months, I check for any loose screws or wobbling. Tightening things up as needed keeps everything safe and stable. And yes, a good cleaning routine with non-abrasive cleaners helps maintain the grab bars in top condition.
For further insights on ADA compliance, visit this comprehensive guide10. By adhering to these guidelines, you’ll not only ensure safety but also peace of mind, knowing that those grab bars are there to support you or your loved ones in every critical moment.
Stainless steel grab bars resist corrosion.True
Stainless steel is known for its corrosion resistance, making it ideal for grab bars.
Grab bars should be installed into drywall only.False
Grab bars must be secured into wall studs, not just drywall, for safety.
Conclusion
Learn how to safely install grab bars in a tile shower for enhanced safety and accessibility, using the right tools, materials, and techniques for secure mounting.
-
Discover the most durable materials for grab bars to ensure they withstand moisture and usage. ↩
-
Learn about specialized drill bits to prevent tile damage when installing in tiled areas. ↩
-
Explore different installation techniques to find the most suitable one for your bathroom. ↩
-
Knowing standard shower dimensions helps you select appropriately sized grab bars for different areas. ↩
-
Following ADA guidelines ensures installations are compliant with accessibility standards. ↩
-
Understanding different installation methods guarantees secure grab bar mounting depending on wall material. ↩
-
Learn about top-rated adhesives designed specifically for bonding metal grab bars to tile surfaces. ↩
-
Explore comprehensive installation guides for mounting grab bars securely on tile surfaces. ↩
-
Exploring this link will provide insights into why stainless steel is preferred for its durability and resistance to moisture. ↩
-
This link offers detailed information on ADA standards, ensuring installations meet legal safety requirements. ↩






