
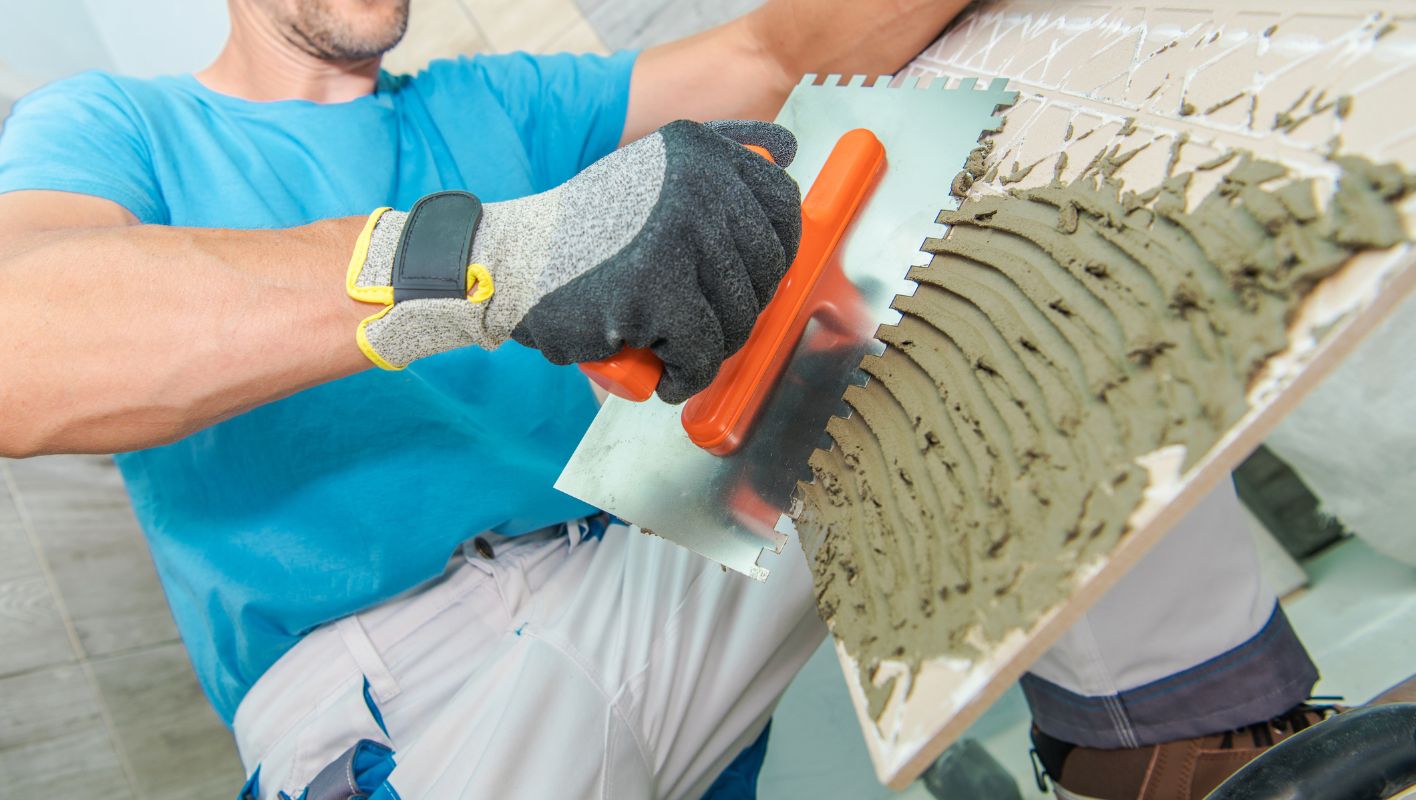
Let me share a tiling secret that transforms projects from good to great: back buttering tiles.
Back buttering tiles means spreading a thin layer of adhesive on the tile’s back before placing it. This step ensures strong adhesion and even coverage, which is especially important for large tiles, uneven surfaces, or materials like porcelain. It prevents voids and enhances durability.
I remember when I first tackled a big tiling project, feeling overwhelmed by the sheer size of those large format tiles. That’s when I discovered back buttering—a technique that not only saved the day but also ensured a flawless finish. The even coverage it provides is a game-changer, especially when you’re working with tricky materials or surfaces that are less than perfect. Let’s dive into why back buttering is essential and how mastering this skill can turn your tiling jobs into stunning successes.
Porcelain tiles require back buttering for durability.True
Porcelain's density makes back buttering crucial to prevent voids.
Back buttering is unnecessary for small tiles.False
Even small tiles benefit from back buttering to ensure even adhesion.
What Are the Benefits of Back Buttering Tiles?
Ever felt the thrill of a perfectly laid tile? It’s a moment when every piece fits seamlessly, creating a masterpiece underfoot. But what if I told you there’s a secret technique that can make this perfection more attainable?
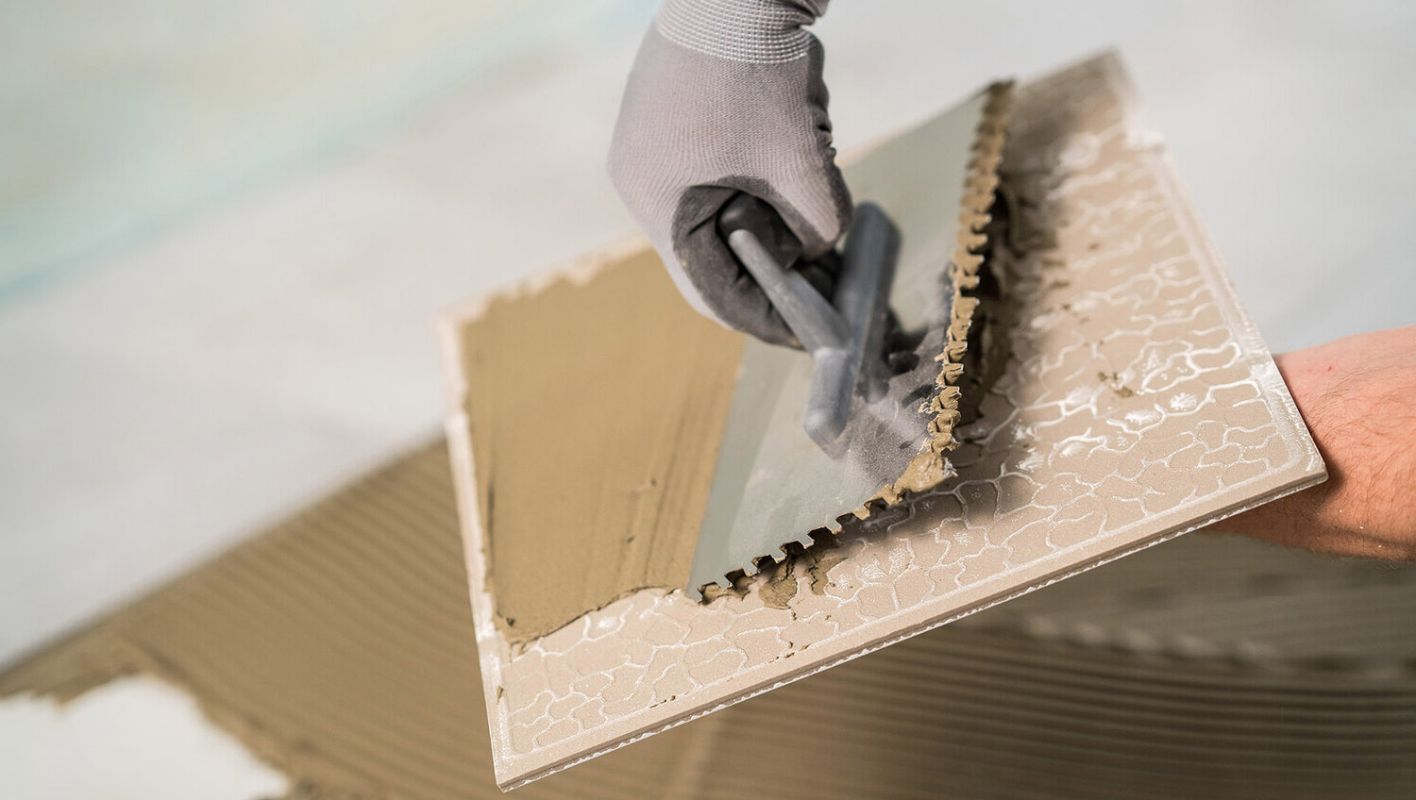
Back buttering tiles means spreading adhesive on the back of each tile before setting it in place. This technique creates a stronger bond, minimizes hollow spots, and extends the lifespan of your tile installation.
Enhanced Adhesion
I remember my first big tiling project. The stakes were high, and I was determined to get every tile perfectly aligned. That’s when I discovered back buttering. By applying a thin layer of mortar to the back side of each tile1, I could almost feel the tiles thanking me for the extra support. The full contact area ensured no air gaps, making the bond between tile and substrate rock solid.
Especially with large-format tiles, which can be as demanding as a toddler on a sugar rush, this technique is a lifesaver. It prevents sagging and slipping, reducing the need for future repairs due to loose or cracked tiles.
Prevents Hollow Spots
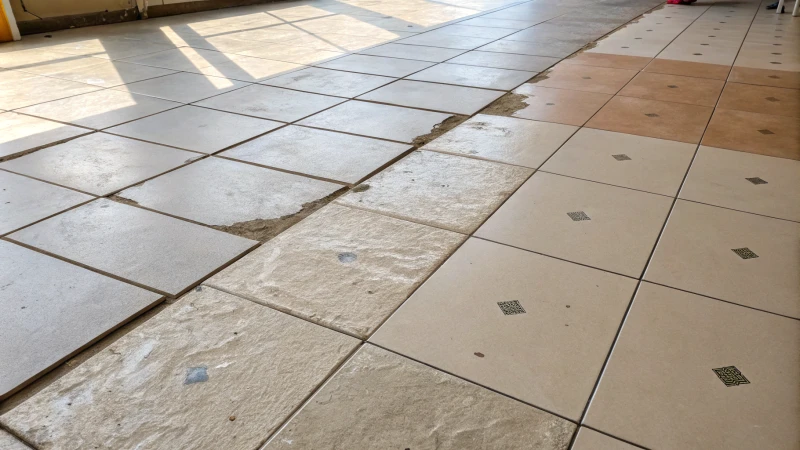
There was this one time I walked into a room and heard that dreaded hollow sound underfoot. It was like stepping on a drum. Hollow spots can be more than just an annoyance—they compromise strength and durability. With back buttering, I found that the adhesive coverage was thorough, ensuring no hollow spaces.
Consider a simple comparison:
| Technique | Risk of Hollow Spots |
|---|---|
| Standard Setting | High |
| Back Buttering | Low |
For large-scale projects2 or high-traffic areas, avoiding those hollow spots is crucial to maintaining structural integrity.
Better Leveling and Alignment
Back buttering became my go-to trick for achieving that flawless finish. Adjusting the thickness of the adhesive on each tile allowed me to get surfaces perfectly level and aligned. It’s like giving your tiles a little extra TLC.
This method shines when dealing with uneven substrates. It gives you the flexibility to make minor adjustments, accommodating all those little irregularities that can throw off your design.
Ensures Longevity
Tiles aren’t just about today; they’re about tomorrow too. Properly adhered tiles with back buttering are less prone to damage over time. With this technique, I’ve seen firsthand how it helps prevent cracks and chips, saving not just money but also preserving your work of art.
Incorporating sustainable practices3 isn’t just a trend; it’s a commitment to quality and longevity. Using methods like back buttering aligns with eco-friendly building principles, ensuring that beautiful finishes stand the test of time.
Back buttering tiles improves adhesion.True
Applying adhesive to the tile's back eliminates air gaps, enhancing adhesion.
Back buttering is unnecessary for small tiles.False
While more crucial for large tiles, it still benefits small ones by ensuring contact.
When Should You Back Butter Your Tiles?
Ever wondered why some tiles just seem to cling perfectly to the floor or wall while others don’t? The secret might just be in a little trick called back buttering.
Back buttering is crucial when working with large-format tiles, uneven surfaces, or natural stone. This technique ensures comprehensive coverage, improves adhesion, and prevents tile slippage during installation.
Understanding Back Buttering
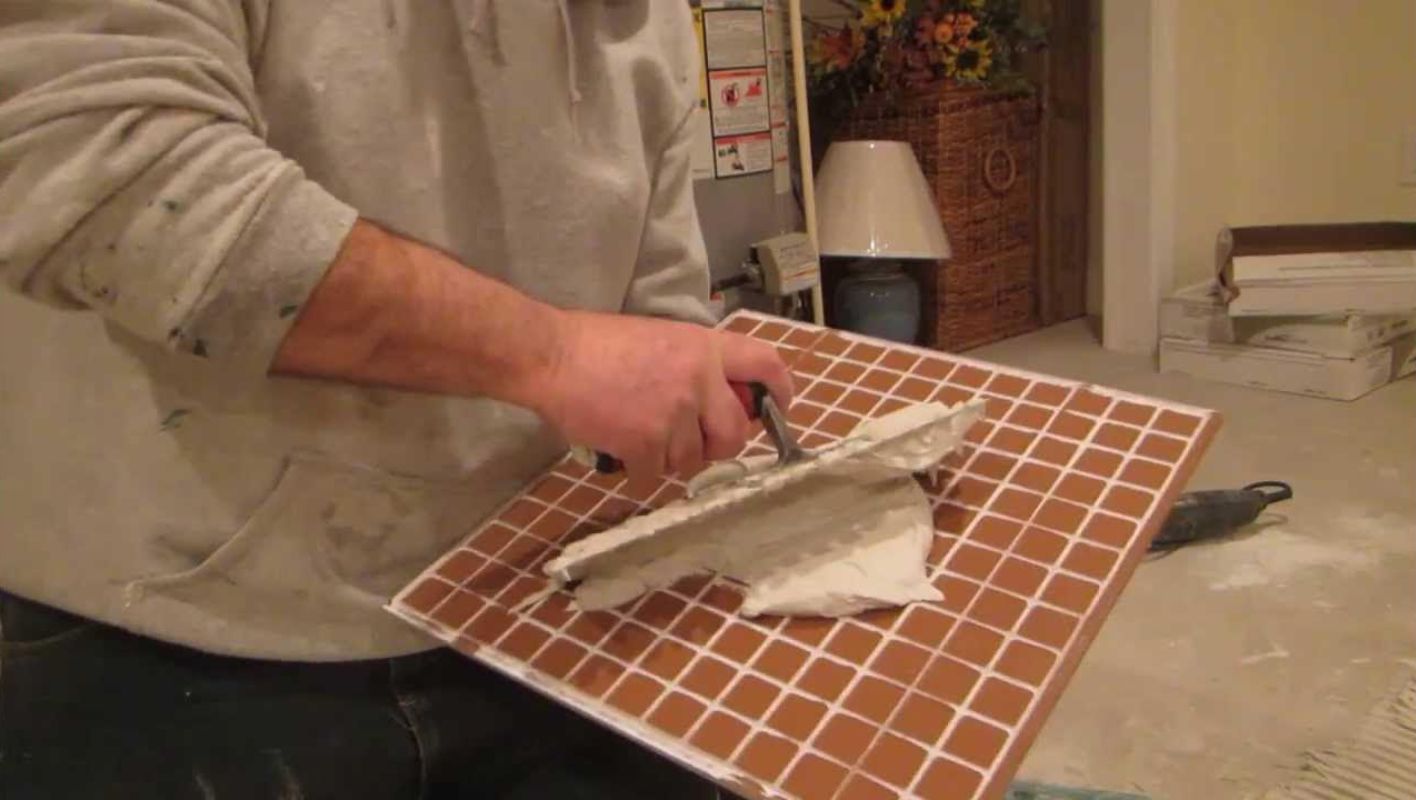
I remember my first tiling project—my excitement was only matched by my confusion over the sheer number of techniques to master. One method that stood out was back buttering. Essentially, this involves spreading a layer of mortar on the tile’s backside before placing it on the surface. Think of it as giving your tiles a sticky hug to bond better with the floor or wall. This technique not only enhances adhesion but also ensures that your tiles stay put, even in the trickiest spots.
When to Apply Back Buttering
-
Large-Format Tiles:
On one occasion, I tackled a room using 24×24 inch tiles. Trust me, without back buttering, those tiles felt like they had a mind of their own! For any tile larger than 12×12 inches, back buttering becomes non-negotiable. It helps achieve full coverage and prevents those annoying hollow spots that can lead to cracking later on.- Benefits include stronger adhesion and reduced risk of cracking.
-
Uneven Surfaces:
Have you ever worked on a floor that seemed more like a mini-mountain range than a flat surface? Back buttering is a lifesaver here, allowing you to even out imperfections and spread the mortar more uniformly. -
Natural Stone Tiles:
I adore the look of marble and travertine, but they can be tricky due to their porous nature. Back buttering fills in the voids, stopping moisture from sneaking in and causing discoloration.
Techniques for Effective Back Buttering4
- Using a notched trowel helps apply the mortar evenly.
- Make sure your mortar is smooth and free of air bubbles—trust me, those can cause major headaches down the line.
| Tile Type | Recommended? |
|---|---|
| Ceramic | Optional |
| Porcelain | Often recommended |
| Large-Format | Essential |
| Natural Stone | Essential |
Challenges and Solutions5
- Challenge: Time-consuming for large areas.
- Solution: Work in manageable sections. Focus on positioning each tile perfectly before moving on.
By getting comfortable with back buttering, you can enhance both the appearance and longevity of your tile projects. And if you’re feeling adventurous, explore advanced techniques6 to take your skills to the next level.
Back buttering is essential for large-format tiles.True
Large-format tiles need full coverage to prevent hollow spots.
Back buttering is unnecessary for natural stone tiles.False
Natural stone requires back buttering to fill voids and prevent moisture.
How Does Back Buttering Compare to Spot Bonding?
Ever found yourself knee-deep in a tiling project, wondering if back buttering or spot bonding is the way to go? Let me share my journey with these techniques and what I’ve learned along the way.
Back buttering means spreading adhesive evenly on the tile’s back for full surface contact, ensuring a strong bond, especially with large tiles. Spot bonding applies adhesive only in specific spots, which is faster but may compromise adhesion.
Understanding Back Buttering and Spot Bonding
I remember my first big tiling job—it was nerve-wracking! I decided to use Back Buttering after a seasoned tiler shared his secret with me: applying adhesive over the entire tile back ensures every inch clings tightly to the surface. This method was like giving each tile a hug before setting it in place, offering solid support, especially on those tricky, uneven floors. It’s been a lifesaver for large tiles that need extra TLC to avoid breakage.
Then there’s Spot Bonding—the quicker sibling of back buttering. Imagine dabbing adhesive in just a few spots, and you’re done. It saves on adhesive and time, but I’ve learned the hard way that it might not hold up as well, leaving little gaps underneath where tiles could easily crack.
Comparing Techniques: Pros and Cons
| Technique | Advantages | Disadvantages |
|---|---|---|
| Back Buttering | Superior adhesion, reduces voids, enhances stability | Time-consuming, requires more adhesive |
| Spot Bonding | Cost-effective, faster application | May lead to voids, weaker bond strength |
When to Use Each Method
I’ve found Back Buttering indispensable when working with large-format or heavy tiles like porcelain7. Think of it as laying down roots for a tree; it needs to be solid from the start to prevent future mishaps.
But if you’re pinching pennies or using smaller tiles, Spot Bonding might do the trick. Just be cautious—it’s like choosing fast food over a home-cooked meal; it might not last as long.
Practical Insights from Industry Experts
Chatting with pros in the field, many swear by back buttering for high-stress or aesthetically demanding projects. The consensus? It wards off issues like cracking or warping over time.
Expert Tip: Before diving in, always assess your surface and tile specifics. For complex designs or uneven terrains, back buttering often steals the show with its reliability.
Learn more about these techniques and ensure your tiling masterpieces withstand both time and style evolution. Embrace methods that sync with modern installation practices8, elevating your project’s quality.
Back buttering ensures full adhesive coverage on tiles.True
Back buttering involves spreading adhesive over the entire tile back.
Spot bonding uses more adhesive than back buttering.False
Spot bonding applies adhesive in spots, using less than back buttering.
What Tools Do You Need for Back Buttering Tiles?
Remember that time when you tried tiling, and it felt like a puzzle with missing pieces? Let’s make sure you have the right tools for back buttering tiles, so your next project fits together perfectly.
For successful back buttering of tiles, ensure you have a notched trowel, mixing paddle, and thin-set mortar. Don’t forget a rubber float and sponge for cleaning and smoothing surfaces, making your tiling project seamless.
Essential Tools for Back Buttering
Back buttering, my secret weapon for flawless tile adhesion, involves applying a thin layer of thin-set mortar9 to the back of each tile. The first time I tried this technique, I realized the importance of having the right tools. I remember struggling with uneven tiles until I got my hands on a trusty notched trowel, which turned out to be a game-changer. The correct notch size is crucial—it needs to match the tile’s thickness to ensure even mortar distribution.
Tool Table
| Tool | Description |
|---|---|
| Notched Trowel | Ensures even distribution of mortar. |
| Mixing Paddle | Attaches to a drill for thorough mortar mixing. |
| Rubber Float | Smooths out the tile surface after setting. |
| Sponge | Cleans excess mortar from the tile surface. |
Choosing the Right Trowel
Choosing the right trowel was like finding the perfect pair of shoes—it’s all about fit. For smaller tiles, a 1/4-inch notch works wonders, while larger tiles might need a 1/2-inch notch. This ensures that every piece sits snugly, providing great bond strength10. I learned this through trial and error; trust me, it makes a difference.
Proper Mortar Mixing
I once thought mixing mortar was as simple as stirring a pot of soup—boy, was I wrong! A mixing paddle attached to a drill is essential for achieving that perfect creamy consistency without lumps. It’s all about the balance; too thick or too thin can ruin the adhesion. For those bigger projects, a professional-grade mixer11 might be worth considering.
Application and Cleaning Techniques
Once the tile is set, using a rubber float is like giving it a gentle hug into the mortar bed, eliminating those sneaky air pockets. A damp sponge helps wipe away excess mortar—a trick I picked up after learning the hard way how much cleanup matters. Explore advanced cleaning techniques12 if you’re keen on that spotless finish.
Understanding these tools and methods empowers you to master back buttering, enhancing both aesthetic appeal and durability in your tiling projects. Keep these tips in mind for your next installation adventure—trust me, it’ll look like you hired a pro.
A notched trowel is optional for back buttering tiles.False
A notched trowel is essential for even mortar distribution.
A mixing paddle ensures lump-free thin-set mortar.True
Mixing paddles attach to drills for thorough mortar mixing.
Conclusion
Back buttering tiles involves applying adhesive to the back for improved adhesion, preventing hollow spots, and ensuring durability, especially crucial for large or uneven tiles.
-
Understand how back buttering is applied to enhance adhesion in tile installations. ↩
-
Explore why back buttering is essential for large projects to avoid issues like hollow spots. ↩
-
Learn how back buttering contributes to eco-friendly construction by extending tile longevity. ↩
-
Explore detailed guidance on back buttering techniques to ensure precise tile installation. ↩
-
Learn about potential challenges in back buttering and how to effectively address them. ↩
-
Discover expert-level strategies for back buttering in complex tiling projects. ↩
-
Porcelain offers durability and aesthetic appeal, ideal for high-traffic areas. ↩
-
Staying updated on techniques ensures efficient, high-quality installations. ↩
-
Learn about the role of thin-set mortar in creating durable tile installations. ↩
-
Explore why choosing the correct trowel notch size is vital for effective tiling. ↩
-
Find top-rated mixing paddles for achieving ideal mortar consistency. ↩
-
Discover methods to maintain clean tile surfaces during and after installation. ↩






