
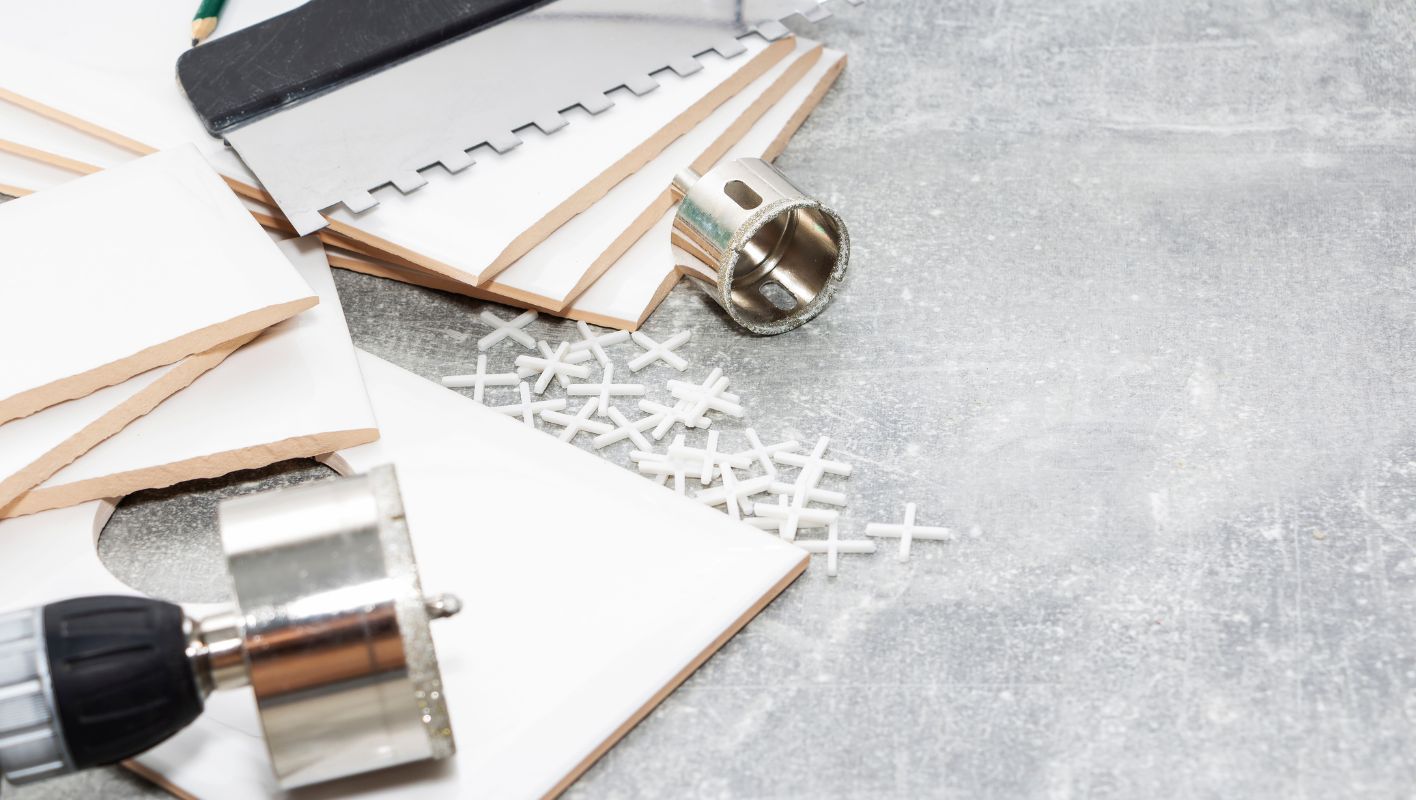
Ever tried drilling into tiles and ended up with a disaster?
The best drill bits for tiles are diamond-tipped or carbide-tipped bits. These are crafted to cut through tough surfaces without damaging the tile, ensuring clean holes. Diamond bits are ideal for hard materials like porcelain, while carbide-tipped bits are great for ceramic tiles.
I remember the first time I tried to hang a towel rack in our bathroom. Armed with my trusty, albeit basic, drill bit set, I was confident—until I heard the dreaded crack. It was a lesson learned the hard way.
Diamond-tipped bits are your go-to for porcelain because they slice through the toughness without any drama, while carbide-tipped ones handle ceramic like a charm. Knowing this makes all the difference, especially when you’re staring down a beautiful new tile wall and hoping not to make any mistakes. Let’s dive deeper into why these bits are the champs and how to use them without a hitch.
Diamond bits are best for drilling porcelain tiles.True
Diamond bits cut through hard materials like porcelain efficiently.
Carbide-tipped bits are unsuitable for ceramic tiles.False
Carbide-tipped bits work well on ceramic tiles, preventing damage.
How Do Diamond-Tipped Drill Bits Work on Tiles?
Have you ever wondered how diamond-tipped drill bits manage to drill through tiles without breaking them? It’s a fascinating process!
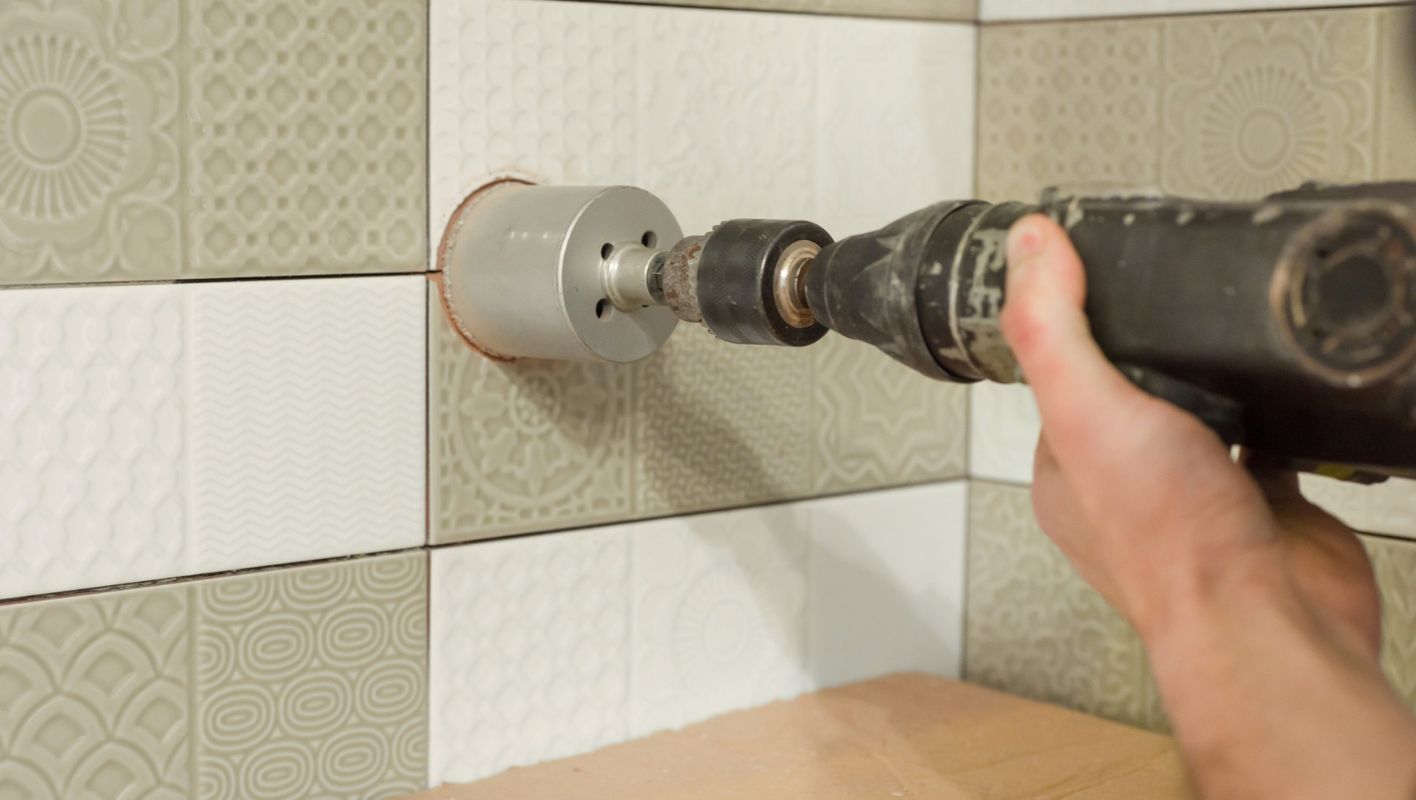
Diamond-tipped drill bits work on tiles by grinding rather than cutting. The diamond particles embedded in the bit create friction, which gradually wears away the tile material, ensuring a clean hole without cracking.
The Mechanics of Diamond-Tipped Drill Bits
When I first learned about diamond-tipped drill bits, it was like uncovering a secret art form. These tools aren’t just ordinary drills; they’re more like artisans sculpting their way through tough surfaces. The magic lies in their composition1—tiny diamond particles coat the bit, making it incredibly hard and durable.
Imagine you’re trying to sand a rough piece of wood into smoothness; that’s how these bits work on tiles. They don’t cut in the traditional sense but instead grind through the surface with precision. This method reduces the risk of any unsightly chips or cracks that could ruin your hard work. It’s a bit like watching an artist at work, carefully and steadily transforming raw material into a masterpiece.
Types of Tiles and Drilling Techniques
During my first tile drilling project, I quickly realized not all tiles are created equal. Porcelain, for example, is notoriously tough, almost as if it’s daring you to crack it. It requires a gentle touch—like coaxing a shy kitten from under the bed. You have to adjust the drill speed and maintain steady pressure, kind of like finding the right rhythm when playing an instrument.
Table: Tile Types and Recommended Drill Speeds
| Tile Type | Recommended Drill Speed (RPM) |
|---|---|
| Ceramic | 500-1000 |
| Porcelain | 300-600 |
| Glass | 200-400 |
Best Practices for Using Diamond-Tipped Bits
I’ve learned through trial and error that following best practices can mean the difference between success and frustration:
- Lubrication: Use water as a coolant to reduce heat buildup and prolong the bit’s life.
- Pilot Holes: Start with a small pilot hole to guide the bit and prevent slipping.
- Steady Pressure: Apply consistent, gentle pressure to avoid cracking the tile surface.
For those eager to master the art of tile drilling, diving into more drilling techniques2 can provide the confidence to tackle even more challenging projects.
Troubleshooting Common Issues
Even with proper technique, issues may arise. I recall one instance where my bit seemed to be stuck in a stalemate with the tile. Turns out, I wasn’t using enough water for lubrication, and my speed was way too high—rookie mistakes! Checking these factors can often resolve such problems.
By adhering to these tips, you’ll not only enhance your skills with diamond-tipped drill bits but also unlock a new level of craftsmanship in your projects. Whether you’re a seasoned pro or just starting out, exploring additional resources will undoubtedly elevate your expertise and confidence.
Diamond-tipped drill bits create friction to drill tiles.True
Diamond particles generate friction, eroding tile material gently.
Porcelain tiles require higher drill speeds than ceramic tiles.False
Porcelain requires lower speeds (300-600 RPM) than ceramic (500-1000 RPM).
What Are the Key Differences Between Ceramic and Porcelain Tiles?
I remember standing in the tile aisle, overwhelmed by choices. It was like choosing a new adventure for my home.
Ceramic tiles are budget-friendly and easy to work with, making them a great choice for DIY enthusiasts. Porcelain tiles, though pricier, offer superior density and water resistance, ideal for bathrooms and high-moisture areas.
Composition and Manufacturing Process
When I first started looking into tiles, I was amazed at how much the composition impacts their performance. Ceramic tiles are made from natural clay—often red, brown, or white—and fired at lower temperatures. This results in tiles that are less dense and easier to cut3. I found this particularly helpful when I decided to tackle a small tiling project on my own. On the other hand, porcelain tiles are crafted from more refined clay and are fired at much higher temperatures, making them denser and incredibly durable.
| Property | Ceramic Tiles | Porcelain Tiles |
|---|---|---|
| Composition | Red/brown/white clay | Refined clay |
| Water Absorption | Higher than porcelain | Less than 0.5% |
| Density | Less dense | More dense |
Water Absorption and Durability
The first time I spilled a drink on my ceramic tiles, I learned an important lesson about water absorption. Ceramic tiles do a decent job handling moisture but can absorb more water compared to porcelain tiles. Porcelain is practically waterproof, with less than 0.5% water absorption. This makes them perfect for areas prone to moisture like bathrooms or even outdoor spaces where rain might be a factor.
Cost Considerations
Cost was a big factor for me when deciding on tiles. Ceramic tiles tend to be more affordable due to their simpler production process. They’re perfect if you’re working within a budget or tackling projects that don’t demand extreme durability. However, if you’re planning on tiling high-traffic areas4 or rooms that need a long-lasting finish, investing in porcelain might be worth considering despite the higher upfront cost.
Installation Flexibility
During my tiling journey, I quickly appreciated how user-friendly ceramic tiles are. They’re easier to cut and install without needing specialized tools, which is fantastic for those of us who enjoy a good DIY project. Porcelain tiles, with their density, require professional-grade tools for cutting and installation, which might drive up costs but guarantees a professional look.
Aesthetic Appeal and Versatility
As someone who loves a good design challenge, I was thrilled by the variety both ceramic and porcelain tiles offer in terms of colors and designs. Porcelain tiles stood out to me for their ability to mimic natural stone looks5 like marble or granite without the maintenance hassles. They’re a top choice if you’re aiming for a high-end look in your home without breaking the bank.
Porcelain tiles absorb less than 0.5% water.True
Porcelain's low water absorption makes it ideal for wet areas.
Ceramic tiles are more expensive than porcelain tiles.False
Ceramic tiles are generally cheaper due to simpler production.
How Can You Avoid Cracking Tiles When Drilling?
Ever tried drilling into a tile only to hear that heart-stopping crack? Let me show you how to avoid that mishap and keep your tiles pristine.
To prevent tile cracks when drilling, choose a carbide-tipped bit, create a small pilot hole, and apply consistent pressure. Ensure tiles are clean and secured beforehand.
Choose the Right Drill Bit
You know, the first time I tried drilling into a tile, I ended up with a mess of cracks. That’s when I learned the importance of using a carbide-tipped drill bit6. It’s like having the right shoes for a marathon—durable and precise enough to handle ceramic or porcelain tiles without causing damage.
Preparing the Tile Surface
Before I start any drilling project, I make sure the tile surface is spotless and free from any debris. Once, I skipped this step and paid dearly for it with a ruined tile. Now, I always mark my drilling spot with masking tape. It keeps the drill from slipping and maintains accuracy, kind of like having a steady hand in surgery.
Drilling Technique
When I drill, I start with a small pilot hole using minimal pressure. It’s a technique I picked up after a few failed attempts that ended in cracked tiles. Gradually increasing the drill size prevents sudden cracks—think of it like gradually increasing speed on a highway.
| Step | Action | Description |
|---|---|---|
| 1 | Select Drill Bit | Choose a carbide-tipped bit for strength |
| 2 | Prepare Surface | Clean and mark using tape |
| 3 | Start with Pilot Hole | Use minimal pressure to initiate a small hole |
| 4 | Increase Drill Size | Gradually enlarge the hole to desired diameter |
Cooling and Lubrication
Tiles can get really hot during drilling. Trust me, I’ve learned this the hard way when a tile cracked from overheating. Now, I always use water as a coolant by spraying it on the tile while drilling. It keeps the temperature down and reduces friction—like giving your drill a refreshing drink.
Securing the Tile
One time, I didn’t check if a tile was properly secured before drilling, and it cracked immediately. Since then, I’ve made sure every tile is firmly attached to its substrate before starting. Loose tiles are more likely to crack under pressure, so listen for any hollow sounds that might indicate weak adhesion.
By sticking to these techniques, I’ve managed to drill confidently without damaging my tiles. If you’re looking for more detailed guidance, you might want to check out expert drilling tips7. They’ve been a lifesaver for me, offering advanced methods and tool recommendations that make all the difference.
Carbide-tipped bits are best for ceramic tiles.True
Carbide-tipped bits provide durability and precision, ideal for ceramic.
Increasing drill size suddenly prevents tile cracks.False
Gradual increase in drill size avoids sudden stress, preventing cracks.
What Safety Precautions Should You Take When Drilling into Tiles?
Ever been anxious about drilling into your shiny new tiles? You’re not alone, and I’m here to guide you safely through the process.
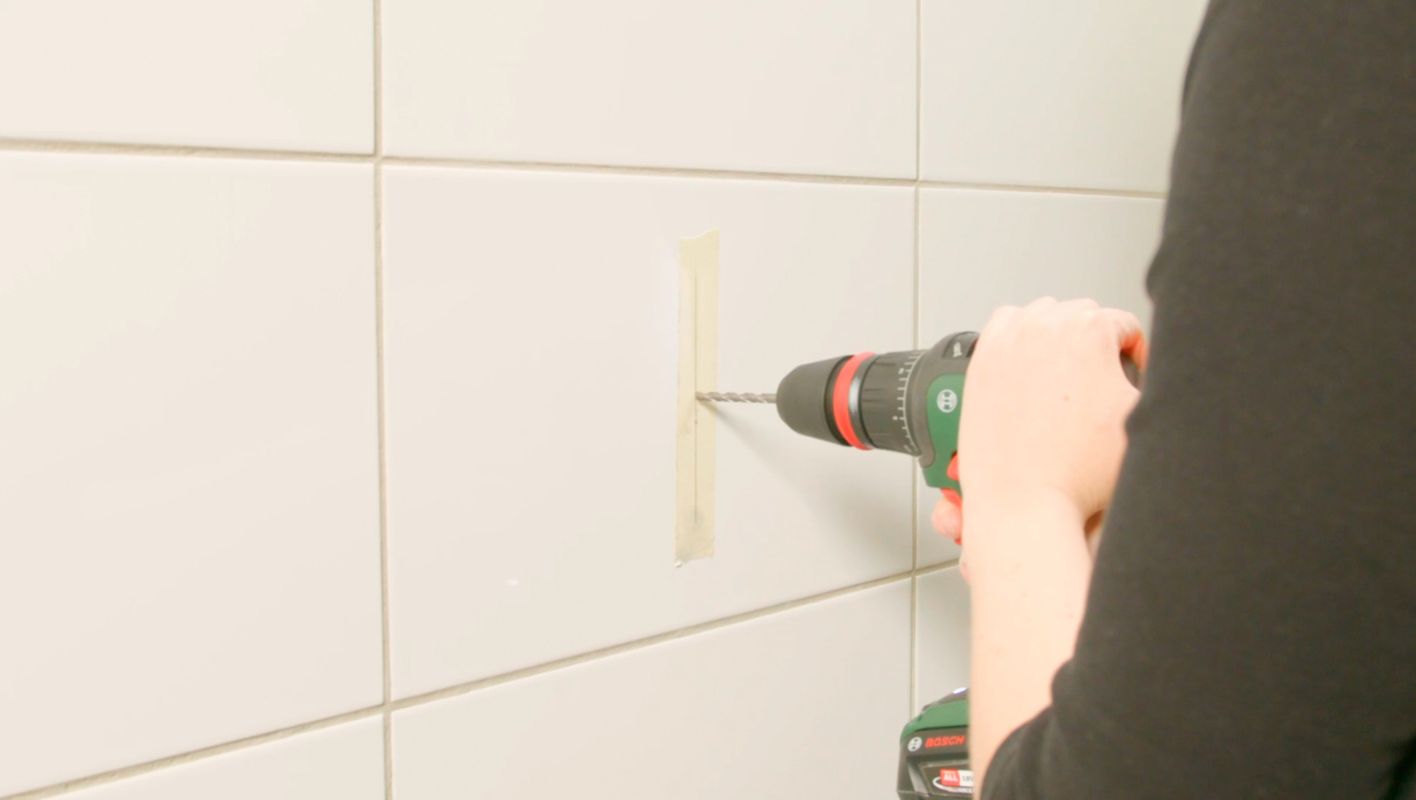
Before drilling into tiles, I always wear safety goggles and gloves to shield myself from chips and dust. I also apply masking tape on the tile to prevent slipping and cracking and ensure my drill bit is suitable for the tile material.
Understanding Tile Material
I remember standing in the hardware store, staring at rows of drill bits, feeling utterly overwhelmed. Each type of tile—be it ceramic, porcelain, or natural stone—demands a specific approach. Understanding your tile material is crucial for choosing the right drill bit and safety gear. Trust me, getting this right saves both time and money. Understanding different tile materials8 helps ensure you’re using the right tools.
Essential Safety Gear
- Safety Goggles: These are my go-to for protecting my eyes from those sneaky flying chips and dust.
- Gloves: I’ve had my fair share of close calls with sharp edges, so gloves are non-negotiable.
- Masking Tape: This simple tool has saved me from numerous cracked tiles by preventing slips.
| Gear | Purpose |
|---|---|
| Safety Goggles | Protects eyes from flying debris |
| Gloves | Protects hands from sharp edges |
| Masking Tape | Prevents slips and protects tile surface |
Preparing the Drilling Area
Whenever I start a project, I clean the tile surface and carefully mark the drilling spot with a pencil. Placing masking tape over the spot is a small but crucial step that prevents the drill from slipping, saving time and frustration.
Choosing the Right Drill Bit
Not all drill bits are equal—something I learned the hard way! Using a diamond-tipped or carbide-tipped bit is essential for precision and to reduce the risk of breaking tiles. Choosing the right drill bit9 can make or break your project.
Drilling Technique and Safety Tips
- I start drilling slowly to create a guide hole, then gradually increase speed while maintaining control.
- Applying steady pressure without forcing the drill is key.
- I keep a spray bottle handy to cool the bit and reduce dust.
Following these techniques has greatly enhanced both my safety and precision, significantly reducing tile damage during projects. Always prioritize safety precautions10 to ensure a successful outcome.
Ceramic tiles require a diamond-tipped drill bit.True
Diamond-tipped bits are recommended for ceramic due to hardness.
Masking tape is unnecessary when drilling into tiles.False
Masking tape prevents the drill bit from slipping and cracking tiles.
Conclusion
Diamond-tipped and carbide-tipped drill bits are essential for drilling tiles, ensuring clean holes without damage. Proper techniques and safety gear enhance results and prevent mishaps during projects.
-
Learn about the unique construction of diamond-tipped drill bits that makes them ideal for hard surfaces. ↩
-
Discover detailed practices to maximize the efficiency and lifespan of diamond drill bits. ↩
-
Learn effective ways to cut ceramic tiles using basic tools for easier DIY installation. ↩
-
Understand the benefits of using durable porcelain tiles in high-traffic areas to enhance longevity. ↩
-
Discover how porcelain tiles can mimic natural stone appearances for elegant design solutions. ↩
-
Learn why carbide-tipped bits are ideal for drilling through hard surfaces like tiles without causing damage. ↩
-
Explore advanced techniques and tool recommendations from experts to enhance your tile drilling skills. ↩
-
Understand different tile materials to choose the right drilling technique and tools, ensuring effectiveness and safety. ↩
-
Discover the best drill bits for tiles to avoid damage and achieve precise drilling. ↩
-
Learn essential safety precautions to protect yourself and your tiles during drilling projects. ↩






