
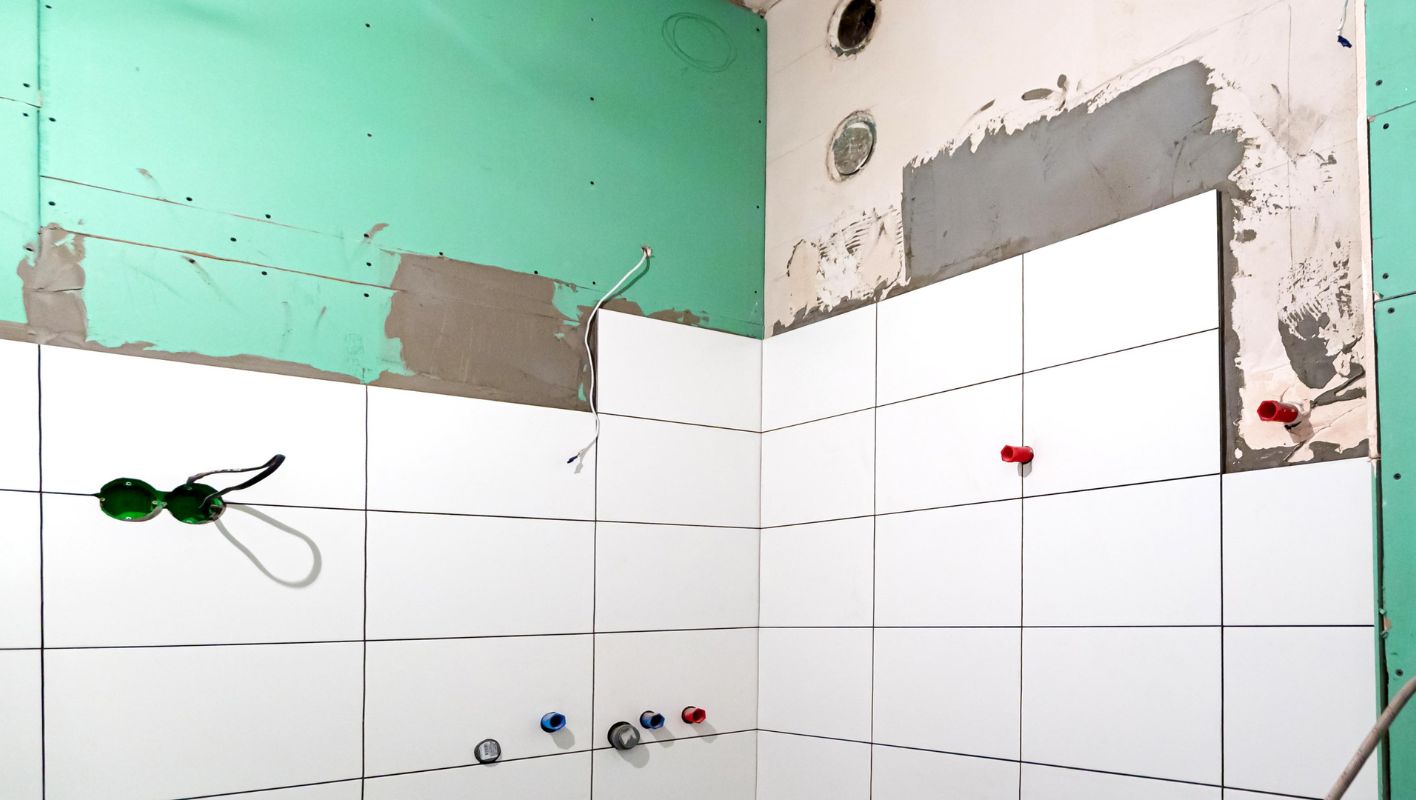
Ever wondered if you should prime drywall before tiling? This could make or break your tiling project.
Priming drywall before tiling is crucial for enhancing tile adhesion and preventing moisture damage, especially in humid spaces like bathrooms and kitchens. It ensures a uniform surface that helps tiles stick better, minimizing future risks of tile loosening or damage.
When I first tackled a tiling project, I skipped the priming step, thinking it was optional. Big mistake. Tiles started coming loose, and I realized the importance of proper preparation. By priming drywall, you create a strong foundation that not only improves adhesion but also guards against moisture problems. Whether you’re redoing a bathroom or updating your kitchen backsplash, knowing when and how to prime can save you from future headaches. In the next sections, I’ll dive into scenarios where priming is a must and share some expert tips on prepping your drywall for the best tiling outcome.
Priming drywall enhances tile adhesion.True
Priming creates a uniform surface, improving adhesion and reducing tile loosening.
Priming is unnecessary in high-humidity areas.False
In high-humidity areas, priming prevents moisture damage and ensures durability.
What Happens If You Don’t Prime Drywall Before Tiling?
Ever wonder if you can just skip priming drywall before tiling? Trust me, I’ve been there, thinking it might save time. But let’s explore what really happens when you cut that corner.
If you skip priming drywall before tiling, expect poor tile adhesion, moisture woes, and eventual tile failure. Primer seals drywall, enhancing adhesive grip and ensuring long-lasting tiles.
Risks of Skipping Primer
I remember the first time I skipped the primer step in a tiling project. It seemed like a small shortcut to save time, but the outcome taught me otherwise. Priming drywall isn’t just a suggestion; it’s crucial for preparing the surface. Without it, the drywall1 absorbs moisture from the adhesive, weakening the bond and causing tiles to loosen over time. I saw those tiles2 pop off within months, which was a frustrating and costly lesson.
Adhesion Challenges
Drywall’s porosity is its secret nemesis when it comes to tiling. I learned that the hard way when I noticed how much adhesive had soaked into the unprimed surface, leaving little to actually hold the tiles. This weakened bond meant more than just a few loose tiles—it was a disaster waiting to happen.
| Aspect | Unprimed Drywall | Primed Drywall |
|---|---|---|
| Moisture Absorption | High | Low |
| Adhesion Quality | Poor | Strong |
Moisture Damage
Here’s something I wish I’d known earlier: unprimed drywall is like a sponge. Over time, moisture seeps in, leading to mold3 growth and structural damage. Using primer as a barrier is key to protecting your walls from humidity and spills.
Compatibility Issues
I’ve also encountered situations where specific tiles and adhesives required primed surfaces for warranty coverage. Some manufacturers might not honor warranties if tiles are applied to unprimed surfaces. It’s crucial to check product specifications and consult with suppliers.
For more tips on tiling and ensuring your project stands the test of time, explore tile installation tips4. Proper preparation isn’t just about saving face—it saves time and resources in the long run.
Priming drywall prevents tiles from popping off.True
Priming creates a barrier that enhances adhesion, reducing tile detachment.
Unprimed drywall has low moisture absorption.False
Unprimed drywall absorbs moisture readily, risking adhesion failure.
How do you prime drywall for tiling?
Remember when a simple home project turned into a grand adventure? That’s what happens when you skip priming drywall before tiling. Let’s make sure that doesn’t happen again.
To properly prime drywall for tiling, start by thoroughly cleaning the surface, apply a high-quality primer evenly with a roller, and let it dry completely. This creates a strong bond for your tiles.
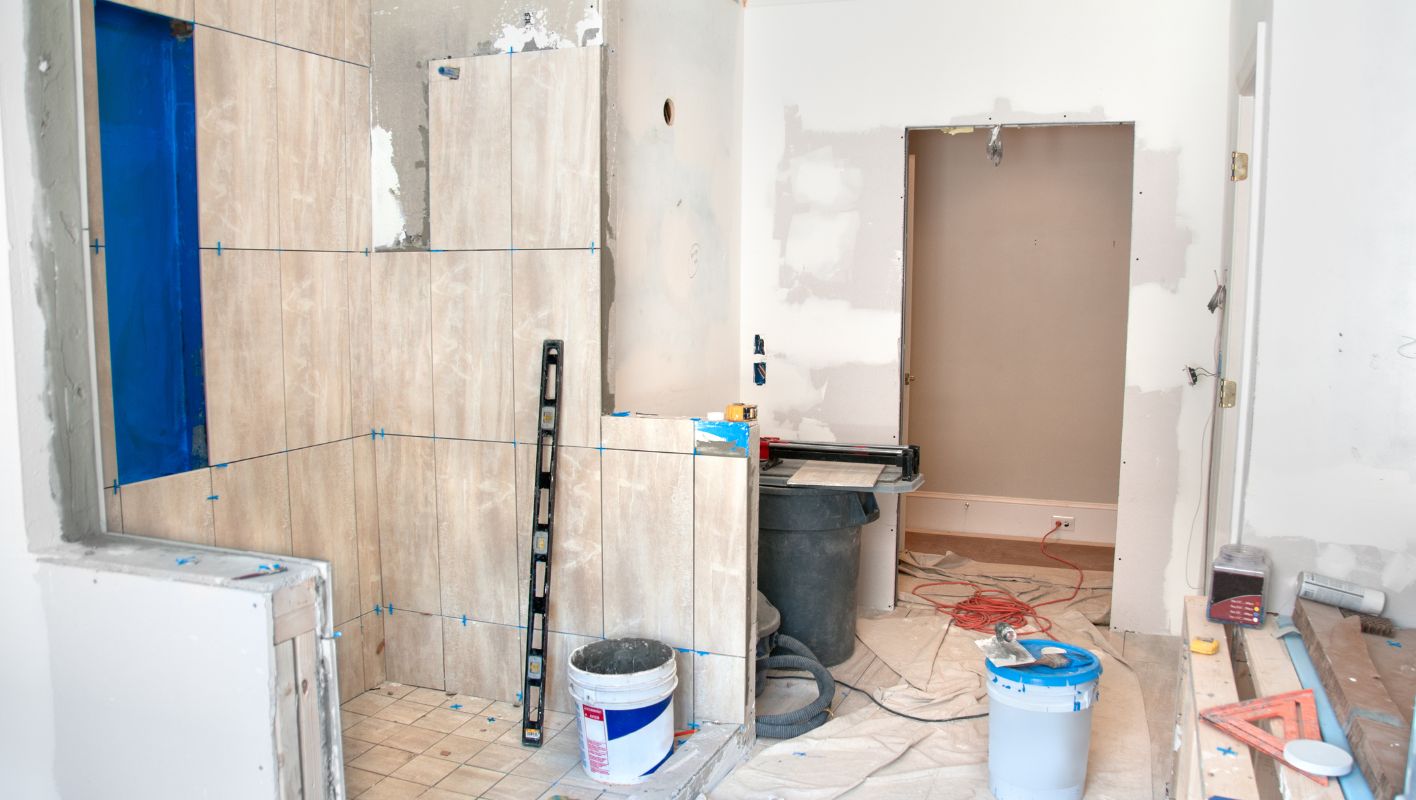
Why Priming is Essential for Tiling
I once skipped priming drywall while renovating my bathroom, thinking it was just an optional step. I paid the price when the tiles started loosening over time. Priming is like laying down a solid foundation5; it stabilizes the surface and enhances adhesion, which is crucial for avoiding expensive repairs down the road. Especially in humid areas like bathrooms, a good primer also seals the drywall against moisture damage.
Choosing the Right Primer
When selecting a primer, I learned that it’s not one-size-fits-all. You’ve got to consider the type of tile and the room’s moisture level. For example, in damp environments like bathrooms, a water-resistant primer is your best bet. Here’s a handy table to guide you:
| Tile Type | Recommended Primer |
|---|---|
| Ceramic | Latex-based |
| Porcelain | Water-resistant |
| Natural Stone | Oil-based |
Step-by-Step Priming Process
- Clean the Drywall: Start by removing any dust or debris with a damp cloth. I can’t stress enough how important this is—it ensures the primer sticks properly.
- Apply Primer: Use a roller for an even application. I always start from the top and work my way down in sections; it makes the job much more manageable.
- Allow to Dry: Patience is key here—let the primer dry completely according to the manufacturer’s instructions before tiling.
Common Mistakes to Avoid
In my early DIY days, I learned the hard way about common pitfalls:
- Skipping Cleaning: Skipping this step can cause poor adhesion.
- Inadequate Drying Time: Rushing can compromise effectiveness.
- Wrong Primer Choice: Not all primers are suitable for every tile type or room condition.
By following these steps and steering clear of these mistakes, you can ensure your tiling project is not only durable but also looks fantastic.
For more detailed guidance on selecting the right primer6, it’s always worth consulting expert resources.
Skipping primer can cause tiles to loosen.True
Without primer, tiles may not adhere well, leading to loosening.
All primers are suitable for any tile type.False
Different tile types require specific primers for proper adhesion.
Why is Priming Essential Before Tiling in Wet Areas?
Ever tried tiling a bathroom and wondered if priming was really necessary? I have, and it turns out it’s more crucial than you might think.
Priming wet areas before tiling isn’t just a step—it’s a safeguard. It creates a protective barrier that boosts adhesion and moisture resistance, ensuring tiles look great and last longer, especially in high-moisture zones like bathrooms.
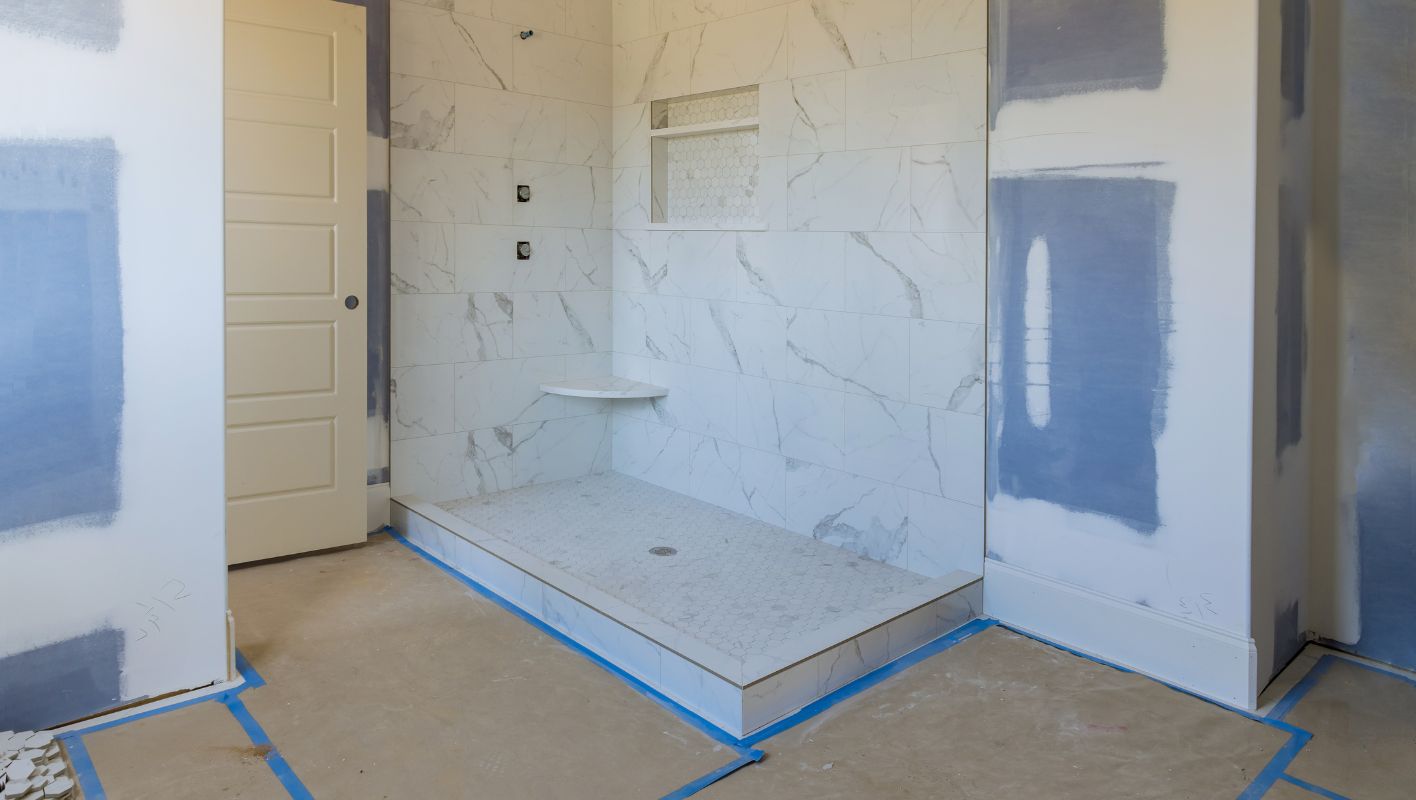
Understanding the Role of Priming
Let me tell you about the time I learned the hard way about skipping primer. Picture this: I thought I could speed things up by going straight to tiling without priming first. Big mistake! Within months, I noticed tiles loosening, and moisture had seeped underneath. Lesson learned: priming isn’t just a step—it’s peace of mind.
Priming acts as a preparatory layer that ensures your surface is tile-ready. It provides a bonding layer7 that not only enhances adhesion but also fortifies against moisture penetration.
- Enhanced Adhesion: Think of primers as the glue that makes tiles cling better to surfaces by forming a uniform layer.
- Moisture Resistance: They stop water from sneaking into the substrate, reducing risks of mold or mildew.
Types of Primers and Their Benefits
Choosing the right primer can feel overwhelming, but it boils down to understanding your surface and environment. Here’s a quick guide:
| Type | Benefits |
|---|---|
| Acrylic | Quick-drying, good for porous surfaces |
| Epoxy | Excellent waterproofing properties |
| Latex | Flexible, suitable for varied surfaces |
For instance, epoxy primers8 were a game-changer for my bathroom floor because of their excellent waterproofing abilities.
When Priming May Not Be Necessary
Now, there are times when priming might not be needed. For instance:
- If the substrate is already waterproof.
- When using a high-quality adhesive that doesn’t need primer.
- On non-porous surfaces like glass or polished metal.
But remember, when in doubt, consulting a professional or checking product specs is always wise.
Industry Perspectives and Practices
The debate on priming can be as diverse as the projects we undertake. Some professionals swear by it for longevity, while others rely on modern adhesives alone. I find engaging with industry forums or tapping into expert insights9 offers invaluable perspectives.
Here’s a checklist I use when deciding:
- Assess the substrate material.
- Consider environmental moisture exposure.
- Evaluate long-term maintenance needs.
In conclusion, while not always mandatory, priming is often a prudent step in wet area tiling projects. It provides that extra layer of protection and durability we all want for our hard work.
Priming is always required for wet area tiling.False
Priming may not be necessary if the substrate is waterproof or with certain adhesives.
Epoxy primers offer superior waterproofing for bathroom floors.True
Epoxy primers are ideal due to their excellent waterproofing properties.
Can You Tile Over Painted Drywall Without Priming?
Ever stood in your kitchen wondering if you can tile right over that painted wall without the hassle of priming? Let me guide you through it, sharing a few lessons I’ve learned along the way.
Yes, you can tile over painted drywall without priming, but assessing the paint’s condition is key. Make sure the surface is clean and dry, and that the paint sticks well. Light sanding can improve adhesion.
Understanding the Basics of Tiling Over Paint
Before deciding to tile over painted drywall, consider the paint’s condition. A strong adhesion between the tile adhesive and the surface is essential for a lasting finish.
Start by inspecting the drywall. If the paint is peeling or flaking, tiling directly over it can lead to failure. It’s vital to ensure that the surface is clean and dry, with no grease or dirt, which can hinder adhesive bonding.
A light sanding with fine-grit sandpaper will increase adhesion by roughening the surface slightly. This step is recommended by experts10 in the field.
When Priming Might Be Necessary
There are scenarios where priming becomes necessary:
| Scenario | Reason |
|---|---|
| High Moisture Areas | Prevents moisture absorption |
| New, Unpainted Drywall | Ensures better adhesive bonding |
| Highly Glossy Surfaces | Primer helps reduce slipperiness |
In areas with high humidity, such as bathrooms, priming is advisable. It helps prevent moisture from weakening the bond between the drywall and the tiles.
Selecting the Right Adhesive
Choosing the appropriate adhesive is crucial when tiling over painted surfaces. Some adhesives are specifically formulated to work well on painted drywall and can circumvent the need for priming.
Consult with a local supplier or adhesive expert11 to determine which product suits your needs. They can provide insights based on your specific project requirements.
Preparing the Surface for Tiling
Ensure all loose paint is removed by scraping it off before tiling. Clean the wall thoroughly with a degreasing solution to remove any residues.
If in doubt about skipping primer, performing a small test area can be beneficial. This trial will reveal if the tiles adhere properly without priming.
For more comprehensive advice, consider reaching out to a construction professional12 who can provide tailored guidance based on your project parameters.
By addressing these considerations, you’ll be well-prepared to tackle your tiling project successfully.
Tiling over peeling paint can lead to failure.True
Peeling paint weakens adhesion, risking tile detachment.
Priming is always necessary for tiling over painted drywall.False
Priming is only needed in high moisture or glossy conditions.
Conclusion
Priming drywall before tiling is essential for optimal adhesion and moisture resistance, preventing tile loosening and damage, especially in high-humidity areas like bathrooms and kitchens.
-
Learn why priming drywall is essential for optimal adhesion and durability in tiling projects. ↩
-
Discover potential issues that arise from poor tile adhesion due to improper surface preparation. ↩
-
Find tips on preventing moisture-related problems like mold by using appropriate primers. ↩
-
Get expert advice on achieving long-lasting tile installations through proper preparation techniques. ↩
-
This link explores why priming is essential for tile adhesion and longevity. ↩
-
Find expert recommendations on choosing the most effective primers for various tile types. ↩
-
Understanding bonding layers helps in selecting the right primer for enhanced tile adhesion. ↩
-
Exploring epoxy primer benefits guides in choosing optimal waterproof solutions for tiling projects. ↩
-
Reading expert opinions provides varied insights into whether priming is essential in specific tiling scenarios. ↩
-
Sanding enhances adhesive bonding by creating a rougher surface for better grip, improving tile durability. ↩
-
Choosing the right adhesive ensures strong tile adhesion, even on painted surfaces, without needing a primer. ↩
-
Professional guidance can offer tailored solutions for your specific tiling project, ensuring optimal results. ↩






