
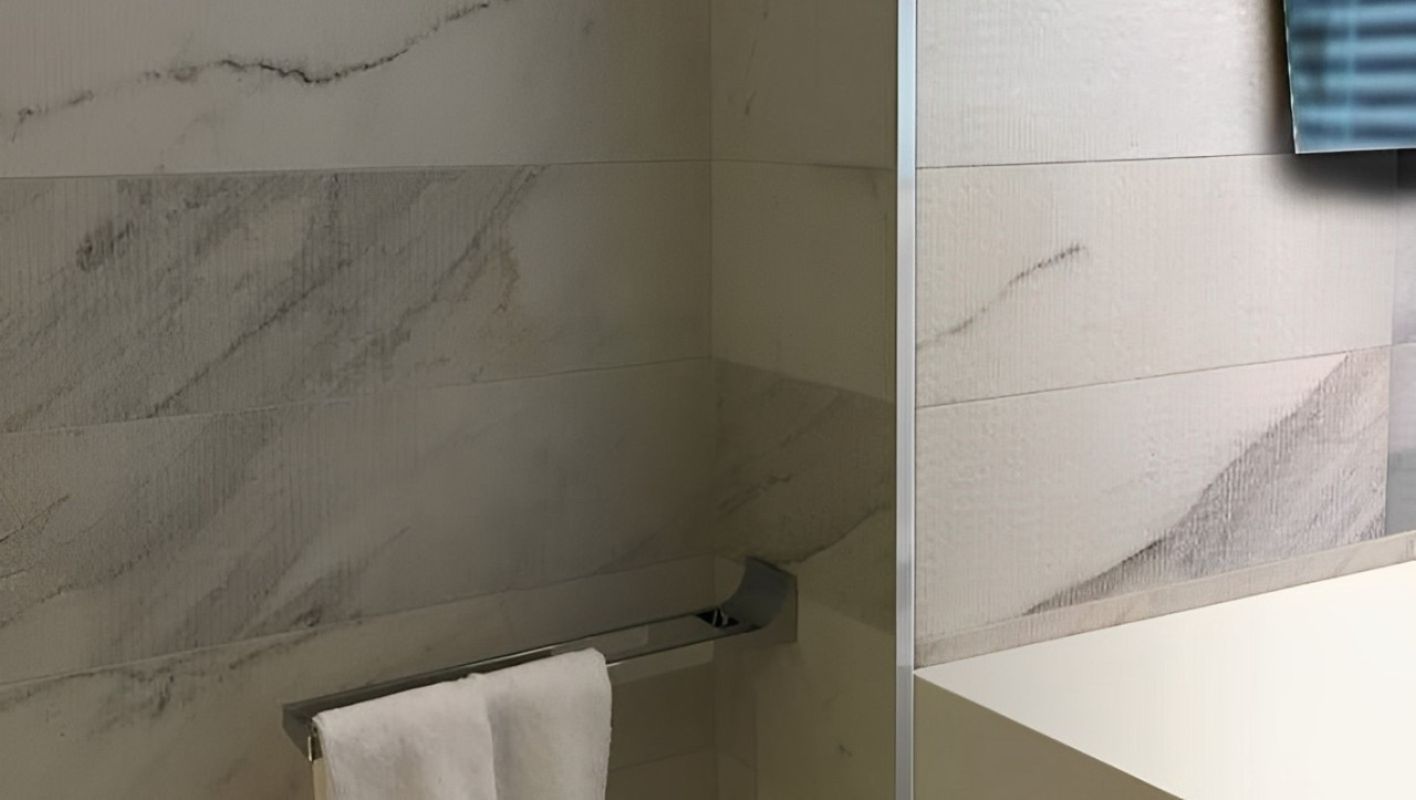
Ever faced the challenge of tiling those tricky outside corners? It’s a skill that can truly elevate the look of your tiling project.
To tile outside corners successfully, you can choose to either miter the tiles at a 45-degree angle or use trim pieces for a sleek finish. Accurate measurements and cuts are essential to ensure a smooth fit. Use spacers for even grout lines and apply adhesive uniformly for durability.
Years ago, when I first tackled tiling a bathroom, those outside corners seemed like daunting peaks. But with some practice and patience, I learned the tricks of the trade. Start by considering whether to miter your tiles for a seamless corner or to use trim, which can add an elegant touch. Remember, precision is your best friend here.
As you dive into this project, think about the tools and techniques that work best for you. There’s a world of difference between knowing what to do and understanding how to do it right. Let’s explore these techniques together, share tips from the trenches, and avoid the common missteps that can trip up even seasoned tilers.
Mitering tiles at 45 degrees is essential for outside corners.True
Mitering provides a seamless finish, crucial for professional results.
Using trim pieces is the only way to tile outside corners.False
Trim pieces are optional; mitering is another effective method.
What Tools Do You Need for Tiling Outside Corners?
Have you ever stared at a bare corner, wondering how to make it look as polished as a showroom? I certainly have.
The essential tools you need for tiling outside corners include a tile cutter, trowel, notched trowel, spirit level, tile spacers, rubber mallet, and protective gear. These tools ensure precision and safety during installation, helping you achieve a seamless and professional finish.
I remember the first time I took on a tiling project. It was my bathroom—just the outside corners that seemed like they’d be the toughest nut to crack. But with the right tools in my arsenal, it turned from daunting to downright doable.
Key Tools for Precision
Using a tile cutter ensures clean cuts, especially when dealing with intricate angles typical of outside corners. Whether it was the trusty manual tile cutter for straightforward cuts or the wet saw for more daring curves and complex designs1, having the right cutter made all the difference. And don’t get me started on the trowel—my go-to for spreading adhesive evenly, making sure everything stuck exactly where it should.
Ensuring Alignment
A spirit level is crucial to maintaining uniformity and alignment. This tool ensured every tile was level and lined up perfectly. Pairing it with tile spacers was like a match made in heaven; they kept everything in line and ready for grout.
| Tool | Function |
|---|---|
| Tile Cutter | Cuts tiles to size |
| Trowel | Applies adhesive |
| Spirit Level | Ensures evenness |
| Tile Spacers | Maintains consistent gaps |
Safety and Finishing
I can’t stress enough the importance of wearing protective gear. Goggles and gloves were non-negotiable as they protected me from shards and sharp edges while using the tile cutter. A rubber mallet gently tapped tiles into place without risking any damage, ensuring they adhered correctly.
And then, the pièce de résistance—the choice between tile trim or bullnose tiles can significantly affect the final look. Trims gave my project that sharp, polished look, while bullnose tiles added a softer, rounded finish that complements curved surfaces2. Choosing the right finish really boiled down to personal taste and the overall vibe I wanted to achieve.
A tile cutter is essential for tiling outside corners.True
A tile cutter is crucial for making precise cuts on tiles at corners.
Tile spacers are unnecessary for even gaps in tiling.False
Tile spacers are vital for maintaining consistent gaps between tiles.
How to Miter Cut Tiles for Perfect Corner Joints?
Ever tried miter cutting tiles only to end up with chipped corners? Let’s fix that!
To miter cut tiles for perfect corner joints, use a high-quality tile saw with a miter guide set at 45 degrees. Ensure the tile’s finished side faces up to prevent chipping, and make a slow, steady cut.
I remember the first time I attempted to miter cut tiles; the results were far from perfect. But with some practice and the right tools, I discovered the joy of seeing two tiles meet seamlessly at a corner. Here’s how you can achieve those flawless joints too.
Essential Tools for Miter Cutting Tiles
Getting the right tools was a game-changer for me. When I finally invested in a quality wet tile saw with a miter guide3, everything became smoother—literally. These saws are perfect because they reduce friction and keep the tile cool, which is crucial for preventing chips.
- Tile Saw: Make sure to get one with a robust blade and adjustable miter guide.
- Safety Gear: Trust me, wearing goggles and gloves is non-negotiable when cutting tiles.
- Measuring Tools: An angle finder or protractor can be your best friend for accuracy.
When working with delicate materials like porcelain, I found that diamond-tipped blades were worth the investment for those cleaner cuts.
Step-by-Step Guide to Miter Cuts
- Measure Accurately: I always double-check my measurements, marking the tile with a grease pencil.
- Set Up Your Saw: Adjusting the miter guide to 45 degrees and making sure the tile is secure with its finished side up has saved me from many headaches.
- Make the Cut: Letting the saw do the work and applying gentle pressure has been my mantra.
- Check and Adjust: There’s nothing like the satisfaction of seeing two tiles fit perfectly together at a corner.
Avoiding Common Mistakes
I’ve learned these lessons the hard way:
- Chipping: A sharp blade is your best defense against chipping.
- Inaccurate Angles: A miter gauge is essential for keeping those angles just right.
For fragile tiles, reinforcing them with masking tape before cutting has been a lifesaver.
Troubleshooting Tips
If you find your corners aren’t aligning as they should, it might be time to take another look at your tools and techniques. Ensuring your miter guide settings4 are spot on and checking the condition of your blade can make all the difference.
| Issue | Possible Cause | Solution |
|---|---|---|
| Chipping | Dull Blade | Replace or sharpen blade |
| Misaligned Corners | Incorrect Miter Angle | Re-measure and adjust miter guide |
| Rough Edges | Excessive Pressure Applied | Let the saw work at its own pace |
Advanced Techniques
Once you’ve mastered the basics, you might want to explore more advanced cutting strategies5 for those intricate designs or tough materials. Experimenting with different blade types and settings has kept my projects interesting and rewarding.
Remember, practice truly makes perfect. I often start with some spare tiles to build confidence before diving into the main project. It’s all about finding that rhythm and technique that works best for you.
A wet tile saw reduces the risk of chipping tiles.True
Wet tile saws cool the tile and reduce friction, minimizing chipping.
Finished side of the tile should face down when cutting.False
The finished side should face up to prevent chipping during cuts.
Can Tile Trim Make Your Corners Look Professional?
Imagine the satisfaction of stepping back and admiring your tiling project, where every corner looks sleek and polished. That’s the magic of tile trim!
Yes, tile trim can make corners look professional by providing a sleek finish that not only enhances aesthetics but also protects tile edges from wear and tear, ensuring a seamless transition between surfaces.
The Role of Tile Trim in Professional Finishes
I’ll never forget the first time I tackled a tiling project6 in my own home. I was determined to make everything perfect, but those corners—they had me scratching my head. That’s when I discovered the unsung hero of tiling: tile trim.
Tile trim isn’t just about aesthetics, although it sure does give corners that polished, finished look that makes you feel like a pro. It’s about protection too. In high-traffic areas, those tile edges take a beating. The trim acts like armor, preventing chipping and damage, so your work lasts as long as your pride in it.
Plus, let’s talk about clean edges. I’ve had my share of cutting mishaps—who hasn’t? Tile trim helps mask those little imperfections, making sure everything looks uniform and sharp.
| Benefits | Description |
|---|---|
| Protection | Prevents chipping and damage to tile edges |
| Aesthetic Appeal | Offers a clean, polished look at corners and transitions |
| Durability | Enhances the longevity of tile installations by reinforcing weak spots |
Choosing the Right Tile Trim
Picking out the right tile trim feels like finding the perfect tie for your favorite suit. It’s all about complementing and enhancing. Here’s what I’ve learned along the way:
- Material: Whether it’s metal, plastic, or ceramic, each material has its story—metal for durability, plastic for budget-friendly projects, and ceramic for that classic touch.
- Color: Sometimes you want the trim to blend in seamlessly; other times, it’s an accent piece. Matching or contrasting colors can make a big difference in the final vibe.
- Size: This might seem obvious, but matching the trim size to your tile thickness7 is crucial. I’ve made that rookie mistake before, and let’s just say it wasn’t pretty.
Installation Tips for a Seamless Finish
Here’s where the real magic happens: installation. It’s all in the details:
- Plan Your Layout: Before committing with adhesive, I always dry-fit my tiles and trims. It’s like a rehearsal for the final performance.
- Use Quality Adhesive: Trust me on this one—cutting corners here is not worth it. High-quality adhesive keeps everything snug and secure.
- Accurate Measurements: Measure twice, cut once—I learned this mantra the hard way. Precision here saves so much hassle down the line.
- Smooth Transitions: Aligning the trim perfectly with tile edges ensures your project looks seamless and professional.
Incorporating tile trim into your projects doesn’t just elevate aesthetics—it ensures durability and longevity. So next time you’re eyeing a tiling job, consider exploring different trim styles. Who knows? You might just find that perfect finishing touch that brings your space to life.
Tile trim prevents tile edges from chipping.True
Tile trim acts as a protective barrier, safeguarding edges from damage.
All tile trims are made of ceramic.False
Tile trims can be metal, plastic, or ceramic, not just ceramic.
What Are Alternative Techniques for Finishing Tile Edges?
Ever found yourself staring at a jagged tile edge, wondering how to make it look sleek and polished? You’re not alone!
For finishing tile edges, consider techniques like trim pieces, caulk, mitered edges, and metal strips. Each offers distinct advantages such as durability, aesthetics, and ease of installation, depending on your project’s needs.
There was a time when I tackled a small bathroom renovation by myself. I remember standing there, perplexed, at the raw edges of my newly laid tiles. It was as if they were mocking me with their jaggedness. I knew they needed that perfect finish to transform my rookie project into something that looked like it came out of a glossy magazine.
Trim Pieces
Using trim pieces was like finding the last puzzle piece under the couch cushions—it completed the picture beautifully. These trims come in various materials like ceramic, porcelain, or even natural stone, allowing me to pick the perfect match or even a contrasting color that elevated the entire look of my project.
Caulk
Then there’s caulk—a lifesaver in areas prone to moisture, like that bathroom. Not only does it seal the deal by preventing water damage, but it also gives a smooth transition from one surface to another. I chose a color that blended seamlessly with my grout, and suddenly, my bathroom didn’t just function better; it looked cohesive too.
| Pros | Cons |
|---|---|
| Water-resistant | May require reapplication |
| Flexible and durable | Limited color choices |
Mitered Edges
When I felt a bit more adventurous (and let’s be honest, when I had more confidence in my skills), I tried my hand at mitered edges. These were perfect for achieving those seamless corners. Imagine cutting tiles at 45-degree angles to fit together like pieces of an intricate jigsaw puzzle. The result? A clean, modern finish that screamed professional craftsmanship.
Metal Strips
Finally, there are metal strips or profiles. Initially, I thought they were only for industrial projects, but boy was I wrong! They offered a sleek finish and protected the tile edges from chipping. Plus, with options in aluminum, stainless steel, and brass, these strips added a contemporary touch that made my little project look upscale.
| Metal Type | Best Use Case |
|---|---|
| Aluminum | Lightweight areas |
| Stainless Steel | High-moisture environments |
| Brass | Accent features with a classic look |
Every technique has its charm and benefits—from enhancing durability to boosting aesthetics. It’s all about finding the right fit for your specific project needs and style preferences. And if you ever need more guidance on choosing the right method for your project, don’t hesitate to seek out specialist advice8. After all, transforming those rough edges into polished beauty is both an art and a science.
Trim pieces offer a seamless finish to tile edges.True
Trim pieces provide polished edges, enhancing visual appeal.
Caulk is ideal for finishing tile edges in dry areas.False
Caulk is suited for moist areas due to its water-resistant properties.
Conclusion
Learn effective techniques for tiling outside corners, including miter cuts and trim pieces, to achieve a professional finish with essential tools and tips for precision and durability.
-
Explore this to find top-rated tile cutters that handle complex designs efficiently, ensuring precise cuts every time. ↩
-
Learn about these finishing options to decide which best suits your project’s aesthetic and functional needs. ↩
-
Discover top-rated tools that ensure precision and ease when miter cutting tiles. ↩
-
Learn how to properly adjust your miter guide to achieve accurate cuts. ↩
-
Explore advanced methods for cutting challenging materials or intricate designs. ↩
-
This link explains how tile trim enhances both the functionality and aesthetics of tiling projects, offering practical insights. ↩
-
Discover various types of tiles used in construction to choose the right match for your project. ↩
-
Discover detailed insights on various tile edge-finishing methods to enhance your project’s quality and aesthetics. ↩






