
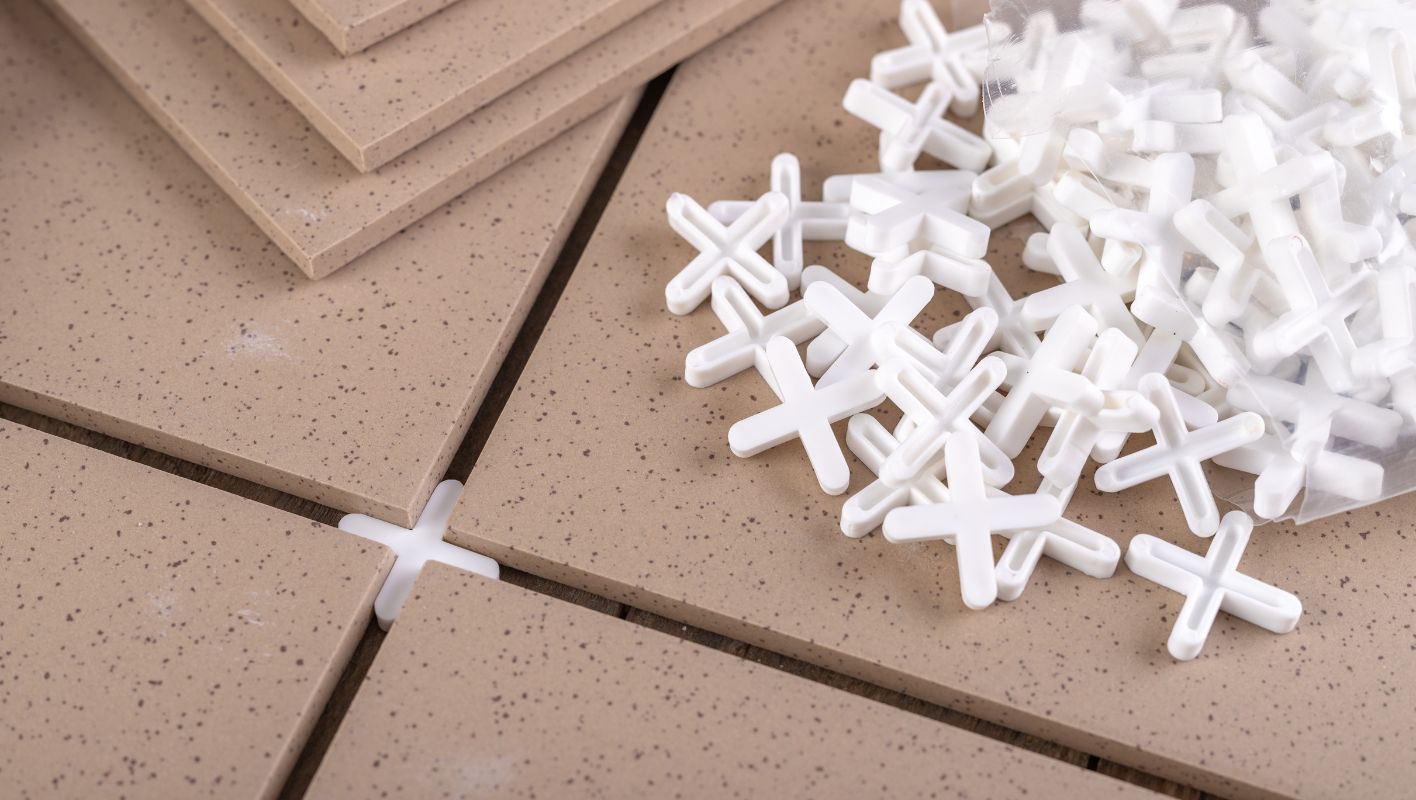
Choosing the right tile spacer size is like finding the perfect pair of shoes—it needs to fit just right.
The ideal tile spacer size depends on the tile type, installation location, and your aesthetic preference. Sizes range from 1/16 inch to 3/8 inch, with smaller spacers for tighter grout lines and larger ones for more prominent lines. For floors, 1/8 inch or 3/16 inch spacers are common, while walls often use 1/16 inch spacers for a sleek finish.
I remember my first tiling project—my nerves were as jumbled as the pile of tiles before me. But once I understood how different factors like tile type and room humidity played into my spacer choice, things fell into place. It’s not just about picking a size; it’s about envisioning how each piece will come together in harmony. Dive deeper with me to explore expert tips and insights that will help your tiling project not only look fantastic but stand the test of time. Let’s make sure every detail aligns with your vision.
1/16 inch spacers are ideal for floor tiles.False
Floor tiles typically use 1/8 or 3/16 inch spacers, not 1/16 inch.
Larger spacers create more prominent grout lines.True
Larger spacers result in wider grout lines, making them more noticeable.
How Do Tile Types Affect Spacer Size?
Ever found yourself knee-deep in tile options, unsure how to pick the right spacer size?
Tile types affect spacer size due to differences in thickness, material, and edge style. Larger tiles often require wider spacers for stability, while smaller tiles might use narrower spacers for a seamless look.
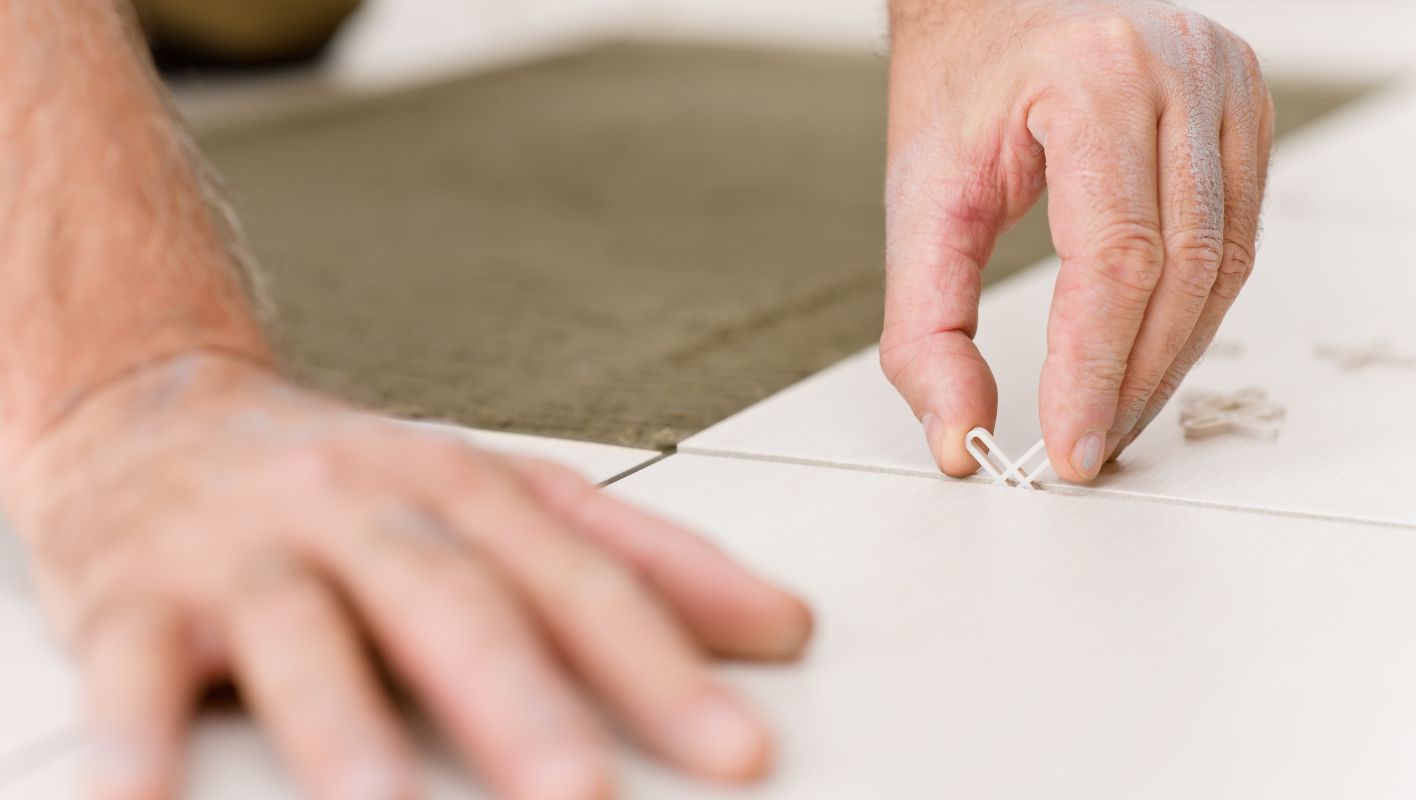
Tile Material and Thickness
When I first started working with tiles, I was completely clueless about how the tile material could dictate the spacer size needed. Then, one day, a friend who was renovating their home called me in a panic. They had bought these gorgeous porcelain tiles1 but used the wrong spacer size, and everything was off! That’s when I realized: porcelain tiles, known for their density and weight, usually need larger spacers compared to ceramic tiles to allow for some expansion.
| Tile Type | Recommended Spacer Size |
|---|---|
| Porcelain | 3mm – 5mm |
| Ceramic | 2mm – 3mm |
| Natural Stone | 5mm – 7mm |
Natural stone is another tricky one—its variable thickness can throw you a curveball, making larger spacers a must.
Edge Style Considerations
Oh, the edge style! I remember the first time I dealt with rectified edges. These precisely cut beauties allow you to use smaller spacers for that sleek, modern finish everyone loves. But don’t be fooled; tiles with cushioned or beveled edges need larger spacers to prevent lippage. It’s like choosing shoes—you need the right fit!
Tile Size and Spacer Selection
Speaking of shoe sizes, tile size plays a similar role in spacer selection. Large-format tiles—anything over 15 inches on one side—absolutely need larger spacers. I learned this the hard way when working on a kitchen floor that warped due to stress because I underestimated the need for space.
| Tile Size | Recommended Spacer Size |
|---|---|
| Small (less than 6") | 1mm – 2mm |
| Medium (6" to 15") | 2mm – 3mm |
| Large (greater than 15") | 3mm – 5mm |
Aesthetic Preferences
At the end of the day, your personal style plays a big part too. I once helped design a rustic-themed kitchen where we used larger spacers to really make those grout lines pop. But if you’re after that seamless, contemporary vibe, smaller spacers are your go-to.
Understanding all these nuances ensures that when you choose a spacer size, you’re not just aiming for functionality but also enhancing the tile’s aesthetic appeal. Whether it’s your bathroom or kitchen, picking the right spacer size can make all the difference.
For more insight on specific tile applications, consider researching tile installation tips2 that cater to different environments.
Porcelain tiles require larger spacers than ceramic tiles.True
Porcelain's density and weight necessitate larger spacers for expansion.
Rectified edge tiles need larger spacers than beveled edge tiles.False
Rectified edges allow smaller spacers due to precise cutting.
How Can I Master Bathroom Tiling Without Losing My Sanity?
Ever tried tiling a bathroom and felt like you were starring in a DIY disaster movie? Let me guide you through the essential steps to transform your space into a serene sanctuary.
To achieve a professional finish in bathroom tiling, plan your layout meticulously, choose the right materials, prepare surfaces thoroughly, use appropriate tools, and ensure even grout lines.
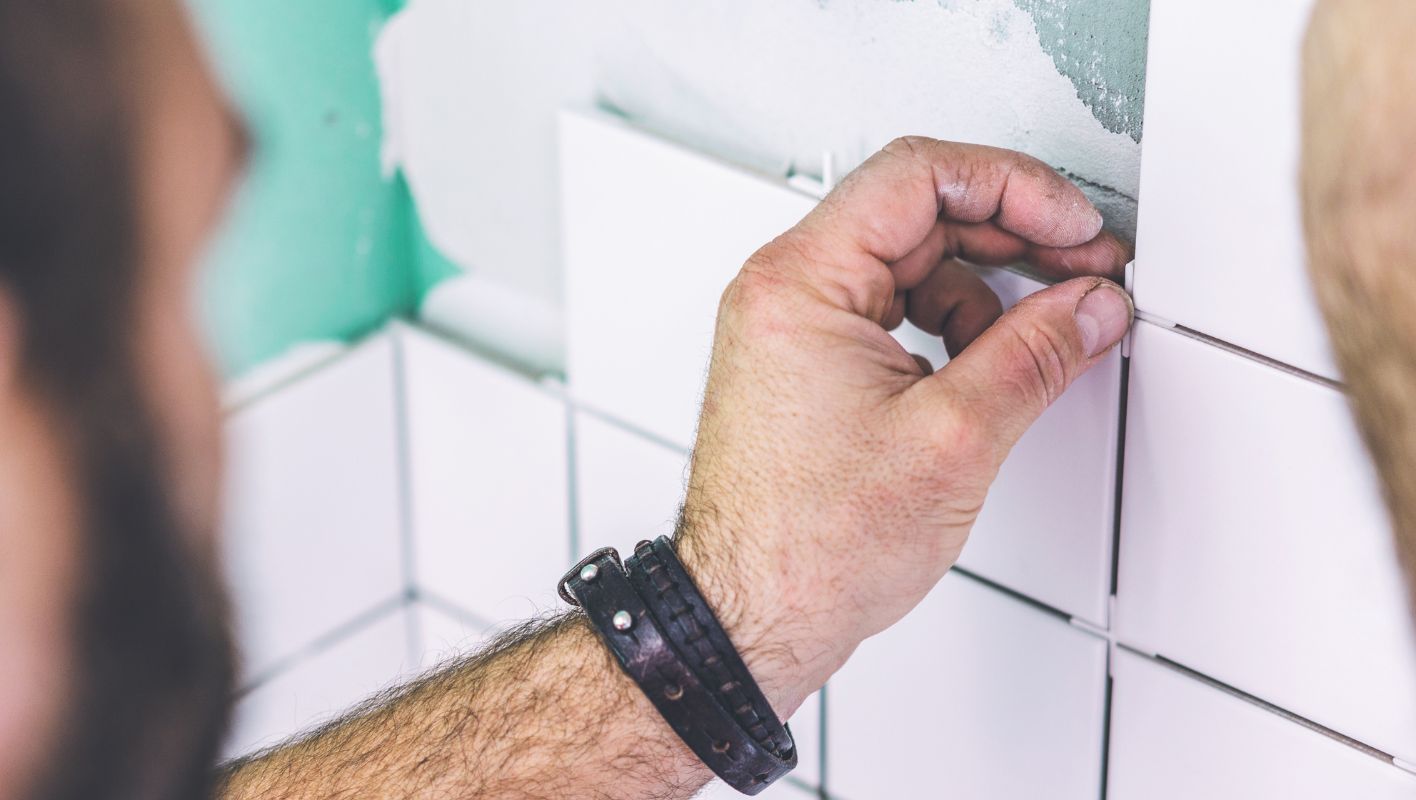
Planning Your Tile Layout
I remember when I first decided to retile my bathroom. The excitement quickly turned into overwhelm as I stood amidst boxes of tiles, unsure of where to start. It was then that I realized the power of planning. Drafting a detailed plan was my saving grace. I spent a few evenings sketching out the layout on graph paper, playing around with different patterns and sizes. This step helped me avoid those awkward, unsightly cuts that can ruin the aesthetic harmony of a bathroom. Tools like digital software can also offer a clearer vision if drawing isn’t your forte.
A carefully planned layout3 prevents awkward cuts and ensures symmetry.
Choosing the Right Materials
Choosing tiles can feel like picking a flavor at an ice cream shop—overwhelming yet crucial. During one of my visits to the store, I learned that not all tiles are created equal. For the shower, I opted for porcelain because it’s practically impervious to water, which is a big deal in damp areas. But let’s not forget about style—my heart still skips a beat thinking about the sleek, slip-resistant natural stone tiles that now grace my floor.
Selecting the right tile material is crucial for durability and style:
| Material | Durability | Water Resistance | Slip Resistance |
|---|---|---|---|
| Ceramic | Moderate | Good | Moderate |
| Porcelain | High | Excellent | High |
| Stone | Varies | Varies | Varies |
Compare options with a focus on durability4 and slip-resistance.
Surface Preparation
Ah, surface prep—a step that’s as fun as watching paint dry but equally important. Imagine my surprise when I learned that even the slightest bump or crack could sabotage my tiling efforts. So, I rolled up my sleeves and scrubbed every inch clean, patched up holes, and applied primer until the surface was smoother than polished stone.
Proper surface prep ensures tiles adhere well and last longer: Clean thoroughly, remove old tiles or paint, use quality primer to prepare surfaces5, and repair any holes or cracks with filler.
Using the Right Tools
Tools were another revelation in my tiling journey. A tile cutter became my new best friend, ensuring precise cuts while a level and spacers were my allies in achieving perfection in spacing. The moment I got my hands on a laser level—it was like discovering GPS for tiles!
Equip yourself with essential tools like a tile cutter, trowel, level, and spacers for precise cuts and even spacing between tiles.
Grouting Techniques
Grouting was where the magic—and mess—happened. Choosing a grout color to complement my tiles was akin to picking an accessory for an outfit. I used a rubber float to apply it evenly, taking care to keep those lines consistent with spacers. And oh, the satisfaction of wiping away excess grout with a damp sponge before it could dry and form an unsightly haze.
Grout is vital for sealing tiles: Choose complementary colors; apply evenly using rubber float; maintain consistent lines with spacers; clean excess promptly.
Ongoing Maintenance Tips
Finally, maintenance—the part where you ensure your hard work stays pristine. I learned to seal grout lines annually after dealing with mold issues (a lesson learned the hard way). Mild cleaners are your friend here—trust me; they’ll keep your tiles gleaming without scratching the surface.
Once installed: Seal grout lines annually; use mild cleaners; avoid abrasive tools.
By embracing these best practices, you’ll not only master bathroom tiling but also turn a daunting project into rewarding transformation. Happy tiling!
Porcelain tiles are ideal for shower areas.True
Porcelain is highly water-resistant, making it suitable for showers.
Graph paper is unnecessary for planning tile layout.False
Graph paper helps visualize the layout, preventing awkward cuts.
Why Does Grout Choice Matter for Spacer Selection?
Ever found yourself staring at a wall of grout options, wondering how they affect the tiny spacers in your tile project? It’s a puzzle I’ve faced, and cracking it can transform your tiling from meh to magnificent.
Grout choice matters for spacer selection because it influences the final look and uniformity of tile installations. The type of grout dictates the size of spacers needed to maintain consistent grout lines and prevent tiles from misaligning.
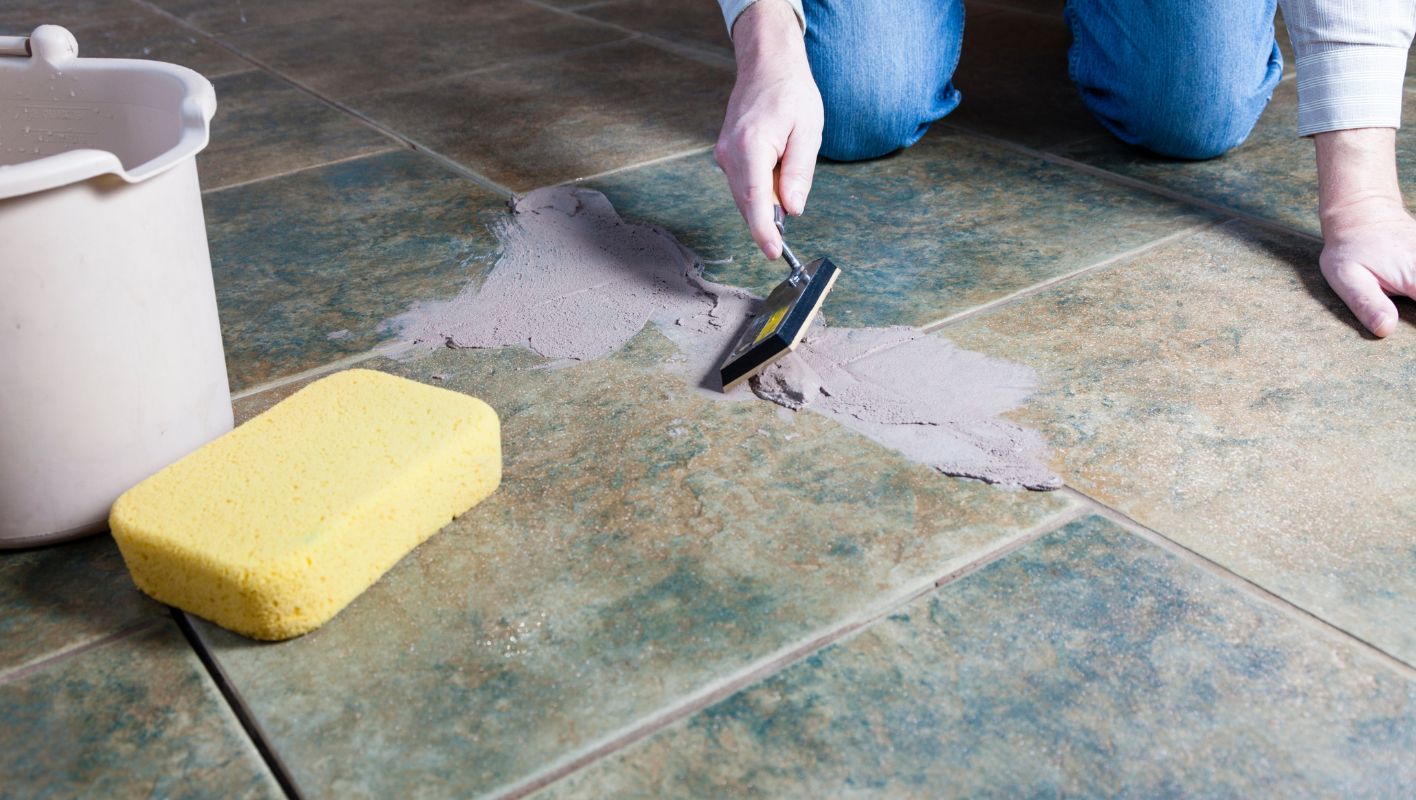
Understanding Grout and Its Role
I remember the first time I tackled a tiling project in my own home. I thought choosing grout was just about color, but oh, how wrong I was! Grout is that unsung hero in tile work that does more than fill gaps—it supports both the beauty and durability of your tiles. The type of grout you pick can make or break the tile installation process6, especially when it comes to picking the right spacers.
| Grout Type | Characteristics | Recommended Spacers |
|---|---|---|
| Sanded | Durable, for joints 1/8 inch or wider | Larger spacers preferred |
| Unsanded | Smooth, for joints less than 1/8 inch | Smaller spacers needed |
| Epoxy | Resistant to stains and chemicals | Adjust based on setting |
The Spacer Connection
Choosing the right spacers felt a bit like solving a jigsaw puzzle without all the pieces. Spacers are those tiny yet mighty tools that ensure every tile gap is just right, setting the stage for perfect grout application. Imagine using unsanded grout7 with small tiles—precision is key, and that’s where the right spacers come into play.
Aesthetic and Functional Considerations
I learned that not all grouts are created equal when I tried a bright white grout that showed every tiny flaw. Each grout type and color can change your project’s look. Bright colors need meticulous spacer choices to avoid glaring inconsistencies. Meanwhile, epoxy grout’s unique traits might call for some creative spacer solutions.
Before you jump in, take a moment to explore grout color impacts8 on your design. The right spacer choice not only enhances appearance but also ensures functionality, keeping issues like cracking or loose tiles at bay.
Think about your project’s needs; if it’s a high-traffic area, you might need more durable grout9 with larger spacers for added strength. Aligning your choices with your project’s specific requirements will pave the way to success.
Sanded grout requires larger spacers.True
Sanded grout is used for wider joints, needing larger spacers.
Unsanded grout is ideal for joints over 1/8 inch.False
Unsanded grout is best for joints less than 1/8 inch wide.
How can you achieve a seamless look with tile spacers?
Who knew tile spacers could be your best friend in creating a flawless tile surface? Dive in to find out how these small tools can make a big difference.
To get that seamless look with tile spacers, always place them evenly between tiles for uniform grout lines. Pick spacers that suit your tile type and remember to remove them before grouting.
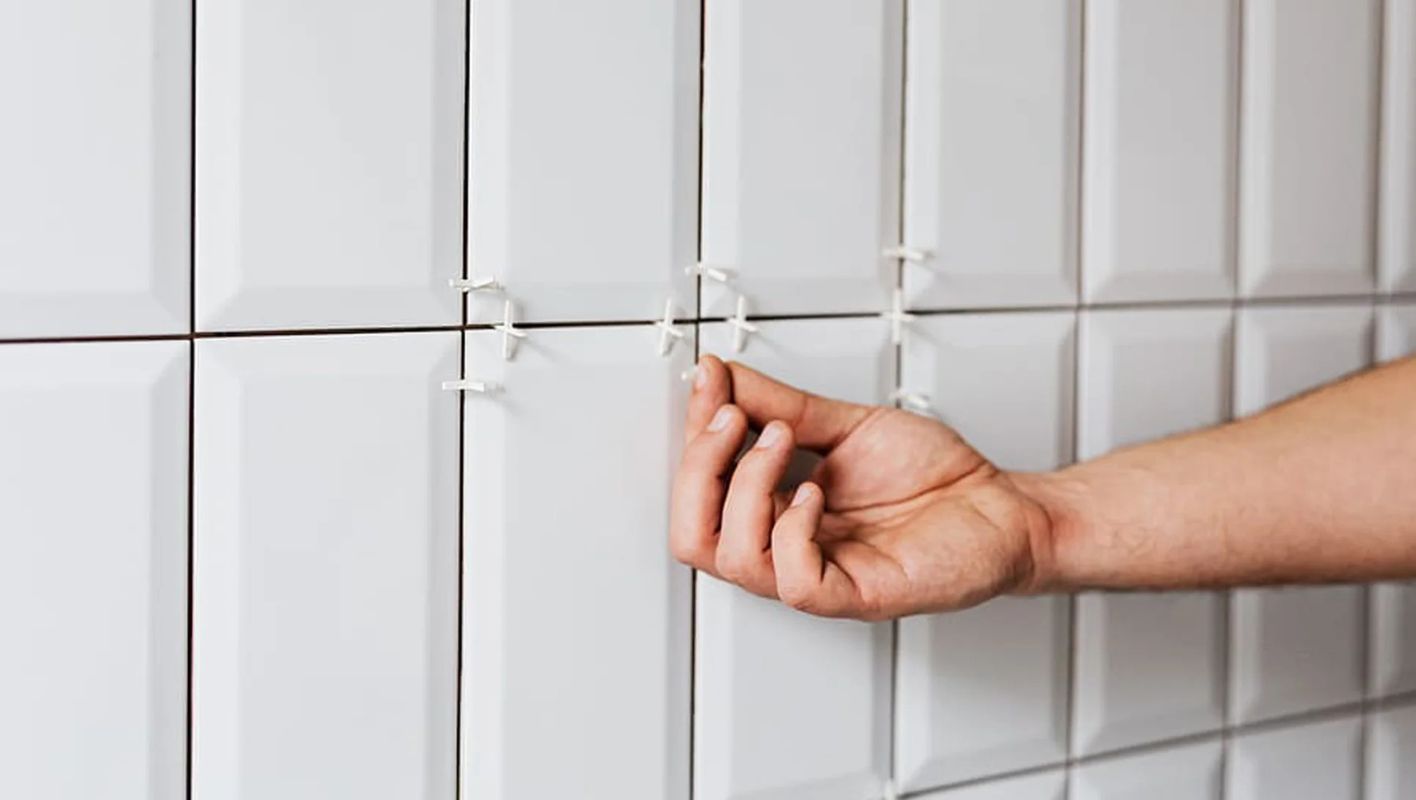
Selecting the Right Tile Spacer Size
Choosing the right spacer size can feel a bit like Goldilocks finding the perfect porridge—it needs to be just right. I remember the first time I tackled a tiling project; I stood in the aisle, surrounded by tiny plastic crosses, completely overwhelmed. But fear not! The size you choose depends on your tile type and the look you’re aiming for. Here’s a handy guide:
| Tile Type | Recommended Spacer Size |
|---|---|
| Ceramic | 1/16" – 1/8" |
| Porcelain | 1/8" – 1/4" |
| Stone | 1/4" – 3/8" |
Smaller spacers are your go-to for intricate designs where you want that barely-there grout line.
Proper Placement Techniques
When it comes to placement, think of it as solving a giant puzzle. Start from one corner and piece it all together. I found that placing spacers at each tile corner ensures everything lines up perfectly. It’s like building a Lego set but without the instruction booklet.
- Step 1: Lay the first tile and pop in a spacer at each corner.
- Step 2: Snugly place the next tile against the spacers.
- Step 3: Keep going until you’ve laid them all.
For more precise techniques, take a look at proper tile alignment10.
Considerations for Different Environments
Sometimes, Mother Nature likes to meddle with our tiling plans. In humid areas, tiles might expand, so opt for slightly bigger spacers. And if you’re working outdoors where temperatures swing, larger spacers are essential to handle expansion.
- Indoor vs. Outdoor: Outdoor projects need room for expansion due to fluctuating temperatures.
- Wet Areas: In bathrooms or similar spaces, ensure spacers allow enough grout width to keep water out.
Removing Tile Spacers Effectively
After tiles have set and the adhesive is cured—give it about 24 hours—carefully remove the spacers. This allows grout to fill every gap uniformly. I learned the hard way that rushing this step can lead to uneven grout lines. A pair of pliers or a special tool will make the job easier and safer for your tiles.
For more tips, check out removing tile spacers11.
Practical Tips for Seamless Aesthetics
- Consistency is Key: Regularly check alignment to avoid crooked tiles sneaking in when you’re not looking.
- Use a Level: This is your best friend for keeping tiles even, especially on tricky surfaces.
- Mock Layout: Before committing with adhesive, lay everything out with spacers to preview your masterpiece and make any necessary tweaks.
For some inspiration, explore tile design ideas12 for creative insights and professional designs.
Experiment with different tile spacer techniques13 to find what suits your project best.
Ceramic tiles require 1/16True
Ceramic tiles benefit from smaller spacers for a seamless look.
Spacers should be removed immediately after placing tiles.False
Spacers are removed after adhesive cures, usually in 24 hours.
Conclusion
Choosing the right tile spacer size is crucial for achieving desired grout lines and aesthetics, influenced by tile type, size, material, and personal style preferences.
-
Explore why porcelain tiles typically require larger spacers, focusing on durability and installation stability. ↩
-
Learn how different environments impact tile installation methods, affecting spacer size selection. ↩
-
Planning a tile layout helps avoid design mistakes and ensures symmetry. ↩
-
Understanding material properties ensures you choose tiles suited for bathroom conditions. ↩
-
Proper surface preparation increases tile adhesion and longevity. ↩
-
Discover how different grout types affect the tile installation process and why specific spacers are recommended. ↩
-
Learn about the best applications for unsanded grout and why it pairs well with smaller spacers. ↩
-
See how grout color choices can influence the overall design of your tiled space. ↩
-
Explore durable grout options that work well in high-traffic areas and may require specific spacers. ↩
-
Discover methods to ensure precise alignment of tiles using spacers for an even finish. ↩
-
Learn safe removal techniques to avoid damaging tiles after installation. ↩
-
Gain inspiration from creative design ideas that use seamless tiling techniques. ↩
-
Explore various methods and techniques for using tile spacers effectively. ↩






