
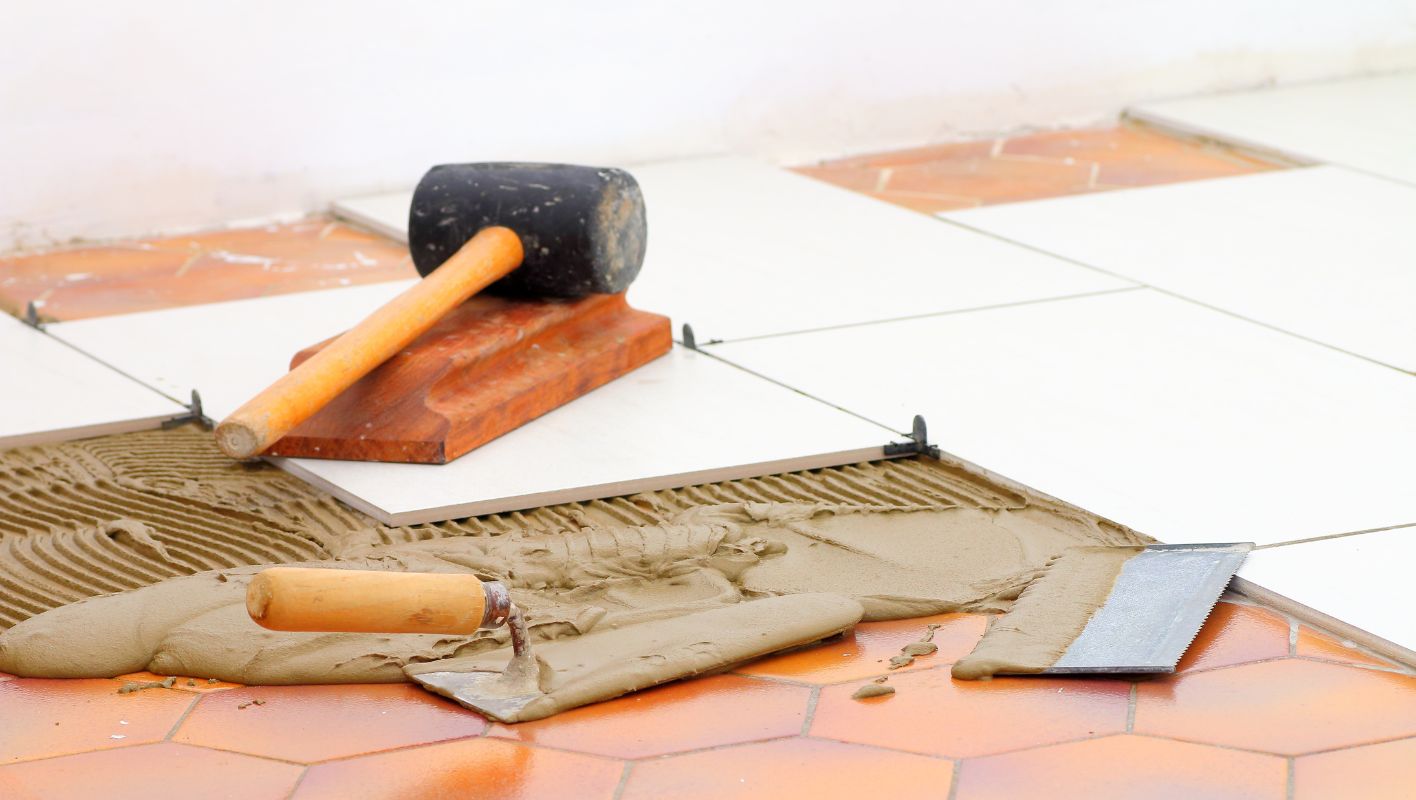
Ever faced the dilemma of wanting a fresh tile look without the hassle of demolition?
Yes, you can lay new tile over existing tile, but it requires specific preparation steps to ensure the new surface is stable and durable. Key steps include cleaning the old tiles thoroughly, checking for any loose tiles, and using an appropriate adhesive for bonding the new tiles effectively.
I remember the first time I tackled this task in my own home. The idea of ripping out old tiles was daunting, but I discovered that with the right prep work, laying tile over tile can be a game changer. The secret lies in meticulous preparation—cleaning every inch of the old tiles and ensuring they’re firmly in place. Selecting the right adhesive is crucial too, as it holds everything together.
This approach can indeed save time and effort, but it’s vital to follow precise methods to avoid common pitfalls. In this post, we’ll explore best practices and expert tips to achieve a seamless finish, ensuring your tiling project stands the test of time.
New tile can be laid over old tile without preparation.False
Preparation is essential to ensure stability and durability of new tiles.
Using proper adhesive is crucial for tile overlay success.True
The right adhesive ensures effective bonding of new tiles to the old surface.
What Preparations Are Necessary Before Tiling Over Existing Tile?
I remember the first time I tiled over existing tiles, feeling both excited and a bit daunted. The key to success? Proper preparation.
To successfully tile over existing tiles, ensure the current surface is clean, level, and securely bonded. Choose the right adhesive, apply a primer if necessary, and consider any height changes for doors and fixtures.
Assessing the Current Surface
When I first decided to tackle tiling over existing tiles, I knew I had to start by assessing the condition of the current surface. It’s crucial to ensure that all tiles are securely attached1 and free from cracks or damage. Any loose or damaged tiles could easily throw off the stability of the new layer. I remember realizing that one or two of my old tiles needed replacement, so it’s important to check for those kinds of issues ahead of time.
Cleaning and Priming
A clean surface is like a blank canvas—it’s vital for proper adhesion. I can’t stress enough how important it is to remove all dirt, grease, and soap residues using a strong cleaner. After cleaning, consider applying a primer specifically designed for tiling over tiles. This step enhances the bonding capability between old and new layers, and trust me, it’s worth the effort to avoid peeling tiles later on.
| Step | Description |
|---|---|
| Clean | Remove debris and stains |
| Prime | Use a tile primer for better adhesion |
Choosing the Right Adhesive
Choosing the right adhesive was like picking the right tool for a job—it made all the difference. You need an adhesive that suits the specific material you’re working with, whether it’s ceramic, porcelain, or natural stone. Some adhesives are specially formulated to bond well with non-porous surfaces like tiles.
Ensuring Level Surfaces
Checking if the existing tiles create an even surface is a step you can’t skip. I learned that any protruding tiles need to be addressed to avoid an uneven finish. Using a leveling compound can help create a flat surface, which is key to preventing adhesive issues2 later on.
Managing Height Considerations
Adding a new layer of tiles will increase the floor height. I recall having to think about how this change would affect transitions between rooms, door clearance, and fixtures. You might need to trim doors or adjust fixtures accordingly, but planning ahead can save a lot of hassle.
By following these preparation steps, you can ensure your tiling project over existing tiles is successful. Not only does proper preparation save time in the long run, but it also enhances the durability and aesthetic appeal of your flooring or wall project.
Existing tiles must be crack-free before tiling over them.True
Cracks can compromise stability, requiring repair before new tiles.
Primer is optional when tiling over existing tiles.False
Primer enhances adhesion, making it essential for proper bonding.
What Types of Adhesives Work Best for Tiling Over Tile?
Have you ever found yourself wondering if you can simply tile over existing tiles?
When tiling over existing tiles, thinset mortar and epoxy adhesives are your best friends. They provide the strength and durability you need for a stable and long-lasting finish.
Understanding Adhesive Options
Imagine standing in your kitchen, gazing at those old tiles and thinking, "I wish I could just cover these up!" Well, the good news is, you can! But the secret lies in choosing the right adhesive to ensure your new tiles stick around for the long haul. Enter thinset mortar and epoxy adhesives—the dynamic duo of the tiling world.
| Adhesive Type | Characteristics |
|---|---|
| Thinset Mortar | Cement-based; good for moisture-prone areas |
| Epoxy Adhesives | Strong chemical bond; ideal for high-traffic areas |
Thinset Mortar
Thinset mortar reminds me of that old friend who’s always got your back, especially when things get a little damp. Perfect for moisture-prone spots like bathrooms or kitchens, this cement-based hero flexes its muscles to bond even to surfaces that aren’t perfectly smooth. If you’re like me, loving a good rainy day but hating the aftermath on floors, thinset is a trusty ally.
Don’t forget to look for a version modified with latex or polymers. This added elasticity is like giving your tiles a little wiggle room so they can handle life’s ups and downs without cracking under pressure.
Epoxy Adhesives
When it’s time to bring out the big guns, epoxy adhesives3 are your go-to. They’re like that super-strong handshake from someone you just met—firm and reliable. Ideal for areas with heavy foot traffic, these adhesives form a chemical bond that’s tough as nails, standing up to moisture and chemicals with ease.
Sure, they might be a bit pricier than other options, but for those places where nothing but the strongest will do—like commercial settings or outdoors—epoxy is worth every penny.
Choosing the Right Adhesive Based on Tile Type
Picking the right adhesive is a bit like choosing the right dance partner; it depends on the type of tile you’re working with. Ceramic and porcelain are versatile and play well with both thinset and epoxy. But when dealing with natural stone tiles, think of them as the diva of the tile world—they may need something more specialized.
It’s always wise to consult manufacturers or suppliers to make sure your adhesive is compatible with both your existing and new tiles. This prevents any potential drama like staining or discoloration.
For more detailed guidance on tile-specific adhesives4, consider consulting technical experts or diving into product specs. This careful consideration helps avoid those "oops" moments during your renovation project.
By understanding these adhesives’ properties and how they interact with different tile types, you’ll set yourself up for a seamless, professional finish in your tiling adventure. And remember, every great project starts with that first step—choosing the right materials.
Thinset mortar is ideal for high-traffic areas.False
Epoxy adhesives, not thinset mortar, are recommended for high-traffic areas.
Epoxy adhesives resist moisture and chemicals.True
Epoxy adhesives form a chemical bond that resists moisture and chemicals.
Where in My Home Should I Consider Tiling Over Existing Tiles?
Ever thought about tiling over your existing tiles? It’s a nifty shortcut that can save time and hassle in your home makeover, but where exactly should you give it a go?
Tiling over existing tiles works best in kitchens and bathrooms if the current tiles are flat, secure, and in good shape. This technique skips the demolition mess and speeds up your renovation.
Evaluating the Suitability of Existing Tiles
Before you dive into layering new tiles over the old ones, take a moment to inspect the surface. Imagine trying to put a puzzle together on a wobbly table; it just doesn’t work well. Similarly, loose or cracked tiles can ruin your new layer. Make sure everything is steady and clean—no mold surprises hiding in corners! The surface should be level5, clean, and free from any mold or mildew.
Ideal Spaces for Tiling Over Tile
In my own home, the kitchen and bathroom were obvious candidates for this tiling technique. Picture this: your kitchen backsplash gets a fresh look without tearing apart your daily routine. And for the bathroom, as long as you have a good moisture barrier, you can swiftly transform the vibe without much fuss.
| Area | Advantages | Considerations |
|---|---|---|
| Kitchen | Quick updates; minimal disruption | Check tile adhesion and level |
| Bathroom | Efficient refreshment | Ensure moisture barriers are intact |
Benefits of Tiling Over Tile
One of my favorite perks? It’s a huge time saver. No need to go through the chaos of tearing up old tiles. Plus, it’s an eco-friendly choice since you’re not adding to landfill waste. Just keep in mind that this extra layer might elevate your floor height, which could mean adjusting doors or fixtures.
Eco-friendly practices6 are supported by reducing waste.
Conditions for Successful Installation
For this approach to work like a charm, invest in quality adhesive that can stick both old and new tiles together seamlessly. Imagine trying to glue two books together with weak glue—it’s bound to fall apart! The existing tiles must be squeaky clean, free from grease or grime, to avoid any hiccups later on.
Consider reaching out for professional consultations7 if you need a bit more guidance. They can offer tailored advice to fit your unique home setup and material needs.
Tiling over tiles is ideal for kitchens and bathrooms.True
Kitchens and bathrooms can benefit from quick updates without demolition.
Tiling over tiles increases waste production significantly.False
It reduces waste by avoiding the removal of old tiles.
What Are the Pros and Cons of Tiling Over Existing Tile?
Ever thought about tiling over your existing tiles to save time on your renovation project?
Tiling over existing tile can be a savvy move, cutting down on both time and expenses by skipping demolition. But, be cautious—this approach may lead to issues with adhesion and added floor height. Always inspect the current tile’s condition carefully first.
Advantages of Tiling Over Existing Tile
-
Time and Cost Efficiency
I remember the first time I faced the daunting task of re-tiling my kitchen. The thought of ripping out all those old tiles was enough to make me cringe. That’s when I stumbled upon the idea of tiling over the existing ones. It was a revelation! Skipping demolition saved me countless hours and a fair chunk of change—talk about a win-win for anyone looking to cut down project time and costs. -
Less Mess and Waste
Demolition is not just time-consuming but incredibly messy. Dust clouds every surface, and the debris seems endless. By tiling over, I sidestepped this chaos entirely, leaving my home cleaner and contributing less waste to landfills—a small but meaningful step toward sustainability.
| Pros | Details |
|---|---|
| Time-saving | No demolition phase needed |
| Cost-effective | Reduces labor costs |
| Eco-friendly | Decreases construction waste |
Challenges of Tiling Over Existing Tile
-
Adhesion Issues
One critical thing I learned was that the new tiles need a solid base. If the existing tiles have cracks or are loose, it’s like building a house on shaky ground. It was essential to thoroughly inspect the old tiles first to ensure they were in good condition for the new layer. -
Height and Weight Concerns
Adding a new tile layer might seem simple enough until you try to open a door and it scrapes across the floor. This added height can create unexpected issues with door clearance and room transitions. Plus, more weight means extra pressure on the floor structure—definitely something to consider. -
Potential for Hidden Issues
Tiling over old surfaces might hide serious problems like moisture damage or even mold, which can cause headaches down the line. I found it invaluable to call in a professional contractor8 who could check for these hidden issues, ensuring everything was sound before proceeding.
| Cons | Details |
|---|---|
| Adhesion challenges | Requires intact existing tiles |
| Height adjustment | May need door trimming or thresholds |
In my experience, weighing these factors carefully can help decide if tiling over existing tiles is the right move for your renovation project. Consulting with professionals can offer peace of mind and expertise, making sure you’re set up for success.
Tiling over existing tiles reduces renovation time.True
Skipping demolition saves time, making the process quicker.
Existing tile condition doesn't affect new tile adhesion.False
Proper adhesion requires intact, damage-free existing tiles.
Conclusion
You can lay new tile over existing tiles with proper preparation, including cleaning, assessing stability, and using suitable adhesives to ensure a durable and aesthetically pleasing finish.
-
This link provides insights on testing tile adhesion, ensuring your new tile layer is stable. ↩
-
Learn how leveling compounds can create a smooth surface for tiling, preventing adhesive issues. ↩
-
Explore why epoxy adhesives are recommended for areas needing strong chemical bonds, offering unmatched durability in high-traffic or moist environments. ↩
-
Discover expert insights on choosing the right adhesive for various tile types to ensure compatibility and prevent issues like staining or discoloration. ↩
-
Ensuring a level surface is critical for the new tiles to adhere properly, preventing uneven surfaces and future damage. ↩
-
Tiling over existing tiles reduces waste, supporting eco-friendly renovation practices by minimizing debris and disposal needs. ↩
-
Professional insights ensure correct application methods and material choices, reducing errors and enhancing project outcomes. ↩
-
Understand how expert advice can prevent costly mistakes and ensure a quality finish. ↩






