
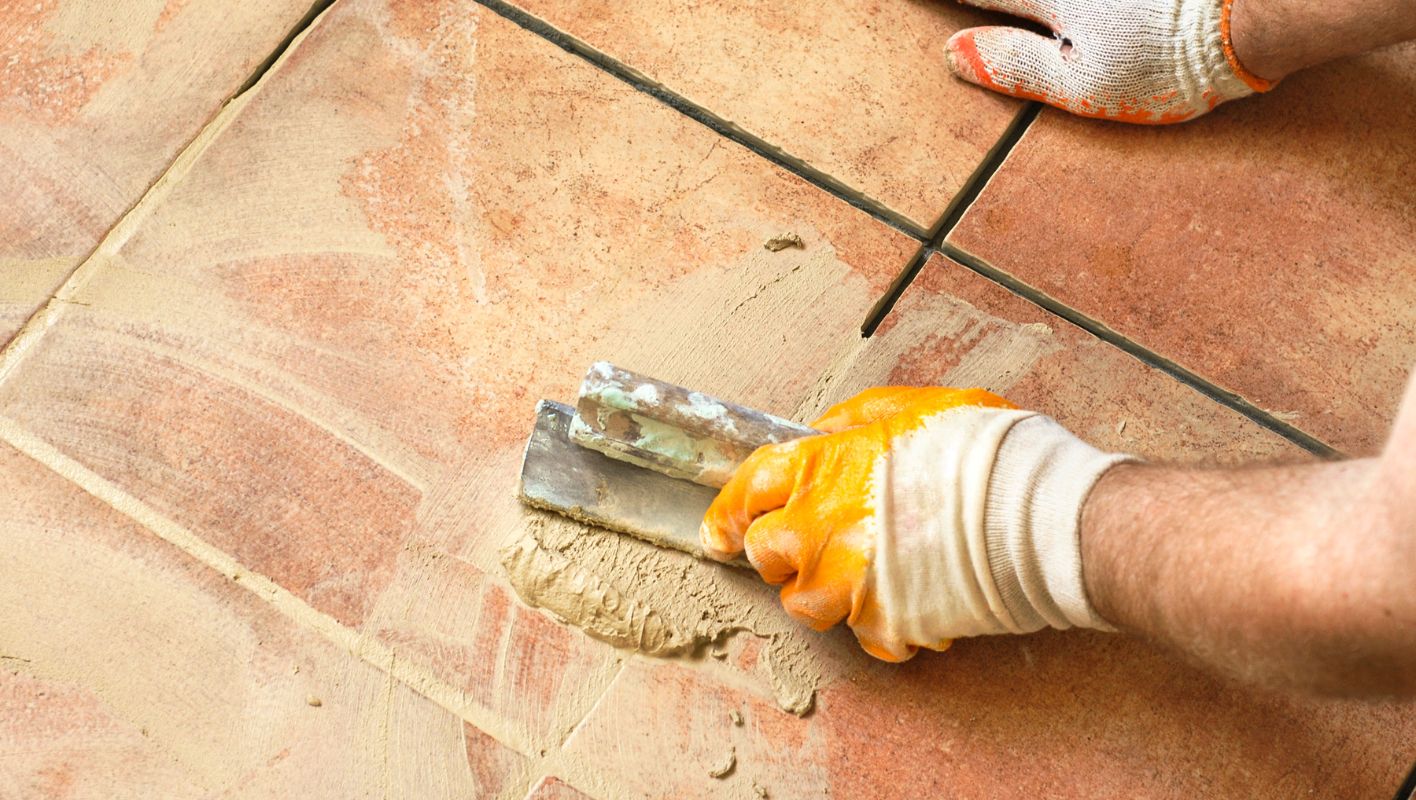
I remember the first time I tackled a tiling project; understanding grout was a game-changer.
Grout is the unsung hero of tiling, filling the spaces between tiles to ensure they stay put and look great. Made from a mix of water, cement, and sand or epoxy, it prevents moisture from sneaking in and keeps tiles from shifting. It’s crucial for both function and aesthetics.
Now that we’ve covered the basics, let’s explore the different types of grout and how to choose the right one for your project. Whether you’re a pro or just getting started, knowing these details can save you time and hassle. I learned this the hard way during my own DIY adventures!
Grout prevents tiles from moving.True
Grout fills gaps between tiles, providing stability and preventing movement.
Epoxy grout is made with only sand and water.False
Epoxy grout contains epoxy resins, not just sand and water.
What Are the Different Types of Grout and Their Uses?
Grout might not be the most glamorous part of tiling, but it sure makes a difference!
The main types of grout include sanded, unsanded, epoxy, and furan. Each type is designed for specific uses based on the size of the joints, location, and environmental factors. Choosing the right grout ensures long-lasting durability and enhances the overall look of your tiled surfaces.
I remember when I first tackled a tiling project in my kitchen. It was a weekend warrior mission, armed with determination and a YouTube tutorial. I quickly realized that the grout I chose would make all the difference between a professional-looking finish and a mess I’d need to redo in a month.
Sanded Grout
Sanded grout was my go-to for the kitchen floor. With its fine sand particles, it was perfect for those grout lines that were wider than 1/8 inch. I learned it’s a favorite for flooring because it’s durable—the sand adds strength to prevent cracking in wide joints, ideal for the high foot traffic in my bustling kitchen.
- Common Uses:
- Floors
- Walls with wide joints
- Countertops
Pros: Durable, cost-effective.
Cons: Not suitable for narrow joints.
Unsanded Grout
Then there was the backsplash—a completely different beast. For this, I used unsanded grout. Without the sand, it’s smoother and works wonders on narrow joints under 1/8 inch. It’s gentle on delicate materials like glass or marble, which was exactly what I needed for those shiny, reflective tiles.
- Common Uses:
- Walls
- Narrow joints
- Glass or polished tiles
Pros: Smooth finish, suitable for delicate surfaces.
Cons: Less durable for wider joints.
Epoxy Grout
When my friend renovated his bathroom, he swore by epoxy grout. Made from epoxy resins and a filler powder, this stuff is like the superhero of grouts—highly resistant to stains and chemicals. It’s fantastic for places exposed to moisture or harsh substances, like showers or kitchen backsplashes.
- Common Uses:
- Showers
- Backsplashes
- Outdoor spaces
Pros: Stain-resistant, durable.
Cons: More expensive, difficult to apply.
For more details on epoxy grout’s benefits, check this guide1.
Furan Grout
Now, furan grout is something I haven’t personally used but heard about from a colleague who works in industrial settings. This grout is similar to epoxy but built to withstand harsh chemicals and temperatures, making it perfect for industrial applications like chemical plants.
- Common Uses:
- Chemical plants
- Food processing facilities
- Laboratories
Pros: Extremely resistant to chemicals and heat.
Cons: Requires professional installation, not available in different colors.
Learn about the applications of furan grout in industrial settings here2.
Comparing Grout Types in a Table
Understanding these types can truly elevate your project, ensuring that you not only get the aesthetic appeal you want but also the durability you need.
here’s how they compare:
| Type | Joint Size | Pros | Cons |
|---|---|---|---|
| Sanded | >1/8 inch | Durable, cost-effective | Not for narrow joints |
| Unsanded | <1/8 inch | Smooth finish | Less durable |
| Epoxy | Any | Stain-resistant | Expensive |
| Furan | Any | Chemical & heat-resistant | Professional install |
Selecting the right grouting material3 that matches your project’s demands is key.
Sanded grout is ideal for joints under 1/8 inch.False
Sanded grout is best for joints larger than 1/8 inch.
Epoxy grout is resistant to stains and chemicals.True
Epoxy grout's composition makes it highly stain and chemical resistant.
How Does Grout Contribute to Waterproofing in Tiling?
Ever wondered how those tiny lines between your bathroom tiles keep water from ruining your floors? Let me share the magic of grout and its waterproofing wonders.
Grout is your unsung hero in tiling, filling gaps to block moisture intrusion. Properly sealing it boosts its ability to protect your tiled areas, essential for wet zones like bathrooms and kitchens.
The Role of Grout in Tiling
I remember the first time I tackled a tiling project. I thought, "How hard can it be?" But as I kneeled on that bathroom floor, trowel in hand, I realized that grout isn’t just a filler; it’s the glue that holds everything together, quite literally. Grout ensures the tiles stay put, like the unsung hero in a movie that never asks for applause but saves the day nonetheless.
Waterproofing Mechanism of Grout
Now, here’s where it gets interesting. The true magic of grout happens when it’s properly sealed. This was a game-changer for me, especially after dealing with some unwelcome mold in my early DIY days. By applying a grout sealer4, you’re essentially giving grout a superpower—making it a barrier that water just can’t penetrate. Imagine it as giving your tiles a raincoat.
| Type of Grout | Water Resistance | Best Applications |
|---|---|---|
| Cementitious | Moderate | Indoor walls |
| Epoxy | High | Wet areas |
| Furan | Very high | Industrial areas |
Factors Influencing Grout’s Waterproofing Ability
Type of Grout Used
When I first learned about different grout types, I was like a kid in a candy store—each type offering something unique. Epoxy grout5, for instance, is what you want when water resistance is non-negotiable. Its non-porous nature is perfect for keeping water at bay in those ever-damp bathroom corners.
Proper Application Techniques
Mixing grout felt like baking—except instead of cookies, you’re ensuring your tiles stay flawless. Getting the consistency right, spreading it evenly, and cleaning up promptly are key. It’s meticulous work, but when done correctly, it ensures every crevice is sealed tight.
Regular Maintenance Practices
A little upkeep goes a long way. I’ve learned that keeping grout clean and resealed not only keeps it looking fresh but also strengthens its moisture-blocking prowess. It’s like maintaining a car; regular checks keep it running smoothly.
Understanding these aspects of grout use has helped me protect my own home from water damage and extend the life of my tile installations. By mastering application and maintenance techniques, I’ve turned grout into an effective waterproofing solution6, keeping my spaces dry and beautiful.
Epoxy grout provides high water resistance.True
Epoxy grout is non-porous, making it ideal for wet environments.
Cementitious grout is best for industrial areas.False
Cementitious grout is moderate in water resistance, suited for indoor walls.
What Are the Common Mistakes to Avoid When Using Grout?
Grouting tiles might seem straightforward, but even with experience, I’ve found myself hitting unexpected snags. Let’s explore the missteps to avoid for a perfect finish every time.
Common grout mistakes include improper mixing, incorrect application, and poor cleaning. Mastering these areas ensures a smooth, durable finish that lasts.
Improper Mixing Ratios
When I first started working with grout, I underestimated how crucial the right mix is. I remember one weekend project where I thought I could eyeball the water-to-grout ratio, only to end up with crumbly grout that didn’t stick. Lesson learned: always follow the manufacturer’s mixing instructions7. Now, I make sure to use a clean bucket to keep contaminants out and add water gradually for the perfect consistency—smooth and lump-free.
Tips for Mixing Grout:
- Use a clean bucket to avoid contamination.
- Gradually add water to grout powder, not vice versa.
- Mix until smooth without lumps.
Incorrect Application Techniques
I once tried to rush through a tiling job, thinking my experience would get me through. Boy, was I wrong! The grout didn’t fill evenly, and I had to redo the whole section. That’s when I realized that using a rubber float at a 45-degree angle is key for even distribution. It’s like painting: take your time and work in small sections.
Application Tips:
- Work in small sections to prevent drying out.
- Move diagonally across tiles to fill gaps effectively.
Inadequate Cleaning
One of my biggest mistakes early on was not cleaning excess grout promptly. After letting it sit too long, the tiles were left with a haze that was a nightmare to remove. Now, I clean as I go, wiping down with a damp sponge after 15-30 minutes and using a dry cloth for a final polish.
| Cleaning Stage | Description |
|---|---|
| Initial Cleaning | After 15-30 minutes, wipe tiles with a damp sponge. |
| Final Cleaning | Use a dry cloth to polish tiles once grout is set. |
Ignoring Curing Times
Patience isn’t my strong suit, but rushing the curing process has bitten me before. Ignoring curing times can lead to weak grout that discolors easily. I’ve learned to respect those times and let nature do its thing. It’s worth it for the durability alone.
Overlooking Grout Sealing
Skipping sealing seemed like a shortcut until I saw my hard work stained and damaged. Now, I never overlook this step. Selecting the right sealant based on the grout type and usage area has become second nature. Regularly sealing, especially in moisture-prone areas like kitchens and bathrooms, keeps everything looking fresh and protected.
By keeping these pitfalls in mind, I’ve managed to achieve professional-looking tile installations that stand up to time and use. For more comprehensive guidance on grouting, explore our in-depth resources8.
Improper grout mixing leads to cracking.True
Incorrect mixing ratios result in weak grout prone to cracking.
Rushing curing time strengthens grout.False
Ignoring curing times weakens grout, compromising its durability.
How Can You Maintain and Clean Grouted Surfaces Effectively?
I never realized how transformative grout could be until I tackled my first big cleaning project.
To keep grouted surfaces looking fresh, I regularly sweep and mop, use mild detergents, and apply a grout sealant occasionally. For stubborn stains, I’ve found a baking soda paste or vinegar solution works wonders.
The Basics of Grout Maintenance
Proper maintenance begins with regular cleaning. I remember the first time I faced a kitchen floor that seemed to be on its last legs due to dirty grout. That’s when I learned the magic of regular upkeep. Sweeping or vacuuming is my first line of defense against dirt and debris that might scratch or settle into the grout. Then, mopping with a mild detergent keeps everything looking fresh and avoids the harsh chemicals that can erode grout over time.
| Maintenance Task | Frequency |
|---|---|
| Sweeping/Vacuuming | Daily |
| Mopping | Weekly |
| Grout Sealing | Annually |
Deep Cleaning Techniques
On one particularly tough day, I discovered the power of a simple baking soda paste. Mixing baking soda and water, I applied it to the grout lines and let it sit for 10-15 minutes. A bit of elbow grease with a stiff brush later, and the grout looked renewed. This method helps lift stubborn stains without damaging the grout.
When I need a little extra power, I turn to a vinegar solution—mix equal parts vinegar and water in a spray bottle. Spray onto the grout lines, wait 5 minutes, then scrub and rinse. Vinegar solutions9 are effective but should be used sparingly on colored grout to avoid any fading.
Advanced Cleaning Solutions
There was this one time when the grout was so stained that my usual tricks didn’t work. For heavily stained grout, consider using a commercial grout cleaner. These products are specially designed for those stubborn stains and work like a charm if you ensure they’re safe for your specific tile type.
The Importance of Grout Sealing
Once, after spending hours cleaning, I realized I could have saved myself trouble by sealing the grout right from the start. Applying a good sealant acts as a barrier against stains and moisture. It’s essential to pick one that’s compatible with your tiles for optimal results. Grout sealants10 vary in their application methods—some require brushing on while others spray on—choose what works best for you.
Natural Cleaning Alternatives
If you’re like me and prefer keeping things as natural as possible, lemon juice is your friend—it’s a mild bleaching agent that can brighten up the grout nicely. Simply apply directly to the grout, let sit, then scrub away stains. Essential oils like tea tree not only smell great but also offer antibacterial properties to keep your tiles fresh and hygienic.
Incorporating these methods into my routine has kept my grouted surfaces looking as beautiful as the day they were installed. It’s these little victories in home maintenance that make all the difference.
Mopping should be done daily for grout maintenance.False
Mopping is recommended weekly, while sweeping/vacuuming is suggested daily.
Baking soda paste can lift stubborn grout stains.True
Baking soda and water paste effectively cleans stubborn grout stains without damage.
Conclusion
Grout is essential for tiling, providing stability and moisture resistance. Understanding its types—sanded, unsanded, epoxy, and furan—ensures durability and enhances aesthetics in tiled surfaces.
-
Explore this link to understand why epoxy grout is perfect for wet areas like showers due to its stain resistance. ↩
-
Click here to see how furan grout is used in demanding industrial settings due to its chemical resistance. ↩
-
This link provides guidance on selecting the right grout based on project requirements. ↩
-
Grout sealer protects grout from stains and moisture. Learn more about its application for enhanced tile durability. ↩
-
Epoxy grout offers superior water resistance and durability. Discover its advantages for wet environments. ↩
-
Explore top waterproofing methods to protect tiled surfaces from moisture damage. ↩
-
Mixing grout correctly prevents cracking and ensures a strong bond, offering a flawless finish. ↩
-
Detailed resources provide step-by-step instructions for both novices and professionals. ↩
-
Discover why vinegar solutions are effective for cleaning grout lines and learn how to use them properly. ↩
-
Explore top-rated grout sealants that protect against stains and moisture, extending the life of your tiles. ↩






